Dairy milk makes excellent foam.
But can you froth oat milk?
Yes, you definitely can.
Although it performs slightly differently than dairy, you can surely create an oat milk latte.
And today, we’ll get into details about how you can do it at home.
Let’s dive in.
Does Oat Milk Froth?
So, what makes milk froth, you might ask?
There are two main components – fats and proteins.
The fat content affects the consistency. You want your milk to have a bit of fat, as it allows it to turn into that beautiful, creamy foam. But you don’t want too much of it, as it can cause quite the opposite effect.
As for the protein content, the more, the merrier. Protein is what allows the foam to hold.
Here’s what happens:
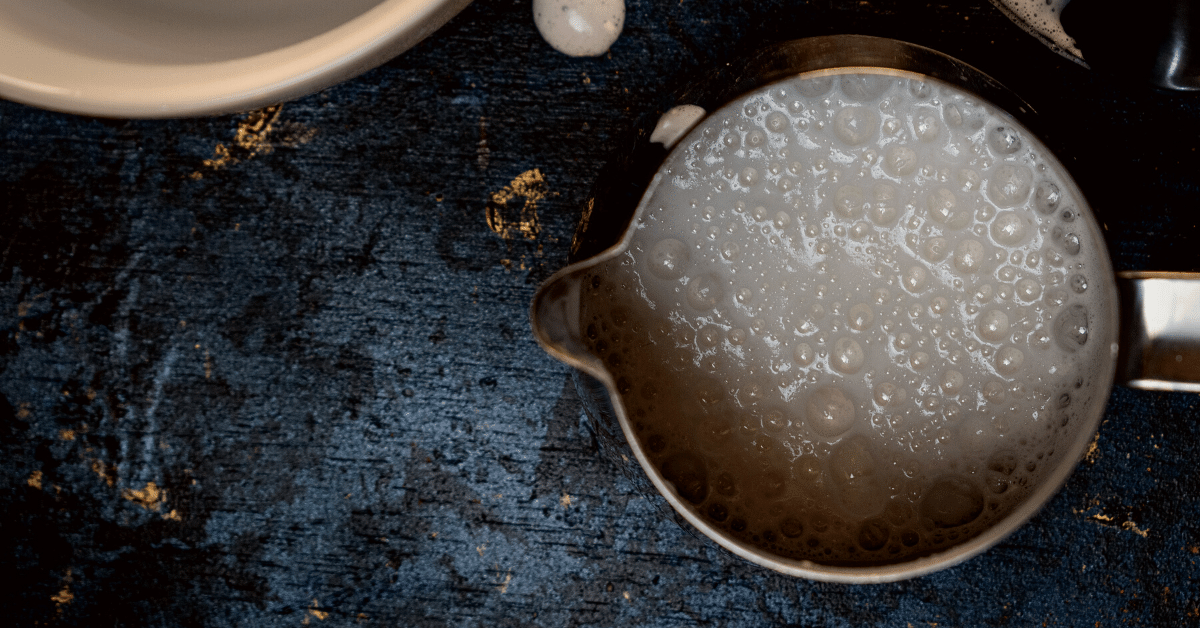
When you heat up milk, the proteins inside start expanding. And as you’re introducing bubbles to the milk, the proteins start forming a protective layer around them. Basically, they’re trapping the air inside, creating a froth.
Oat milk has everything it needs to froth.
One cup of oat milk has roughly 4 grams of protein, which is more than enough to create a stable foam. For comparison, almond milk has only 1 gram of protein per cup.
Oat milk also has a decent amount of fat – roughly 2.5 grams per cup. That’s just enough to create a velvety froth without affecting the hold.
With that being said, oat milk is not as easy to froth as cow milk. And the reason behind it is simply because their structure is not the same.
Everything You Need To Know About Oat Milk
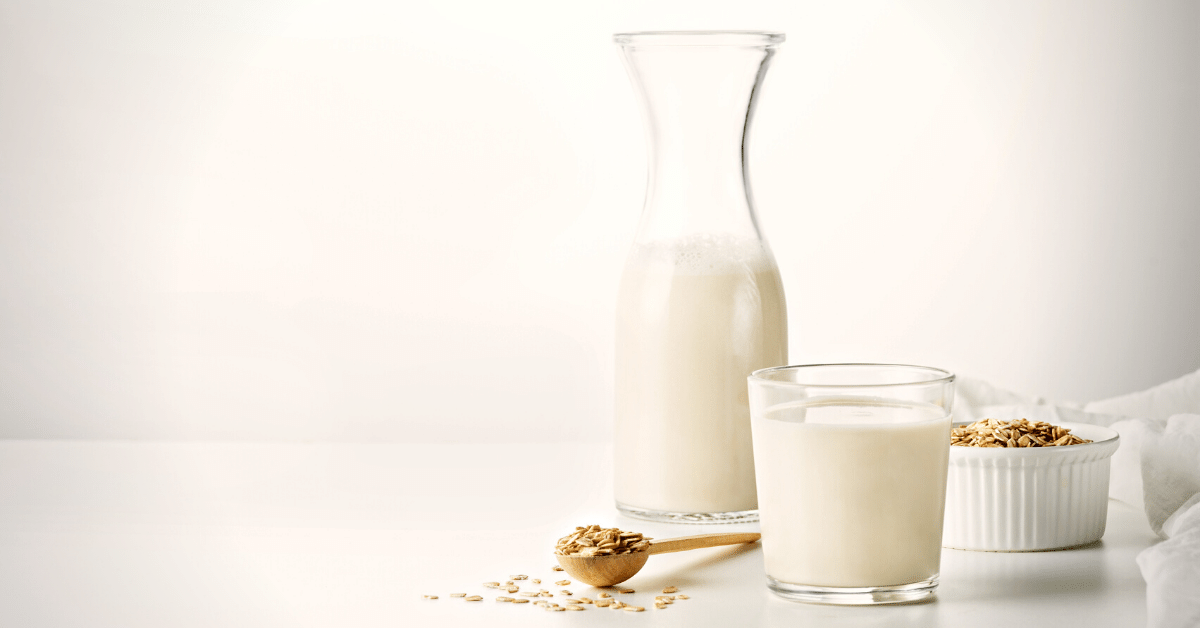
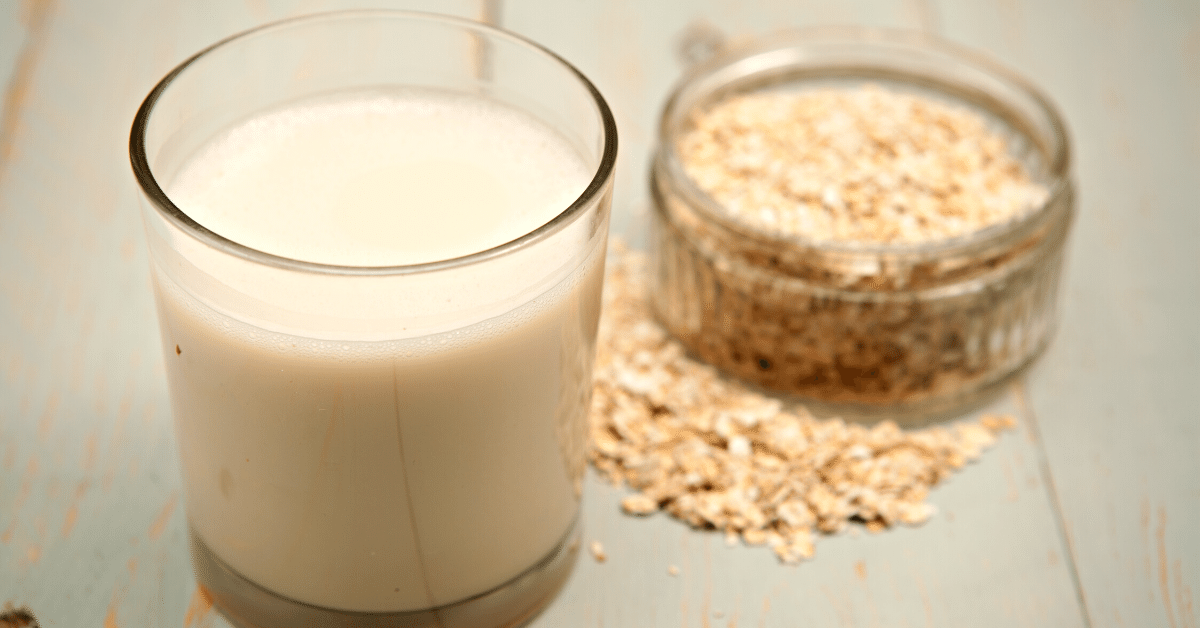
As you probably know, oat milk is a product of blending oat and water together, then straining the pulp. What you get this way is a smooth and thick liquid reminiscing of milk.
In fact, as far as flavor goes, oat milk is as closest as it gets to dairy milk. That’s mainly due to the fact that oat milk is rich in carbs. In fact, a single serving of oat milk has roughly 16 grams of carbohydrates, which is even more than dairy.
What carbs do is they make the oat milk sweet and creamy, without any added sugar. You do actually feel the delicate oaty notes, but only in the aftertaste.
With that being said, don’t be surprised to see sugar on the ingredient list. Certain brands add sweeteners and other additives to make it taste better and last longer. If you want to avoid that, look for products with a limited ingredient list.
Store-bought oat milk usually has added nutrients that are naturally found in dairy milk. These can include:
- Vitamin D
- Vitamin B2
- Vitamin E
- Calcium
- Iron
- Potassium
But if you’re making your own oat milk at home, you won’t find these nutrients in it.
Now, I’ve said that oat milk tastes similar to its dairy counterpart, but you can easily tell them apart.
Oat milk can contain as much as twice the amount of carbs of dairy milk. For that reason, it will appear much thicker in consistency.
And due to the color of the oats, the milk will also be slightly darker in color. Depending on the production process, store-bought oat milk can range in color from gray to tan.
If you’re making your own oat milk, don’t be surprised to see sediment forming at the bottom. These are leftover particles from the grains, and you can easily strain them out.
Different Oat Milk Frothing Methods To Try
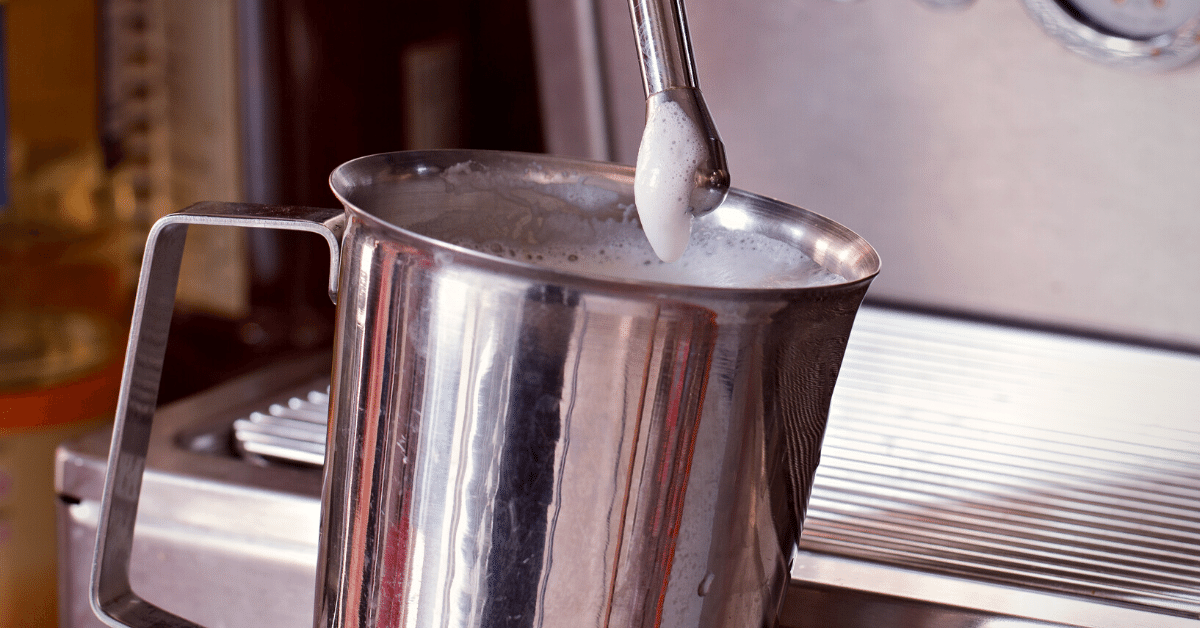
Frothing oat milk is relatively easy, although it will take a bit more time than dairy.
To get the best possible foam, there are a few things to pay attention to.
The first one is to use cold oat milk. I won’t bore you much with the technicalities, but air bubbles form better when you start with cold milk.
And the second – always use fresh oat milk. The longer the milk sits, the more its compounds get dissolved. In other words, there’s not much left in it to create froth.
Now that we have this out of the way, let’s talk about different methods to froth oat milk.
Use a Steam Wand
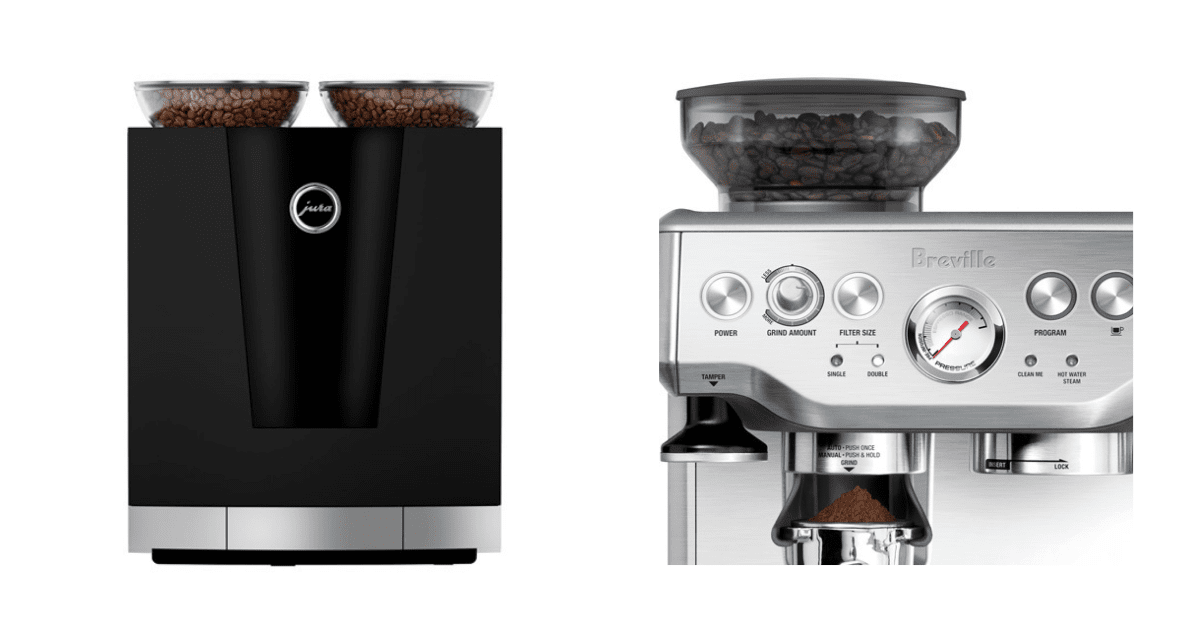
A steam wand is the best tool for the job. So if you own an espresso machine at home, this is definitely the best option for you.
With a Pannarello wand, there’s not much you need to do. Just select the type of foam you prefer, and the machine will add the required amount of bubbles inside the milk to create a froth.
On the other hand, a manual steam wand requires a bit more work. And naturally, it has a slight learning curve. But if you follow these steps carefully, you’ll have a nice final result:
- Pour oat milk into a pitcher. Don’t add more than half the pitcher, as milk will increase in size.
- Place the pitcher underneath the steam wand, so that the tip is right below the milk surface. Tilt the pitcher at an angle.
- Turn the steaming wand on, while slowly moving the pitcher in a circular motion.
- After a while, switch to moving the pitcher up and down to let more air get underneath the oat milk surface.
- Do this until you get twice the amount of milk inside the pitcher.
That’s pretty much it. The foam should have a velvety texture with microfoam. Perfect for a latte.
Froth With a Battery-Powered Whisk
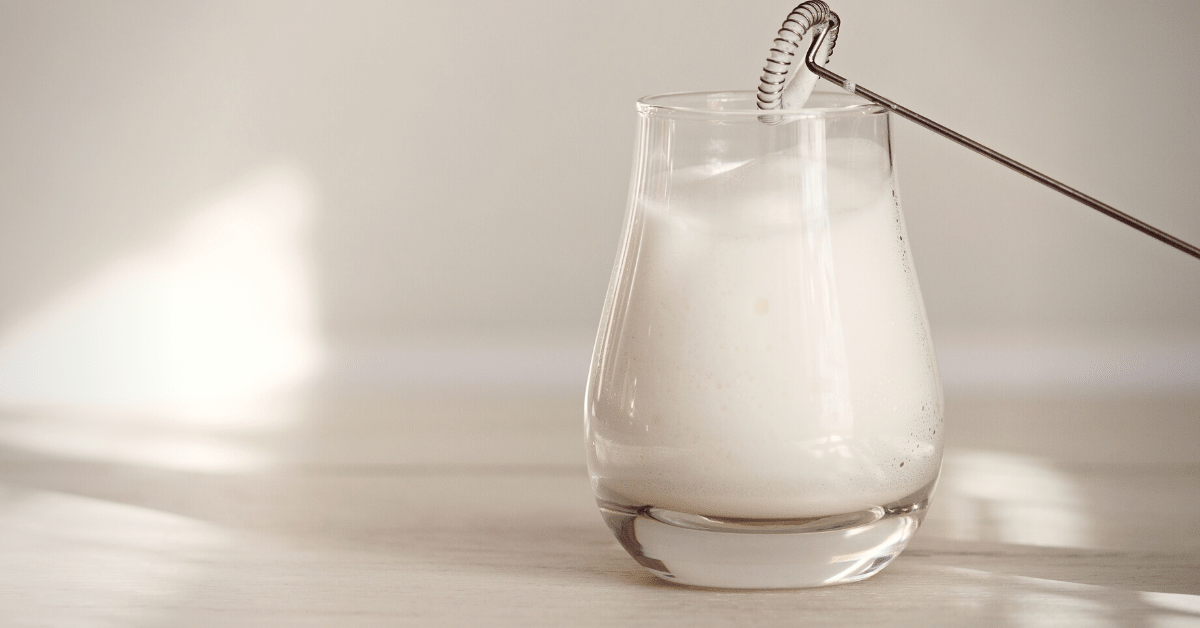
Because of its thick consistency, oat milk will take a bit more time and effort to froth using a hand-held whisk. But the foam you get is actually at par with most other methods mentioned in this article.
The great thing about battery-powered whisks is that most people have them at home. And those who don’t can buy them in their local store.
Using a handheld whisk is no rocket science. Here’s what you need to do:
- Fill up to half a pitcher with oat milk.
- Place the whisk into the milk, with the spiral plate just underneath the surface.
- Move the whisk in clockwise motion first, then switch to vertical. That way, more air can get in to form bubbles.
The only thing that’s left to do is top your espresso with this frothed oat milk.
Use an Electric Mixer
Again, since it’s thick, you can use an electric mixer to froth oat milk. It doesn’t matter whether it’s a handheld or stand mixer, as they both will do the job just as well.
For this method, you’ll need to use a bowl, as you’ll need more room for the mixer to move around. Naturally, it will also require more oat milk.
So if you need just a bit of froth for your small cup of joe, this is not the best option. But if you’re making coffee for the entire household, this is a much faster option.
This method requires using cold oat milk, which you can later heat up in the microwave. For that reason, opt for a bowl that’s microwave-safe.
Here are the instructions:
- Plug in the mixer.
- Pour cold oat milk into a bowl.
- Start mixing by slowly increasing the speed. You want to reach the highest setting, as that will give you the best foam.
- After you reach the desired froth, place the bowl with frothed milk into the microwave to heat it up.
Froth With a Blender
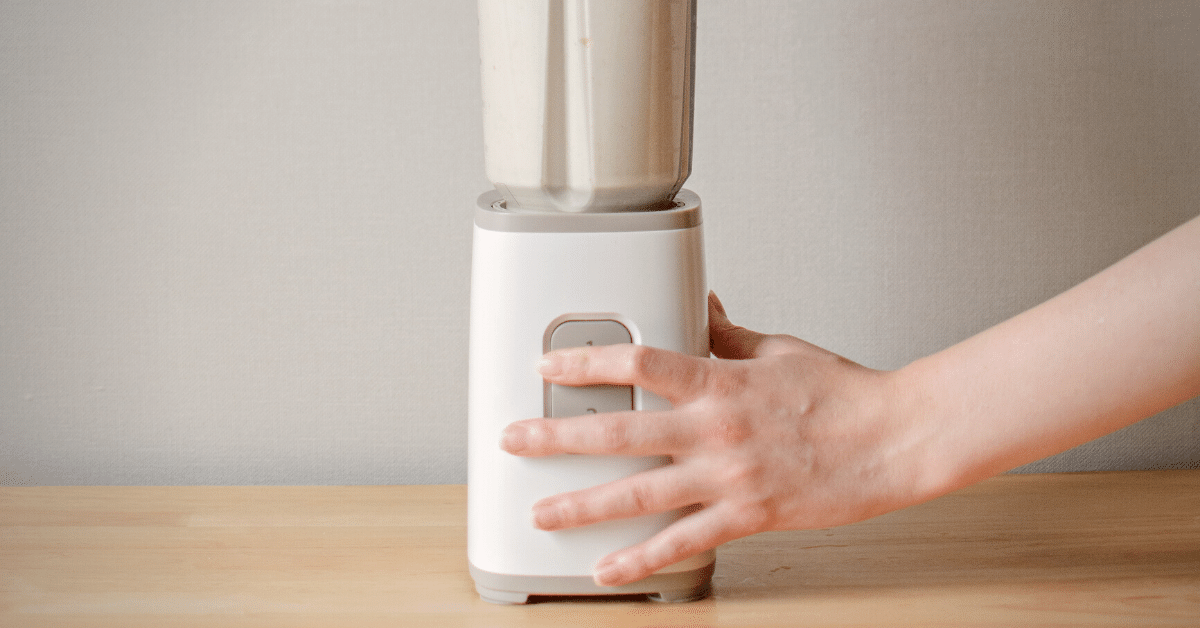
That’s right, you can make foam using a blender.
This is definitely one of the simplest methods, as the only thing you need to do is:
- Add oat milk to the blender.
- Set it on high speed, then start the blender.
And that’s all. Just stop when it reaches the desired froth.
When adding oat milk into the blender, don’t go overboard. You want to leave enough room for foam to expand.
Plus, the less oat milk you add to the blender, the quicker it will froth.
Expert tip: you can also use the food processor to froth oat milk. It will give you the same results as the blender.
Use a Jar
There’s absolutely no tool inside your kitchen that you can use for frothing oat milk?
Think again.
That good old jar sitting in your pantry is perfect for the job.
Well, you won’t get the perfect microfoam like you would with a steam wand. But the final result is decent enough to be called “foam.”
Now, you don’t want to fill the jar too much. Ideally, you want to fill no more than ⅓ of it with oat milk.
Got what you need?
Okay, here’s what you should do:
- Pour cold oat milk into the jar.
- Close the lid. Make sure it’s tight, as you don’t want the content to get spilled.
- Start shaking the jar vigorously. You’ll notice the bubbles forming while doing that. Repeat until you get the desired froth.
It’s always best to go with the largest one you have in your pantry. The larger the jar, the more room there is for oat milk to move around and form bubbles. Plus, the less milk you have inside, the easier it is to shake the jar.
FAQ
Have other questions related to oat milk? I got you covered. Here are the answers to commonly asked questions about the subject.
Can you make cold foam with oat milk?
Yes, you can make a cold foam with oat milk. In fact, that’s what you get when using a blender or a food processor to froth oat milk. Also, if you have a milk frother, it probably has a cold foam option that you can use.
Does oat milk froth better than almond milk?
For plant-based types of milk, both of these products create a nice foam. But between the two, oat milk has a better hold, due to the higher protein content. What’s more, carbs in oat milk make a much creamier foam than the one you get with almond milk.
Can you make latte art with oat milk?
Due to its thick consistency, oat milk can be used for latte art. The final result won’t be as good as it is with dairy milk, but it’s pretty close.
To Sum Things Up
As far as plant-based milk alternatives go, oat milk will give you the best foam for your latte or cappuccino. That’s because oat milk has the optimal balance of fats, proteins, and carbs.
While a steam wand is certainly the best option to froth oat milk, there are other methods you can try at home that will give you similar results. From a blender to a glass jar, there’s certainly something you have at home to use for frothing.
Need a milk pitcher? Check out our list of the best milk frothing pitchers for latte art.

