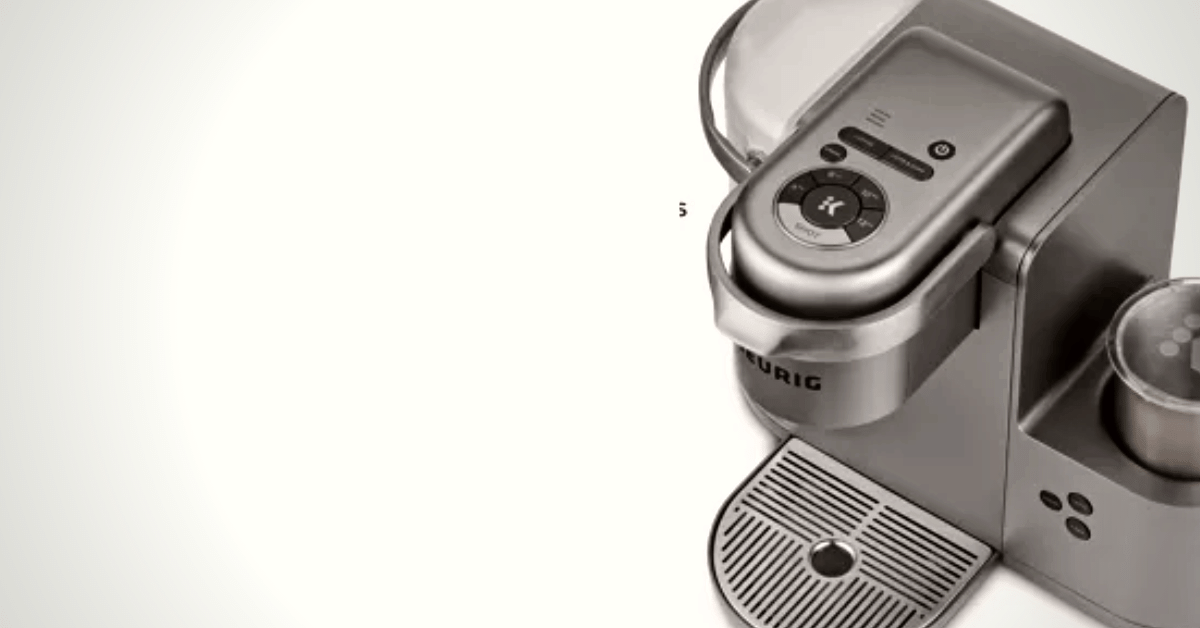
Wondering why is your Keurig flashing lights? Discover what different blinking lights on a Keurig coffee machine mean and how to fix the problems.
If you’ve ever seen your Keurig lighting up like a Christmas tree, that’s not a good sign.
So why is Keurig flashing lights?
Sometimes, the lights are just telling you to add water. Other times, you’ve got bigger problems on your hands.
As someone who’s gone through their fair share of Keurig coffee makers over the years, I’ve learned a thing or two about why Keurig is flashing lights and how to fix those problems.
Here are some of the main Keurig flashing light problems, as well as a walkthrough on how to solve each one!
10 Keurig Flashing Light Problems and How to Solve Them
There’s more than one light on most Keurig machines, and each one requires its own special way to fix the problem.
This guide goes over some common Keurig problems and how to put those blinking lights out (literally)!
Descale Light
When the Keurig descale light starts blinking, it’s probably because it’s time for a cleaning.
I know, I know. That answer involves a bit more work than you might have been hoping for. But the good news is that it won’t involve costly repairs!
To descale your machine, you have to:
- Be sure to turn off your Keurig coffee machine.
- Remove any pods in the machine and throw them away.
- Add a descaling solution to your coffee maker. You can buy the solution directly from Keurig, or you can use a third-party solution.
- Place a cup under the pouring spout.
- Run the brew cycle.
- Dispose of the solution that filters into the cup.
Remember, you should descale your Keurig every three to six months. This helps remove mineral deposits that can clog your machine and cause problems.
Add Water Light
If your Keurig’s add water light doesn’t seem to turn off, this usually indicates a problem with the water tank.
Think leakage or issues with wiring.
The first thing you should do is clean any debris that could block the base of the water tank. Then, readjust the tank to make sure it’s properly locked into place.
If that still doesn’t fix the problem, the water outlet needle might be clogged. To fix it, follow these steps:
- Turn off and unplug your machine.
- Remove the water tank.
- Remove the K cup holder from the machine to gain access to the exit needle.
- Insert a straightened paper clip and press a few times. This should remove any debris lodged in the needle.
- Replace the water tank.
- Turn on the machine.
As long as the issue is fixed, your add water light should have returned to normal.
All Lights On
If all the lights on your machine are turned on, there are a couple of issues you could be dealing with:
- A problem with the outlet needle
- An issue with the carbon filter
To fix both these issues at once, here’s what to do:
- Remove the water filter from the reservoir.
- Put a liquid measuring cup under the pour spout.
- Run a 6-ounce cup-sized brew cycle using only water.
- Make sure that the amount of water that has been collected is the same as the measuring cup.
- If it is the same amount of water, the problem is the carbon filter, and you have to replace it with a new one.
- If the amount of outlet water does not match the amount of prepared water, clean the outlet needle.
Remember, for machines that don’t have a carbon filter, the problem is almost guaranteed to be the outlet needle.
In that case, you’ll need to clean the needle thoroughly in order to solve the issue.
Blue Light Flashing
One of the most common lights you’ll see on a Keurig machine is blue light. This light is typically an alert that tells you that the water tank is very low or empty.
To solve the problem with a blue flashing light, all you need to do is fill the water tank with fresh clean water.
The reason for this is that almost all Keurig coffee makers require a minimum amount of water. If your water level is too low, the machine won’t be able to run a full brew cycle.
NOTE
If you refill the water reservoir and the blue light is still flashing, turn the machine off and wait fifteen seconds. Then, turn it back on. The machine should no longer show the blinking light.
Frother Light Flashing
Some Keurigs have a milk frother. These machines, though great for making milk-based brews, can sometimes get faulty.
If you notice the light at the base of the Keurig frother flicking, just follow these steps:
- Make sure that the whisk is located correctly at the base of the steamer of your machine.
- Check that the frother is firmly attached to the base of the device.
- Make sure you use enough milk in the frother before starting to froth.
Doing those quick steps should fix this problem and get you back in business in no time!
Brew Button Blinking
In normal operations, the brew button blinks red when the coffeemaker is heating up. Then, when you run a brew cycle, the brew button holds a steady red light.
Sometimes, however, the machine keeps blinking the brew button at you.
Generally, this happens because debris like calcium build up or dried coffee grounds get stuck inside the pump or waterline.
To fix the blinking brew button light issue, you need to do the following.
- Turn off and unplug your Keurig machine.
- Then, use a straw to blow air into the distribution line.
- This cleans debris out of the distribution line.
- Run a few brew cycles using only fresh water.
- The coffeemaker should now start brewing without any problem, and the light should stop flashing.
If those steps don’t solve your problems, the issue could also be that you’re trying to brew coffee with an already-used K cup. Or, your K cup might just be positioned funny.
Either way, you can solve this by removing the current K cup and replacing it with a fresh one. Then, run the brew cycle as normal.
The Power Button and Clock Light Blinking
If the power button and clock light blink, there’s usually an internal error going on with the mechanism.
In that case, you’ll need to do the following:
- Turn off and unplug the coffee maker for a few minutes.
- Reconnect the machine to the power.
- Press the power button and see if the issue is resolved.
If the power button is still flashing after following the steps above, it’s best to do a factory reset on the Keurig machine.
Red Light Flashing
The red light flashing occurs on those models that allow for reusable K cups. The problem occurs when the cup has been packed very tightly.
The reason for this is that if you pack a K cup with too much coffee, the water from the machine can’t filter through the grounds.
This makes the machine think it has a blockage in the pipe. Subsequently, a red light will turn on and flash.
To prevent this problem from occurring, the obvious solution is to stop filling the K cup too forcefully. As a general rule of thumb, don’t fill the K cup beyond the marked level.
The maximum level makes it easy for you to know how much coffee you can add to your K Cup before causing problems for the machine.
Add Water, Heating, and the Smallest Cup Size Lights Flashing
On the Classic and K-Elite models, there is a combination of three lights that flash together if the brewer needs to be primed.
The flashing buttons are the added water, heating, and small cup buttons.
When these buttons start to go on the blitz, it means that, for some reason, water can’t get from the water tank to the brewer.
To fix this flickering:
- Turn off and unplug your machine.
- Remove the water tank.
- Clean the water tank with soap and warm water.
If the problem persists, the next step would be to clean the needles. If that still doesn’t work, you’ll want to do a full descale.
The Descale Light Remains on After Descaling
If you’ve already run a descaling cycle and you still see the descale light, you might be having issues with re-fillable K cups.
To fix this problem, remove the K cup and run a brew cycle using only water.
In most cases, that will get the descale light to turn off so you can start using your Keurig coffee machine again.
FAQs About Keurig Flashing Lights
All those blinking lights can easily make your head spin.
To help you out, I’ve put together a quick FAQ on a couple of reasons why your Keurig coffee maker might be flashing lights.
Here’s what else you need to know.
How Do You Reset a Keurig?
The way to reset your Keurig brewer depends a lot on what type of machine you have. However, the most common method is to turn off and unplug the machine. Then, remove the water tank, wait a few minutes, and replace it.
Next, open and close the coffee pod part of the machine. Lastly, plug in the device and turn it back on.
How Do You Clear a Blocked Keurig?
First, remove the drip tray and clean it with soap and water. Then, use a small toothpick to clean the needle of the machine and remove any blockage. Finally, run a descaling cycle with a descaling solution to remove internal blockages in your Keurig’s piping.
How Do You Force Drain a Keurig?
To drain a Keurig, turn off your machine but leave it plugged in. Then, place a cup in the drip tray to catch any water. Then, lift the coffee maker handle to drain the water out of the tank and into the cup.
Wrapping Up
There are a number of different reasons why a Keurig might be flashing lights. However, most of these problems have a solution.
Make sure to pay attention to which light is flashing first. Then, you can follow a few simple steps to get your Keurig working again.
And, if all else fails, you can always give Keurig customer service a ring. They’re more than happy to help you fix any ongoing flashing light issues.
Still struggling with Keurig problems? Check out this Keurig troubleshooting guide to fix some other common issues!


