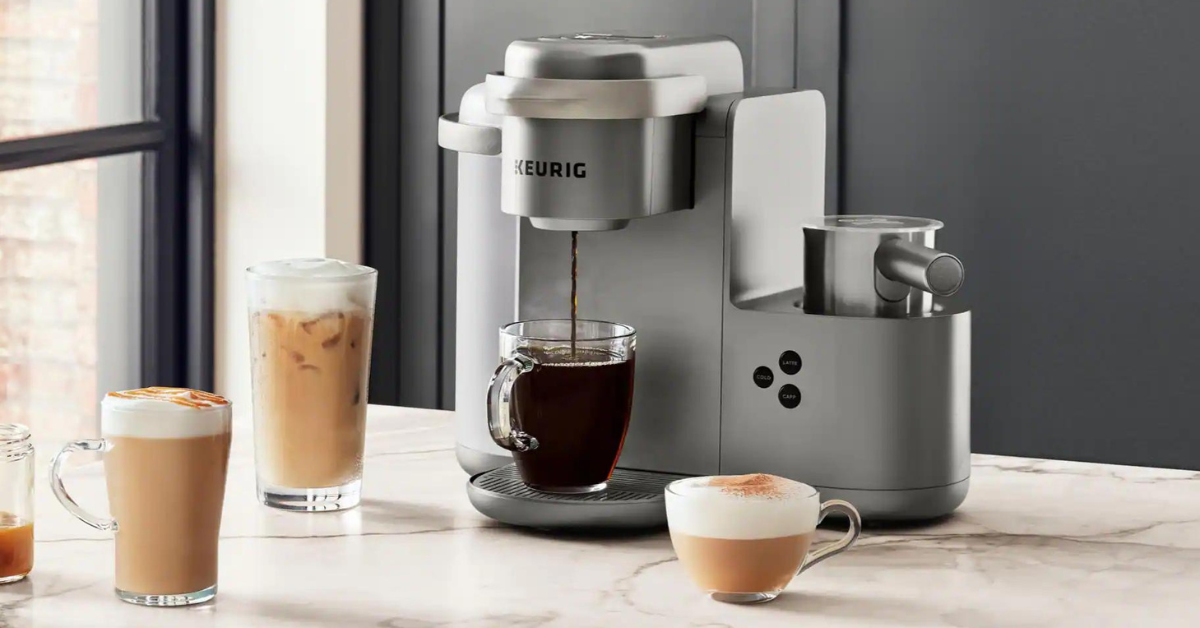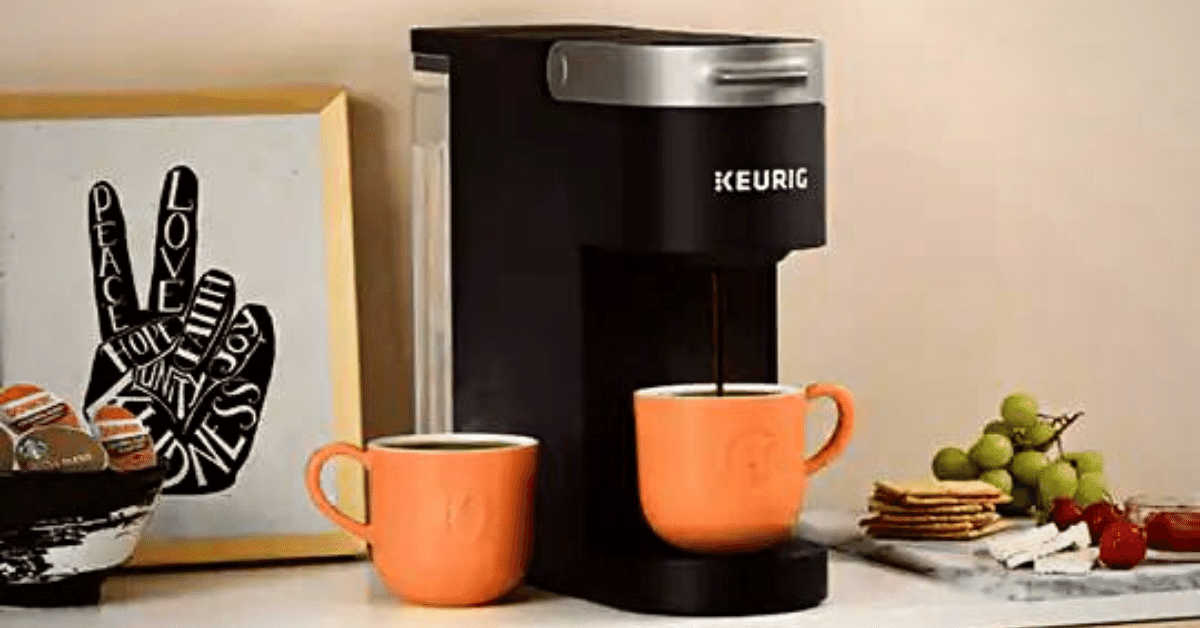
What to do when Keurig keeps saying Add Water? Check out the reasons and solutions to the water problems of Keurig coffee makers.
Just as you’re pressing the brew button, your Keurig coffee maker starts sending an error message.
“Add more water,” it says.
But when you check the reservoir, it’s filled to the brim.
What’s up with that?
You see, there are many reasons why Keurig keeps saying add water.
I know because I’ve been there. But don’t worry, I’ve found answers to each possible reason.
And today, we’ll go over each of them.
Let’s dive in.
8 Reasons Why Keurig Keeps Saying Add Water and How to Fix Them
Interestingly enough, there are more than a few reasons why the Keurig add water light is on.
I will go through all of them and give you a simple solution for each.
The Pump is Broken
I don’t typically think of the worst possible scenario first, but here it is – the pump might be broken.
How did that happen?
Well, who knows? It’s a possibility, especially if you accidentally hit your machine when moving it, for instance.
I’m no expert when it comes to electronics, so I’d never try to fix this on my own. And I don’t recommend you do it either. Especially if your Keurig machine is still under warranty, as it could void it.
It’s best to order a replacement part from the manufacturer and let the authorized service center change it.
IN A NUTSHELL
In most cases, a broken Keurig water pump must be replaced with a new part. If your Keurig is still under warranty, it’s always best to contact the manufacturer directly.
The Filter Needs to Be Replaced
Your Keurig machine comes with a purifying filter, which doesn’t last infinitely. After it’s spent, it no longer filters your water as it should. Not only that, but an old filter can also cause:
- Mineral buildup
- Bacteria contamination
- Filter media breakdown
- Low water pressure
Gross, right?
The filter is actually designated to last a specific number of cycles rather than a length of time.
Therefore, the more you use it, the more often you need to replace the filter.
If you’re brewing coffee every single day, then Keurig recommends not waiting more than 2 months to replace it. But if you don’t brew that regularly, you should change the filter after 60 tank refills.
Luckily, changing a water filter is pretty easy with Keurig.
Here’s what you need to do:
- Soak the new filter in a cup filled with water. Let it sit for about 5 minutes.
- In the meantime, you should take out the old water filter. To do so, pull up the filter holder very gently.
- The filter holder consists of 3 parts. The holder is easy to disassemble, and inside you’ll find the filter that you want to discard.
- After the new water filter was soaked for 5 minutes, take it out and rinse it in the sink. Repeat the same with all the parts of a filter holder.
- Insert the new water filter into the holder and clip the parts together. The filter holder features a dial with all months of the year so that you can set a date for the next change.
- Place the water holder into the designated position inside the water filter, and lock it into place.
IN A NUTSHELL
Your water filter might be way past its date, causing your Keurig to get mixed signals. Try replacing it with a new one, which only takes a few minutes.
The Water Reservoir is Cracked
Not to be the bearer of bad news, but have you checked your Keurig coffee machine for cracks in the water tank?
If someone from your household members wasn’t very gentle when rinsing or refilling, it’s possible that the clean water reservoir got damaged.
Now, I don’t mean that your water tank might be missing half of its body. A hairline crack can also be the reason for its malfunction.
If the crack is very, very tiny, you might be able to use a bit of hot glue to fix the problem. Alternatively, a soldering iron should also do the trick.
However, if you’re unable to fix the crack that way (or the damage is bigger), you’ll have to buy a replacement water tank.
IN A NUTSHELL
A broken water tank can also cause the machine to malfunction. In case of a very small hairline crack, you might be able to fix it yourself. But for anything bigger, you’ll have to replace the whole tank.
The Water Level Sensor Is Not in Place
Ever wondered how Keurig even knows how much water is there in the tank?
Well, it has a small floating device featuring a sensor at the bottom of the water tank. That thing works exactly as the gas level sensor in your car does.
And sometimes, that little thing can also get stuck at the bottom. In that case, it will send the signal that the water level is low, even though it really isn’t.
Quick fix?
Simply press the place where the sensor is stuck, which should be enough to get it back to work.
The Water Tank is Dirty
Hey, I’m not pointing the finger at you – I’m sure we all tend to get lazy with regular maintenance every now and then.
While that’s not the end of the world, it can cause some problems with the machine and also affect the coffee taste and even your health.
A dirty tank can cause a Keurig malfunction. Among other things, it may not register the amount of water in the tank.
Luckily, that’s not a hard issue to fix.
As you might have guessed, what you need to do is clean the tank.
To do that, you should discard the old water first.
Then comes the fun part. Keep in mind that Keurig water tanks aren’t dishwasher-safe, so you’ll have to wash them manually. It’s best to use mild soap and non-abrasive cloth, then rinse it with hot water in the sink.
Before trying to brew again, refill the water tank with fresh water up to the maximum line.
IN A NUTSHELL
Debris and grime can affect the way the machine recognizes the water level in the tank. That’s easily fixed by cleaning the tank thoroughly.
The Water Tank Isn’t Properly Installed
You’re taking out and putting back the tank every time it needs rinsing and refilling. If you’re in a hurry, you might not slide it in its designated position all the way.
If that happens, the sensor on the bottom won’t recognize the tank and the water in it.
If your tank sits at an angle, that’s a clear sign you didn’t position it correctly.
To solve that, simply remove the tank and then put it back in place.
You Are Using Non-Filtered Water
Keurig is a rather sensitive machine when it comes to water. In other words, it hates minerals that can be found in water naturally.
So what can you do?
Simple – stop using unfiltered water.
Tap water is bad for your coffee maker.
Bottled water is not a bad choice as long as it’s not too rich in minerals. But filtered water is a better choice.
Now, you might be wondering – what about distilled water?
It’s clean from all solids and minerals.
Well… There is such a thing as being too clean.
Keurig brewer features a sensor to detect minerals in the water. If there aren’t any, it can show you an error message.
IN A NUTSHELL
You should only use filtered or bottled water in your Keurig. The buildup of minerals inside the machine can cause it to not recognize the water level.
There’s Not Enough Water in the Reservoir
I know what you might be thinking…
But it has happened to me before. I’m 100% sure that I refilled the whole thing just last night. So naturally, there must be enough water to make coffee, right?
Well, it just might happen that I have sneaky household members who drink gallons of coffee early in the morning.
So as I press the brew button, the “not enough water” light starts flashing. And it’s right!
An honest mistake and I definitely apologized to my Keurig for doubting it.
How to Descale Your Keurig
Limescale is the worst enemy of every coffee maker.
Luckily, it’s easily avoidable with regular descaling.
And you’ll be happy to know that descaling the Keurig coffee maker is pretty quick and easy.
The brand recommends using its descaling solution for this.
Theoretically, you could use vinegar, but that could damage the coffee maker in the long run. Personally, I’d stick with the Keurig descaling solution.
Basically, what you need to do is:
- Pour the descaling solution into the Keurig water reservoir,
- Add water up to the maximum line,
- Start the descaling process.
Pretty simple, right?
The only thing that might be slightly more difficult is finding out how to turn on the descaling process.
But that’s why we’re here.
Different models have different ways to activate this mode:
- SMART, Supreme – press and hold the 8oz and 12oz buttons together for 3 seconds, then press the brew button when it starts flashing
- K-Slim, K-Express – press and hold the 8oz and 12oz buttons together for 3 seconds until the descale light turns solid
- K-Elite – run a rinsing brew cycle until you don’t see the add water light anymore
PRO TIP
Remember to discard the water used for descaling and thoroughly clean the tank before refilling.
How to Reset Your Keurig
Whenever your Keurig is behaving differently, the simplest and most commonly used fix is to reset it.
To be honest, it’s not going to fix all Keurig brewer issues. But in most cases, it gets your machine back on track.
However, you might have noticed that the Keurig coffee maker doesn’t have a reset button.
Instead, here are your options:
- Open and close the K-Cup lever. This should reset it back to being “ready to brew.”
- Turn off your Keurig coffee machine and unplug it from the wall. Let it rest for a few hours before plugging it back in.
- Remove the water reservoir and let it rest for half an hour before putting it back. You should do this while the machine is turned off.
As you can see, there’s no order for resetting steps. That’s because it depends on what’s going on with the machine. If unsure, simply try each of these steps.
To Sum Things Up
Keurig is a simple machine. And sometimes, that means it can stop working for the simplest reason.
When the “add more water” light starts blinking, that could mean many things. From a damaged water tank or pump to dirty water and an old filter, there are many reasons for the error message.
And in some cases, it might just be too little water in your tank.
Of course, if none of these solutions work, your best bet is to call customer service. They should be able to instruct you on what to do.
Is water leaking from your Keurig as well? Then check out our article with causes and ways to solve that issue.