Wondering how to fix Keurig not working – all lights on? Jump into our guide and learn how to solve this problem and get your machine working again.
Just when you wanted to make a nice cup of coffee for yourself, your Keurig started to act strange.
Is there anything more annoying in this world?
So, what to do when Keurig not working all lights on?
No need for panic, we can fix it together!
I did a deep dive into Keurig troubleshooting to learn how to fix possible problems, and I’m gonna share it with you today.
Let’s start!
Why Are All Lights On My Keurig ON?

Even the greatest machine can have some hick-ups in their working days. Nothing is perfect, right?
Keurig coffee maker is a pretty reliable partner for the morning routine (read: coffee cup), but don’t be surprised if you face some problems.
Different kinds of lights flashing or a non-responding touchscreen are pretty common situations. But, all lights being steady on (not blinking) isn’t happening very often.
This happens when there’s something wrong with the water pressure in the machine.
Lucky for you, there are just a few possible problems, and all of them can be easily solved.
The Outlet Needle Might Be Clogged
A clogged outlet needle is the most common issue, and this is what you should check first.
The needle pierces the pods, and from a small hole, water comes out into the pod.
But that small hole can easily get clogged. Limescale and coffee particles are great materials for clogging.
This is a quick fix.
First, manually clean the needle:
- Turn off and unplug the Keurig brewer
- Take a paperclip or needle
- Open the lid, and clean the outlet needle with a paperclip (be gentle!)
- Also, clean the small holes at the bottom of the chamber
The second thing you can do is run a descaling process.
It’s super important to regularly descale your coffee machine, especially when the descale light turns on. Although Keurig brewer has a water filter, the limescale still builds up and can cause serious problems.
So, don’t be lazy – take Keurig’s descaling solution (using other descale solutions or white vinegar is not recommended) and run a cleaning cycle! Don’t forget to do a few rinse cycles with fresh water afterward.
You Unclogged It, But The Lights Are Still On – What Now?
So, you unclogged the needle and ran a descaling cycle, but your Keurig is still frozen?
No worries. That can happen from time to time. This happens because the inner electric components still don’t know that the machine is clean. The solution is – the good, old reset.
Unfortunately, Keurig brewer doesn’t have a restart button, but resetting the machine is still quite easy:
- Open and close the K-Cup lever.
- Turn it off and unplug it from the power outlet.
- Remove the water tank.
- Leave it like that for an hour or two.
- Add water to the tank, reattach it, plug the machine into the outlet, and turn the switch on.
You Put Too Much Coffee In The Refillable Pods
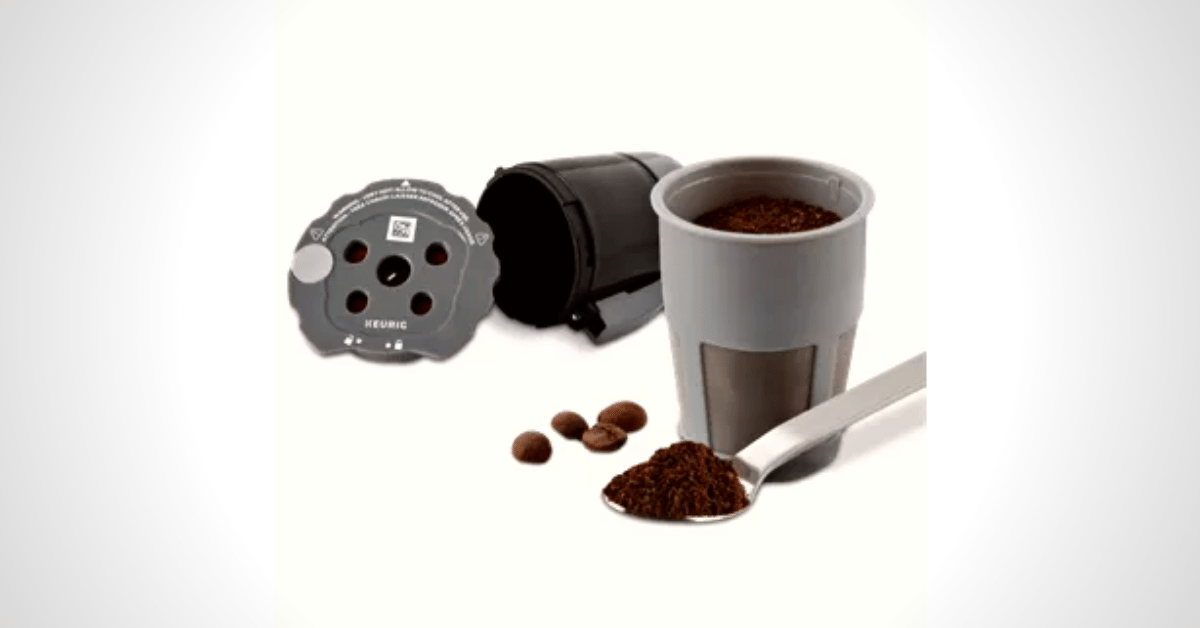
Using refillable K-Cups? Good for you! You’re making a greener choice and polluting our Earth less. Also, this way, you can choose the type of coffee you will put in your coffee pod.
But, one mistake can occur: you use too much coffee. When the refillable K-Cup is overladen with coffee grounds, it becomes too dense for water to get through it.
The solution is simple: try with a smaller amount of coffee ground. Look precisely how much coffee you need for your reusable pods, and even use a scale if you need one.
Keurig Machine Has A Hole In The Tubes
Okay, this is probably the biggest problem you can have, so I saved it for the end. A hole somewhere in the tube inside of the Keurig can stop your machine from working properly.
If you have a hole in the tube, there won’t be enough pressure to pump the water. So, the Keurig brewer won’t work, and it will warn you with all lights on.
Or it will work, but it will be leaking and making a small amount of terrible coffee.
The second outcome is more obvious, and you will know what’s the problem.
But, in our situation, when all the lights are on and not working, we need to figure out on our own if this is the case. So, we need to open the machine and inspect all the tubes.
First, make sure that you turn off and unplug the machine before opening it!
Now, if you spot the hole, you can fix it quickly. All you need is heat-resistant tape. Take a small piece and put it over the hole. With this quick and easy fix, your morning is saved!
Still, a better option is to replace that tube.
NOTE
If you’re not too handy, don’t try to fix the brewer by yourself – contact Keurig Support. If your machine is still under the one-year warranty, they will fix it free of charge or replace it with a new one!
Bottom Line About Keurig Not Working All Lights on
And that is it, folks.
Although Keurig not working can be a pretty stressful situation when you need your coffee, it’s not the end of the world.
There are just a few possible reasons why all the lights are on, and the machine is not brewing, like a clogged needle or an overstuffed reusable pod. But all of those can be easily fixed, so you will start brewing coffee again in no time.
A bigger issue is a possible hole in the tube inside the Keurig coffee machine. That one requires a little bit of knowledge and time to fix it. Or contact Keurig customer service, who will help you fix the problem.
Either way, there’s hope for your beloved coffee maker!
Your Keurig isn’t pumping water from the tank? Before you start freaking out, read our article and find out what can be the problem and how to fix it.

