Is your Keurig touch screen not working? Jump into our guide and find out what could cause this problem and how to fix it on your own.
Looking forward to enjoying your first brew of the day, only to see a blank screen on your Keurig coffee maker.
What does that mean?
And most importantly, how to fix it?
Don’t worry. You’re about to find out. I’ve dealt with the issue before, so I have a few tricks up my sleeve.
Let’s dive in to find out the reason for the Keurig touch screen not working.
3 Ways to Fix the Touch Screen on Your Keurig
I have somewhat of a love-hate relationship with touch screens. They’re usually pretty straightforward to use, and, in the case of coffee makers, navigation is drastically simplified.
But at the same time, they’re more likely to malfunction compared to more basic control panels with LED/LCD displays and buttons.
And that can be quite frustrating, not going to lie.
In many cases, the fix can be quite easy but not instinctive at all, which is the case with the Keurig coffee maker. Here are three ways to fix your Keurig touch screen:
1. Reset the Keurig machine
I guess this method is actually pretty intuitive, as we tend to use reset as a quick fix for practically anything.
And in this case, it can actually work.
Now, there’s no actual RESET button on your Keurig model. Instead, what you need to do is:
- Turn off your Keurig coffee machine and unplug it from the electrical outlet.
- Remove the water tank from its designated position.
- Leave your Keurig machine like that for at least five minutes before plugging it back into the wall.
- Turn the Keurig on.
- Place the water tank back in its designated place.
- Open and close the pod holder.
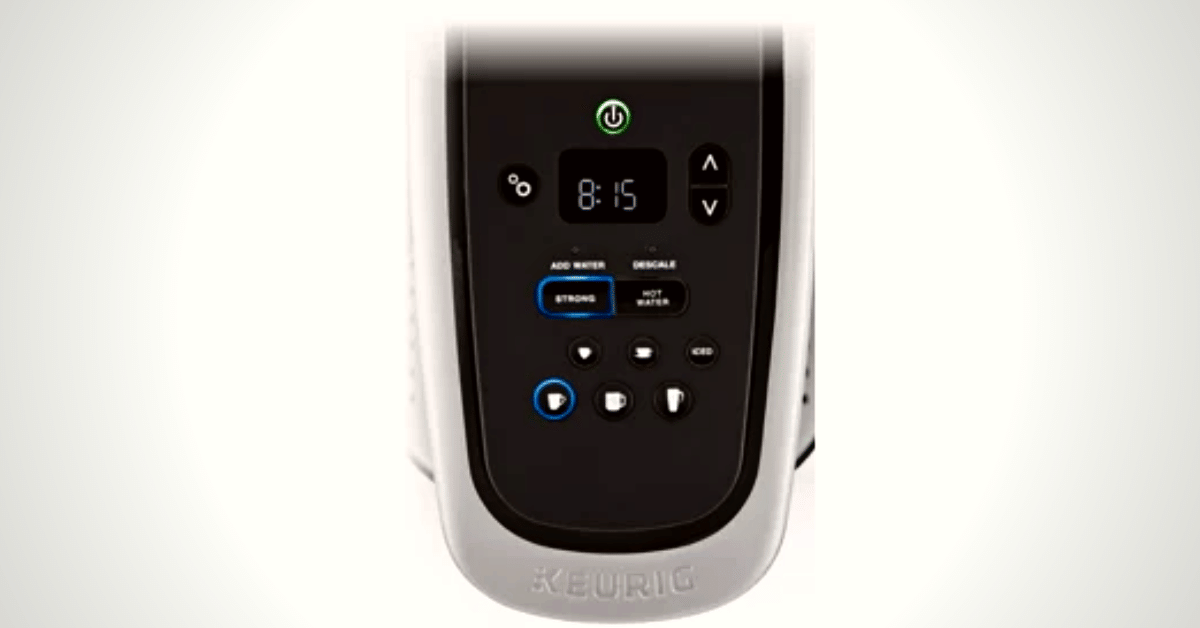
If everything goes okay, your Keurig coffee maker should start displaying a power button at the bottom right part of your screen.
2. Clean the display
Yes, I’m deadly serious about this fix. While it does sound weird, this tip actually worked for so many Keurig 2.0 owners, and it might work for you too.
What’s the catch, you might ask?
Dust consists of small particles. Sometimes, those particles can be so small they’re practically invisible to us. Yet, they can build up on the screen, thus impacting operation.
Now, dust particles can contain, among other things, particles that can damage a touch screen:
- Moisture (be it water or oil)
- Organic material (carbon)
- Minerals
As if that’s not enough, dust particles can be magnetic, depending on their origin. This is yet another reason why dust can cause your touch screen not to work.
So, what can you do? Well, that’s simple. It’s time you give your Keurig screen a good wipe.
The product you’ll be using for cleaning has to be gentle and safe for use on the touch screen. Clorox and Lysol are two products that are recommended by the US EPA for such purposes.
On the other hand, you should avoid:
- Alcohol with a concentration above 70%
- Acids
- Benzin
- Detergents with fluoride
- Methyl and ethyl with a concentration above 35%
As for the cleaning tool, opt for a soft cloth or paper towel. Avoid sponges or, heaven forbid, steel wire.
Alright, now that you have everything ready, do this:
- Turn off the machine, as you’ll be using some kind of disinfectant, which is a liquid, to get that touch screen clean.
- Spray a bit of disinfectant onto a cloth or towel and wipe the touch screen thoroughly. Don’t forget the edges, as that’s the place where most dust ends up being trapped.
- Leave the machine turned off for a minute or two, then turn it on.
3. Run a water-only brew cycle
To be honest, I don’t know why this method works, but many people claim this fixed their Keurig coffee maker problems.
Running a clean cycle is easy, even if the screen is not showing anything. Here’s what you need to do:
- Open the cup pot holder and remove any left K-cup. Then, clean the pot holder with a damp paper towel or a cloth, making sure to avoid needles.
- Close the lid and plug your Keurig coffee machine into the electrical outlet. Don’t forget to add water to the water reservoir.
- Press the bottom right corner of the touch screen, where the power button will appear. It doesn’t matter whether you see it or the screen is completely blank. If you hear the water bubbling up inside the brewer, it’s working.
- Once it stops bubbling, the brewer is ready to brew. At this point, you need to press the Keurig button.
- Open and close the lid as if you were to add a K-cup (except that you aren’t doing that).
- Press the Keurig button again. This should cause the brewer to start dispensing hot water.
- Once that’s complete, open the lid and let the brewer rest for about three minutes.
- Now, unplug your Keurig coffee machine and close the lid. Leave it for a minute before plugging it back and turning it on. After this, you should be able to continue brewing coffee as usual.
Contact Keurig customer service

Not trying to be pessimistic, but sometimes, none of these fixes will actually fix your problem. In that case, there’s only one thing you can do – contact customer service.
The good news is that Keurig’s customer service is actually pretty great. You have three options:
- Call a toll-free number that’s available 24/7
- Connect via live chat
- Send an email
If your Keurig is still covered with a warranty, you might be able to get a replacement in case you’re dealing with a more serious issue.
FAQs About Keurig Touch Screen Not Working
Have other Keurig-related questions? Let’s answer them now! Here’s a short FAQ with all the info you might need.
How long does Keurig last?
Keurig machines typically last between three and five years, maybe more if taken excellent care of it. For a machine at this price range and made of plastic, that’s actually a pretty decent lifespan.
When should you replace your Keurig?
Ideally, you should replace your Keurig coffee machine after three to five years, which is its average lifespan. But in case it needs repair, it’s better to replace it when the cost of repair is high.
Is it worth repairing a Keurig?
That depends on the issue. In most cases, what you’re dealing with is simple to fix and may simply require a replacement of a certain piece.
To Sum Things Up
If your Keurig screen is blank, don’t toss your Keurig brewer in the trash just yet. In most cases, the problem is easy to fix.
Resetting a machine, cleaning the display, and running a clean brew cycle can solve the problem of a blank screen. However, if you can’t fix the issue, customer service is always there to help you.
Your Keurig is shutting down when you’re trying to brew? Here’s our article on the issue with tips on how to solve it.