Buying a Keurig, like any coffee maker, is an investment.
I’m not just talking about finances, either.
I’m talking about an investment into a machine that will pump out coffee you can be proud of for years to come.
And, if it’s years to come you’re looking for, you’ve got to know what the lifespan of your future machine will be.
So, how long do Keurigs last?
Keep reading to find the answer as well as some pro tips on how to increase the lifespan of the machine.
How Long Do Keurigs Last?
Statistics show that the average lifespan of US coffee makers is about ten years. But, several factors can affect that lifespan.
A few of those factors include:
- Your brewing frequency
- How regularly do you clean your coffee maker
- The number of cups of coffee you brew every day
- The type of water you use
- Whether you’re using your machine for commercial or residential purposes
Taking all these factors into consideration, a Keurig coffee maker lasts for an average of 3 to 5 years.
That’s actually longer than other coffee makers in the same price range!
How to Increase the Lifespan of Keurig?
Okay, so we know that Keurigs last roughly three to five years.
But, it can last a bit longer if you take proper care of it.
Let’s take a look at a few ways that you can boost your Keurig’s lifespan.
Clean the Machine Regularly
Cleaning a Keurig coffee maker is not only good for the machine itself but also for you.
That’s because when you don’t clean your machine regularly, it can grow mold and accumulate bacteria. These bacteria and mold aren’t good for Keurig’s performance, and they’re not good for you, either.
On top of that, a clean Keurig coffee machine produces tastier coffee.
That’s because regular quick cleaning of your Keurig can also help remove coffee grounds and mineral build-up inside the machine.
The buildup can affect the taste of your coffee when you let it accumulate inside the machine.
Aside from removing mineral buildup, you also need to clean exit needles. These serve as a passageway for water to pass inside the coffee maker when brewing a cup.
Coffee grounds often get stuck inside these needles and become hard and dry. You can use a paper clip to clean the needles out and keep coffee from building up.
Finally, don’t forget to clean the pod holder. You can use a soft brush to scrub the chamber so you can remove stuck grinds.
Descale
Descaling your Keurig coffee maker every three to six months can also help boost its lifespan. You should do this regardless of whether you typically use filtered, tap, or hard water.
Just remember that if you use hard water, which has more minerals, you should descale more often.
Descaling removes deep-scale buildup inside your Keurig. The buildup can affect the machine’s water pressure, temperature, and flow if not descaled regularly.
Plus, the buildup can make your coffee taste bad.
You don’t want that, do you?
You would need a descaling solution to descale your Keurig coffee maker. Some recommend using white vinegar as an alternative, although the jury’s out on whether this is a good idea or not.
The best descaling product is one sold exclusively by Keurig. It has no odor and is efficient in removing mineral buildup because it contains citric acid.
If you’re using the Keurig descaling solution, follow these steps:
- Turn off your machine and unplug.
- Pour one part water and one part descaling solution into the water reservoir.
- Place your mug below the dispenser. Brew hot water into your cup.
- Pour out water into the sink and replace your mug.
- Repeat the brewing step. Continue doing this until no mixture remains in the reservoir.
- Clean your water reservoir and pour fresh water into it.
- Brew another cup and pour it out. You’re done!
Use & Replace Water Filters
Most Keurig coffee makers have charcoal water filters. Their main purpose is to remove impurities like mineral deposits from the water in the reservoir.
I recommend replacing them every two months or after 60 water tank refills.
The reason for this is that changing your water filters within the recommended time frame helps prolong your Keurig’s life.
But, even if you forget to change your water filter, you can still brew your coffee. It’s just likely to lead to mineral buildup accumulating faster.
And it can affect the taste of your coffee.
As a result, you’ll have to descale your machine a lot more frequently.
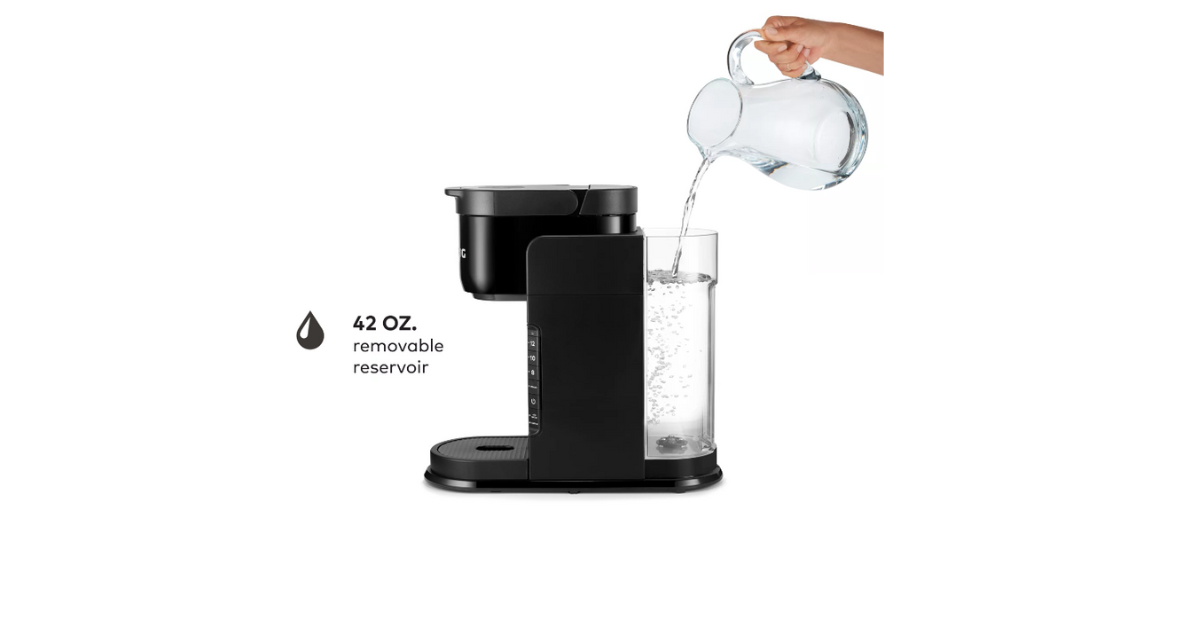
Empty the Water Reservoir
Depending on the Keurig model, there can be two water reservoirs: internal and external.
Models with only an external reservoir include:
- K-Cup or Classic
- Keurig K-Slim Coffee Maker
- Keurig 2.0 and Plus series
- Keurig Rivo System
If you have one of these models, don’t forget to empty the external water reservoir if you’re not using it for a long time. This prevents water from becoming stagnant, which can cause mold growth.
But, if you have Keurig K-Mini Basic, Kuerig K15, or K-Mini Plus models, there’s also an internal reservoir that you have to worry about.
You’ll need to clean this regularly to prevent mold from growing there, too. Follow the steps below for all three models:
- Get a mug and place it on the drip tray. This will catch the draining water.
- If there’s water in the cold reservoir, lift the Keurig’s brewer handle to pour it into the hot water tank. Continue doing this until the cold reservoir is completely drained.
- Press and hold the brew button. This allows water in the hot water tank to drain into the mug for five seconds. Release the button only when no more water is draining.
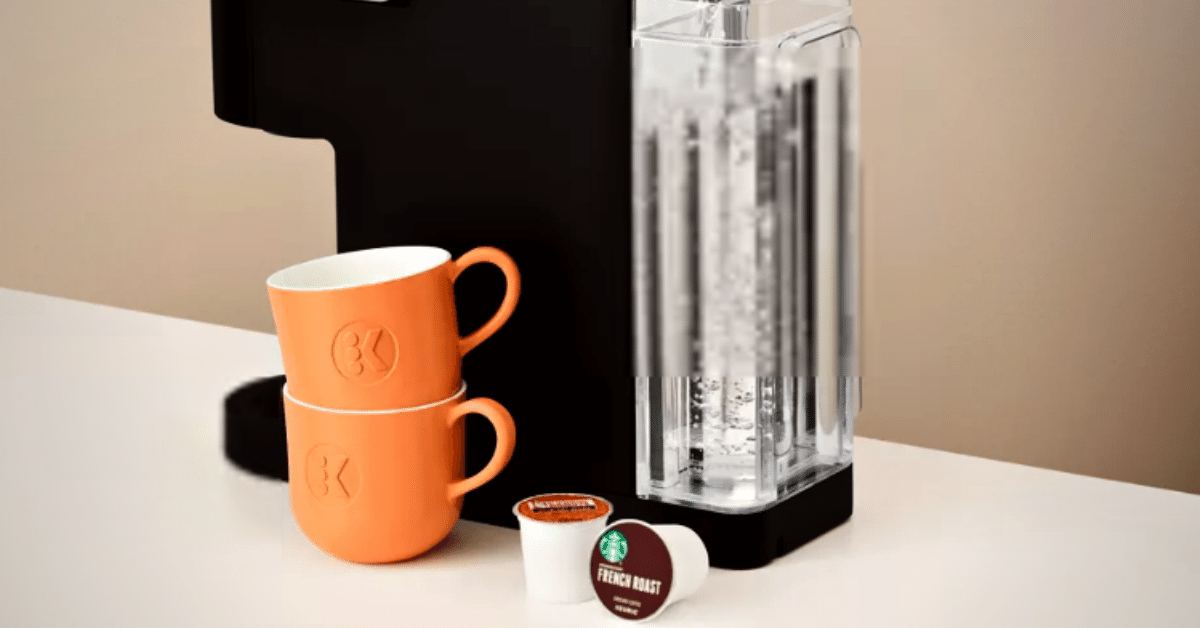
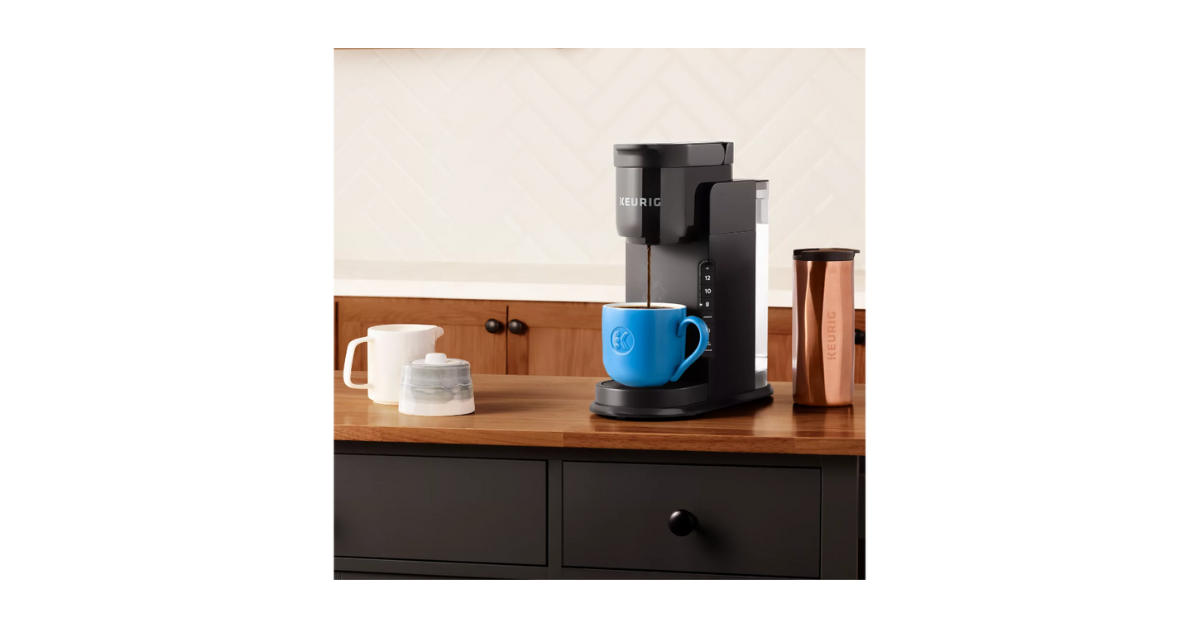
Use Only K-Cups
Keurig recommends using only exclusive K-cups, pods, and other products. Off-brand products said to be compatible have caused malfunctions in Keurig coffee makers.
Don’t forget that using non-Keurig products can also void your warranty. If it turns out the damage to your machine was caused by non-Keurig products, Keurig doesn’t have to honor the warranty.
As a general rule, it’s best to use only the products created by Keurig on your coffee maker. This avoids unwanted and sudden malfunctions or warranty limitations.
Use Distilled Water
Distilled water is one of the best types of water to use with Keurig coffee makers. It’s purified, so it contains fewer minerals.
This is good for your Keurig brewer because it minimizes mineral buildup. And, you don’t have to descale the machine as often as you would when using tap water.
The one exception to this rule is that if you have the newer Keurig 2.0 models, distilled water may be too pure.
This can cause your machine’s sensors to fail. In this case, it’s better to use filtered water or Keurig filters instead.
Cleaning a Keurig Machine
Cleaning a Keurig machine is a major part of helping your Keurig last for a long time.
However, there is a bit of a science to doing it.
Here’s how to properly clean your Keurig:
- The first thing to do is disassemble all the parts. This allows you to clean every aspect thoroughly of your Keurig.
- Remove the water reservoir, K-cup pod holder, lid, and drip tray.
- Wash every part with mild soap and water.
- Rinse out the reservoir and let it dry fully before putting it back on the machine. This prevents lint from sticking to its sides which could affect your coffee.
- Clean the exit and entry needles using a straightened paper clip to loosen coffee grounds stuck inside.
- Dampen a clean cloth and wipe dry your K-cup pod holder and the drip tray.
- Reassemble the coffee maker, and wipe its exterior.
- Next, descale the Keurig using Keurig’s descaling solution, citric acid (2:4 water ratio), or white vinegar (1:1 water ratio).
- Place the mixture inside the water reservoir and press the brew button.
- Drain the mixture into a mug.
- Continue doing this until nothing remains in the water reservoir.
There you go!
You’ve just fully cleaned your Keurig, both inside and out.
How to Know When it’s Time to Replace a Keurig Coffee Maker
No matter how well you take care of your Keurig, at some point or another, it’s going to kick the can.
A few signs that your Keurig has reached the end of its life include:
- Your Keurig is leaking even after trying simple fixes.
- The coffee your machine brews does not come out hot.
- It takes more than minutes for your Keurig to brew coffee.
- Your coffee is too watery.
If you’ve got any of these issues, it’s probably time to trade in your Keurig for a new one.
Final Thoughts
On average, your Keurig should last for somewhere between 3 to 5 years. However, with proper cleaning, K-cup usage, and water usage, you can extend that life a bit.
On top of that, you can take advantage of your machine’s warranty for small fixes to help keep your machine going for even longer.
If you’ve still got lingering questions about your Keurig coffee machine feel free to reach out and ask away!
Or, if you’ve got other pro tips for keeping your Keurig going, let me know as well.
On the other hand, if you’ve got a brand new Keurig and just want to know how to use it, I’ve already got you covered.
Check out this guide to using a Keurig for everything you need to know!