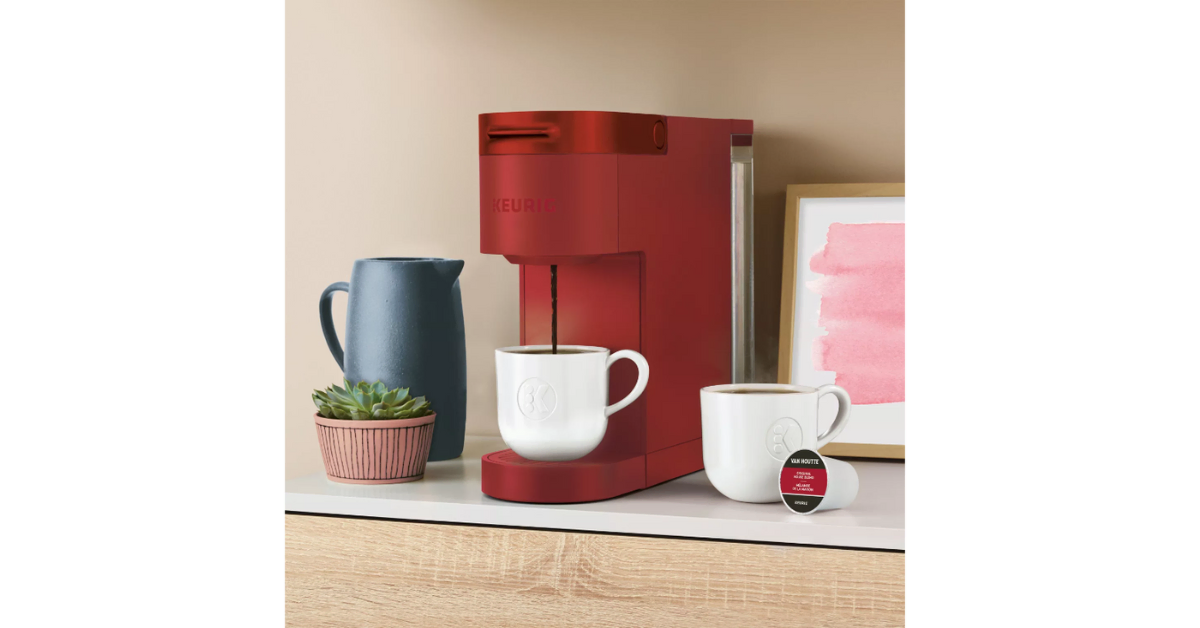
Keurig machines are designed to be simple and easy to work with.
But what happens when you need to completely drain your machine?
It gets a little tricky.
In this article, I’ll explain how to drain a Keurig. I’ll give you two methods, one easy and one a little more hands-on.
But first, there are a few things you need to know about when and why you might want to drain your Keurig.
Let’s jump in!
Why Do You Need to Drain Your Keurig?
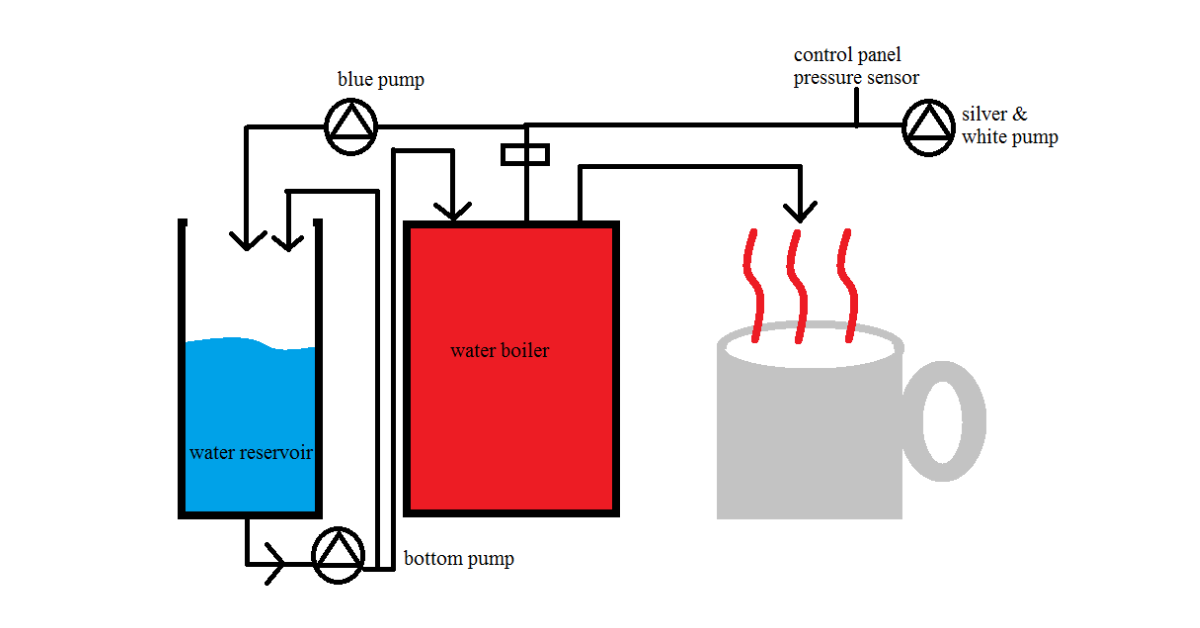
First thing’s first: most Keurig machines actually have two water reservoirs.
The first one is the cold water reservoir. That’s the one on the outside of the coffee maker that you fill up before brewing coffee.
The second one is the hot water reservoir. The hot water reservoir is on the inside of your machine. It’s the tank that heats up your water while you brew.
IMPORTANT
Keurig says that you cannot drain the internal hot water tank. However, there are some workarounds that will let you drain it if you really need to.
So, why might you need to drain the internal hot water tank?
You might need to drain your Keurig coffee maker if you don’t plan on using it for a long time. I’m thinking like a month or longer.
Or maybe you’re moving across the country and don’t want any internal leakage while you travel.
Or you’re getting rid of an older Keurig and donating or selling it.
All those scenarios might call for you to drain your Keurig machine.
How to Drain a Keurig?
First off, you’ll need to drain the cold water reservoir. If you have a removable cold water reservoir, then it’s as easy as removing the tank and dumping the water out.
If you don’t have a removable external reservoir on your machine, all you have to do is lift and close the lid to pull water from the cold tank into the hot tank.
REMEMBER
You can store your Keurig coffee maker with water in the hot water tank. You just need to be sure your machine will not freeze. If the water in the hot water tank freezes, you run the risk of damaging your Keurig.
Some machines like the Keurig Mini, Mini Plus, and K15 don’t have internal reservoirs. That makes draining them even easier. All you have to do is drain the outer reservoir.
Draining Keurig Without Disassembly
Okay, I have to say this upfront:
Trying these methods will almost certainly invalidate your warranty.
Keurig machines with an internal reservoir aren’t meant to be drained. But there are still ways to do it.
Here’s one that has the best results:
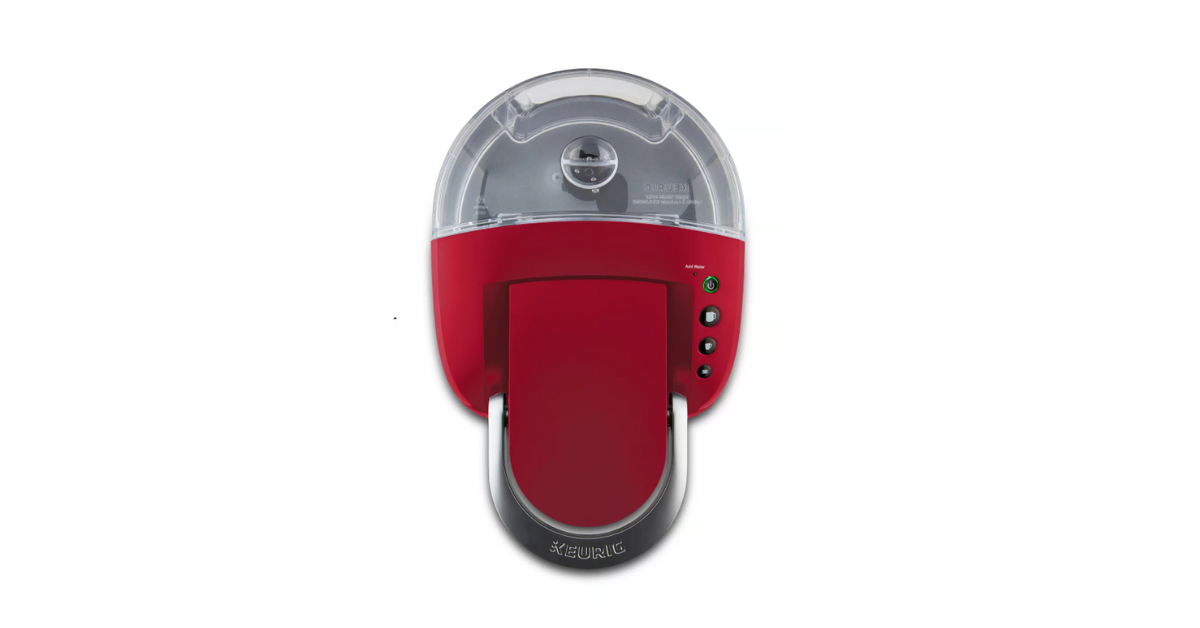
- Empty the cold water reservoir and raise the float disk. With the cold water tank empty, you’ll notice a disk at the bottom. Reach into the tank and raise this disk as far as you can and give it a little push, so it stays there. This ensures the machine will operate as if the reservoir was full.
- Press the brew button. Put a mug underneath the spout and press brew (make sure the is no K cup pod left in the holder). Your machine will use the rest of the water in the hot water tank, and in a minute or so, it will drain into the mug.
- Repeat until you see a PRIME signal. The PRIME message indicates that the internal hot water tank is empty and needs to be refilled.
From my research, this seems to be the most effective and simplest method for draining a Keurig brewer.
There aren’t any stories of people damaging their machines. So it’s a safe bet that this method will work. Even if Keurig says not to drain the hot water tank.
How to Drain a Keurig 1.0 by Disassembly
Disassembling your Keurig coffee machine will most definitely invalidate your warranty. So continue cautiously.
But there is a way to drain the internal tank by disassembling your machine. Now, you don’t need to take apart the entire machine for this to work, just one panel.
For this method, you’ll need your Keurig manual.
Why do you need the manual? Because it tells you where the hose is and which part of the machine you’ll need to disassemble.
The internal Keurig water reservoir is connected to the outer tank by a hose. You can find the hose, disconnect it, and let the inner tank drain.
Here’s how:
- Check the manual to find the hose. Your manual will tell you where the hose is. Usually, you’ll have to remove the bottom plate of your machine to access the hose. But some machines have access through a side panel.
- Remove the panel and disconnect the hose. The hose will be white and will run from the outer tank into the inner one. Disconnect the side that attaches to the outer tank.
- Let the water drain from the inner tank. Put the disconnected end of the hose into a cup and let the water drain. It may take a few minutes for the tank to completely empty.
- Reconnect the hose and replace the panel. After all the water is gone from the inner tank, you can reconnect the hose and replace the panel. Then you’re ready to store your Keurig coffee maker.
How to Drain a Keurig 2.0 by Disassembly
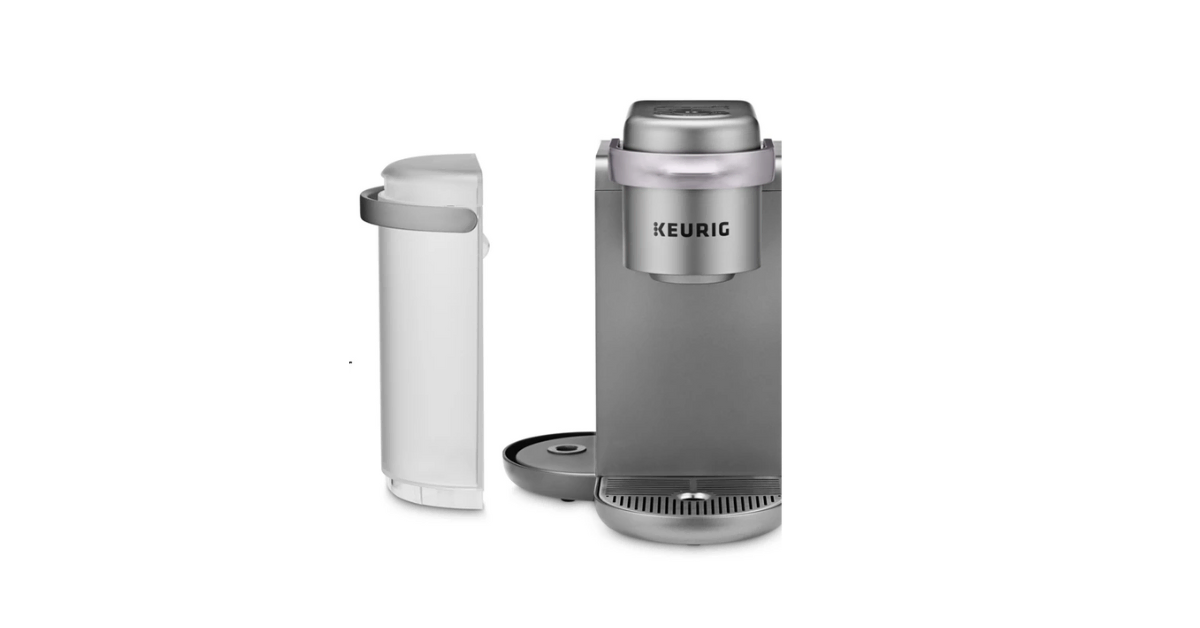
You can’t access the inner water tank from the bottom or side in a Keurig 2.0 machine.
Instead, you have to go through the top.
It’s a little more involved but still possible.
Here’s how to do it:
- Remove the screws near the top handle. There are two screws you need to remove so you can take off the top section of your machine.
- Remove the top of the machine. With the screws loosened, gently pull up and out on the top of the machine. This will reveal the inner tubing of your machine.
- Remove the tubing from the reservoir. Gently shake loose the two tubes that come out of the top of the internal reservoir. Keep these handy, you’ll need them to put your machine back together.
- Turn the machine upside down and let the water drain. It’s best to do this over a sink. Simply pick up the machine and turn it over. Let all the water drain from the tank.
- Reassemble your machine. Put the tubes back in place. Then realign the top of the machine. Finish by tightening the two screws.
How Often Do You Need to Drain Your Keurig?
The reality is that you don’t actually need to drain the internal hot water tank. Emptying the cold water reservoir is usually sufficient.
You should drain the cold water tank each time you plan on taking an extended break from your coffee maker. Think 1-2 weeks.
If you don’t drain your machine, you run the risk of mold growth.
With an extended break from your machine, you should run 1-2 cleansing cycles before brewing a cup of coffee.
This will clean out the insides of your machine and make your first cup taste a whole lot better.
You really only need to drain the hot water tank when you plan on leaving your Keurig for a long time (like a month or longer).
Or if you plan on storing your Keurig in a place that gets below freezing.
You might also want to drain the hot water tank if you’re traveling with your machine and don’t want to risk it leaking.
Conclusion
Now we know that Keurig machines usually have two water tanks: the external cold water reservoir and the internal hot water reservoir.
Draining the outer tank is easy. Just dump out the water.
Draining the internal tank is a little harder but still possible. But it isn’t recommended by Keurig.
You either have to fiddle with the float disk and then press brew or take off a panel and disconnect the hose.
Either way, you’re definitely able to fully drain water from the internal hot water tank.
It’s best to totally drain your Keurig coffee maker if you plan on taking an extended break from it.
Happy brewing!
Having trouble with your Keurig? Check out our article on how to troubleshoot your Keurig machine!

