Is your Keurig not making a full cup of coffee? Jump into our guide and find out what could cause this problem and how to fix it yourself.
You were looking forward to a big cup of coffee, only to realize your Keurig deprived you of that?
But why is Keurig not making a full cup?
Well, there’s more than just one reason for that.
But don’t worry. I’ve done some research and made a step-by-step explanation of each to make your job easier.
Let’s jump straight to the point.
Why Is Your Keurig Not Making a Full Cup of Coffee?
There are a few reasons why your Keurig coffee maker is not making a full cup.
And, surprisingly, all are related to maintenance.
In this section, we’ll talk about every possible scenario and what you can do to fix the problem.
There’s a buildup around the water tank valve
Water is rich in minerals such as calcium and magnesium, which are responsible for that distinct taste we love. However, those minerals tend to deposit onto the machine, especially around the water tank valve.
What the buildup does is limit the amount of water passing through the valve. And for that reason, your Keurig coffee maker is not pulling enough water for a full cup.
Luckily, that’s a rather easy fix.
Here’s what you need to do:
- Remove the water tank and empty it out in the sink. Take the water filter holder out.
- Flip over the water reservoir and locate the nozzle with the spring. Grab a thin pencil and push the spring down. If it moves up and down easily, then that part is working fine.
- Now, put the water tank back in its designated place. Fill it with water for about three inches.
- Grab a turkey baster and collect a bit of water from the tank. Squirt the amount into the top side of the nozzle, right there where the water leaves the tank.
- Repeat the step a few times. If there’s any buildup, it should start coming out on the surface.
- To make sure you got it all, try running a brewing cycle and measuring the amount of water dispensed. If it’s the same as the selected cup size, you solved the issue.
The needle is clogged
The brewing mechanism of a Keurig machine is pretty clever. It uses needles to pierce the K-cup, then passes water through it.
Now, when the needles pierce the capsule, some of the coffee grounds can get inside the needles. And once they dry out, the coffee ground will harden and block the water flow. This can also result in your machine dispensing less water than needed.
This step is easy to do at home, and all you need is a paper clip.
Here’s what you need to do:
- Turn the Keurig coffee brewer off, then unplug it from the electric outlet. Remove the water tank and take out the pod holder.
- Grab the top part of the pod holder with one hand and the funnel with the other one. Then, pull the two parts to separate them.
- Take a paper clip and straighten the end part. Insert that part into the exit needle at the bottom of the pod holder.
- Swirl it around for about half a minute to allow any clog inside to loosen up.
- When you’re done cleaning, rinse the pod holder and funnel in the sink. Set aside to dry.
- Now, lift the handle on your Keurig brewer to find the entrance needle. You can find it on the underside of the top part of the Keurig.
- Use the paper clip in the same way to get rid of grime inside the entrance needle.
- Put the funnel back into the pot holder. Then, place the pot holder back in its designated place.
- Run a few cycles with just water to ensure the needles are properly cleaned.
There are internal blocks
Mineral buildup is a problem not just for the water tank but any part of the machine water passes through.
But unlike the water tank, you don’t have direct access to all the other parts of the machine to clean the deposit manually. But what you can do is run a descaling cycle to get rid of the debris and limescale.
In fact, you should be descaling your machine on a regular basis anyway. Depending on how often you use it and if you’re using hard water, descaling should be done every two or three months.
Keurig strongly suggests using the brand’s descaling solution only. And I definitely recommend sticking with a Keurig descaling solution, as others (such as white vinegar) might be too harsh for the machine.
Here’s what you need to do:
- To descale a Keurig, you simply need to run a brew cycle with the solution but without a K-cup in place.
- Repeat this until you run through the entire descaling solution.
- Remove the water tank, rinse and refill it with fresh water in the sink. Place it back onto the machine.
- Run a brewing cycle again with clean water (without a K-cup in place) to ensure there’s no solution left in the coffee machine.
FAQs About Keurig Not Making a Full Cup
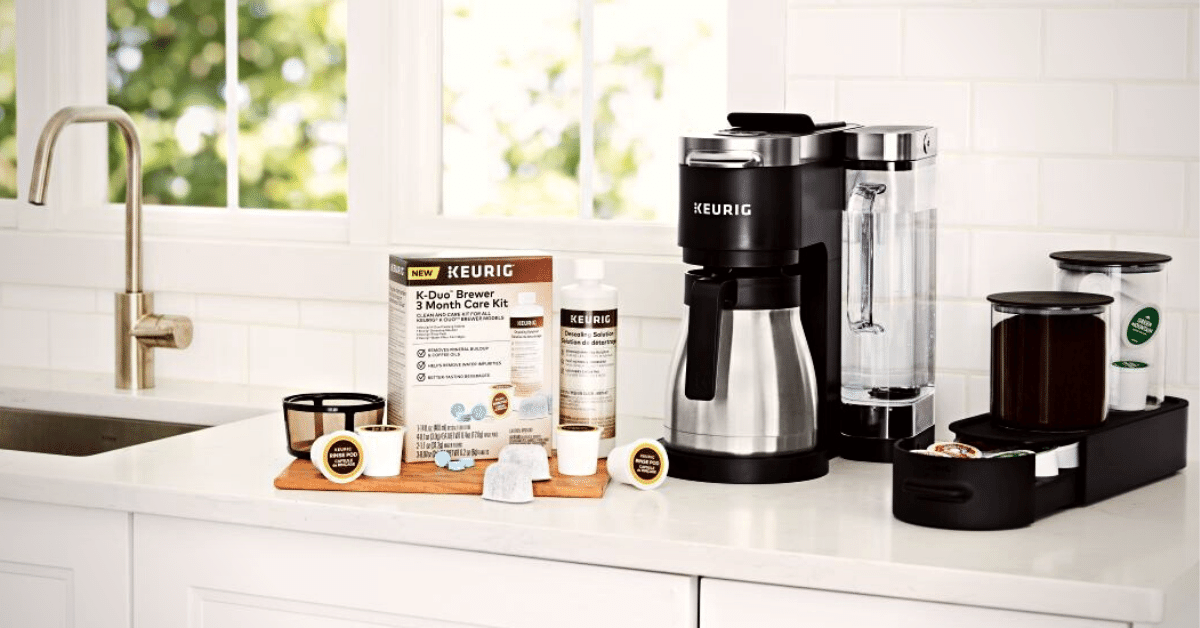
Still have questions regarding a Keurig machine?
Here’s a short FAQ with some answers you might need.
How do I manually reset my Keurig?
That depends on the machine. To reset a Keurig 2.0, you need to remove the water tank and let the machine rest for a while. Then, put the tank back on and turn on the machine. Older machines involve pressing buttons simultaneously, which should be stated in the manual.
How do I reset my Keurig cup size?
A 6-ounce cup is the standard size for a Keurig coffee maker. To reset the cup size, you need to press and hold the 6-oz button for three seconds. The light will turn from blinking to solid, indicating a reset.
How long should a Keurig last?
Keurig machines are affordable, so they’re not very known for longevity. Still, with adequate maintenance, your Keurig can last for a good five years or more.
To Sum Things Up
In case your Keurig coffee machine is not dispensing enough water, then there might be a few different issues involved.
Either there’s a mineral deposit somewhere inside the machine, or the piercing needles are clogged with coffee grounds.
In any case, regular maintenance is the best way to avoid this issue from happening.
Does your Keurig keep asking you to add water? Here’s our guide on how to solve this issue.

