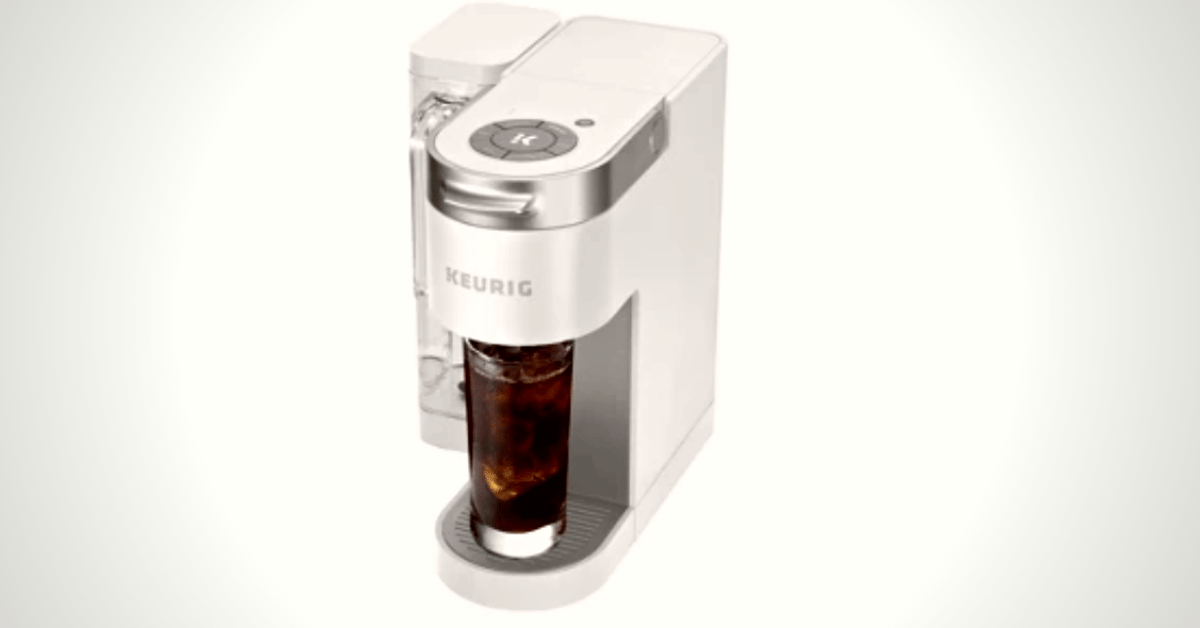
Wondering how to descale Keurig Supreme? Jump into our guide and find out which steps you need to take to clean your coffee maker from limescale.
Did a little blue descale light on your Keurig Supreme single-serve coffee machine start flashing?
The time has come: you need to descale your brewer. But you don’t have a clue what to do.
No worries, my friend!
Stay with me, and I’ll tell you how to descale Keurig Supreme step by step. I do it regularly with my coffee machine, so I also got a few helpful tips for you.
Well, let’s not waste any more time and get to work!
Why Is Descaling Your Keurig Regularly So Important?
Descaling your Keurig coffee maker is a boring task (at least for me), but it needs to be done from time to time. To be precise, every 3 months.
Keeping your coffee maker nice and clean is a must if you don’t want to shorten its lifespan. If you maintain it properly, it will deliver you delicious cups of brew for years and years.
You must be asking yourself: what kind of dirt can get inside the closed water system?
Here’s the thing: water contains different minerals like calcium. The more minerals in the water, “the harder” the water is. Those minerals slowly build up inside your coffee machine and form limescale.
Limescale buildups are a persistent enemy.
Here’s why:
Limescale can seriously damage your Keurig brewer. Those nasty buildups can cause you problems, clog your machine, and hamper its work. It can even permanently damage some of the parts.
Also, some particles of that limescale will inevitably end up in your cup. Limescale isn’t toxic for humans. But, in combination with high temperatures and moisture, it’s a coffee-making incubator for developing fungi and bacteria. Yuck!
Now that you know the gross details, it’s time to stop procrastinating and clean your Keurig Supreme!
How To Descale The Keurig Supreme Coffee Maker?
Keurig descale isn’t a difficult task. You just have to follow my instructions. The steps are the same for all K-Supreme models.
IMPORTANT NOTE
I strongly recommend you use Keurig Descaling Solution. Some other descaling solutions or white vinegar can be too aggressive for Keurig’s interior. So, better play safe, and use their original product. Also, it doesn’t have a strong and unpleasant smell, so your house won’t smell like vinegar for a week.
Now, when you’re ready, follow these steps:
- Prepare your Keurig brewer for the process. Empty and clean the water tank. If you have a charcoal filter, don’t forget to remove it, or it’ll be ruined. Also, check if you removed the used K-Cup from the last brewing.
- Descaling solution. Follow the instructions on the bottle. In a nutshell: pour the descaling solution into the water tank. The solution should be diluted with fresh water. The ratio should be 1:1, so you can use an empty solution bottle and measure exactly the same amount of water.
- Start the descaling process. Put a large cup (at least 12oz) under the coffee spout. Your machine should be plugged in but powered off. Press together and hold 8oz and 12oz cup-size buttons. Hold them for 3 seconds. Then, the “Descale” light will turn on. Next, the “Brew” button will start flashing. That’s your sign. Press it, and the descaling cycle will start.
- Descaling cycle. Keurig Supreme will run hot, descale liquid, 12oz at the time. Keep your eyes on the mug because you’ll have to empty it. You will repeat this action until the tank is completely empty. In the end, the “Add water” light will start flashing.
- Rinse the machine. Remove the water reservoir and pour the fresh water all the way up. When you put it back into place, the “Brew” button will start flashing. Press it, and the rinsing process will start. Just like in the descaling cycle, you’ll have to empty the mug every 12oz, so pay attention. Repeat this until all the lights on the brewer turn off.
The descaling process is over, and your Keurig is again ready for use. Now, make yourself a cup of coffee, you deserve it!
How To Take Care Of Your Keurig And Keep It In A Good Condition?
Descaling isn’t the only thing you should do for your Keurig. Just like with living organisms, every part of the “body” must be healthy so it can function well. So, other parts of Keurig also need attention and care.
Quick reminder: Whenever you mess around with your coffee maker, disassemble or clean it, make sure it’s unplugged. You can never be too careful when you’re messing with electric appliances!
- A charcoal water filter is a big helper since it purifies the water. So, make sure you replace it every now and then. How often you should do it depends on your water, but once in 2 months is optimal.
- Using filtered water can also be a smart move and noticeably slow down the making of limescale.
- The outlet needle is also a delicate part. It pierces the K-Cup and, thru the small hole, pumps water into the pod. That small hole can easily get clogged with coffee ground particles and minerals from water. You can probably guess that it can cause a serious problem. So, once in a while, check the outlet needle, and if there’s a need, unclog it with a paperclip or needle.
- Don’t forget the removable parts, like the water reservoir. You can wash those with warm water and dishwashing detergent. Rinse them thoroughly and dry them with a dry cloth.
This may sound like a lot of responsibility, but it really isn’t. Most of this stuff you don’t often do. And what is that compared to years of nicely brewed coffee?
FAQs About How To Descale Keurig Supreme
Do you still have some unanswered questions? Keep on reading! We’re going to talk about a few more common problems that people are asking about.
How Do I Turn Off The Descale Light On My Keurig K Supreme Plus?
If this is the situation, your Keurig machine needs a reset. Open and close the K-Cup lid, remove the water tank, turn it off, and unplug it from the power outlet. Leave it like that to rest for an hour or two. Plug it in and turn it on. It should normally work after this.
Why Is The Descaling Light Still On After Descaling?
This seems to be a frequent problem with K-Supreme models. The descaling process is completely over, but the electronic software doesn’t get it. So, give it a little restart, and everything will be fine. Also, check other parts, like the outlet needle or tubes, for any disturbances.
How Long Does It Take To Descale A Keurig?
The whole descaling process takes about 45 minutes. And you need to pay attention and participate in that process. I know it sounds like a lot, but considering you have to do it only once in 3 months, it’s not that bad.
Wrap-up
And there you have it:
Descaling your Keurig Supreme coffee maker is mandatory if you want it to work without any hiccups. Limescale can seriously damage your machine, so it’s a smart move to give it a nice descaling process once every 3 months.
If you take care of your baby properly, it will brew your perfect cup of joe for many, many years.
Did you notice some water leaking from your Keurig? Stay calm, we have easy solutions on how to fix your favorite coffee maker.

