Does your Keurig descale light stay on? Jump into our guide and find out how to fix this problem and use your machine again normally.
Descale light on your Keurig is illuminated?
While running a descaling cycle seems like a suitable solution for this problem, that’s not always the case.
In fact, there could be several other reasons why Keurig descale light stays on.
But whatever the case, you can solve the problem. In this article, we’ll go over every possible issue and how you can fix it.
Let’s dive straight in.
Why Does the Descale Light On Your Keurig Stay On?
Descale light is a pretty neat feature, as it helps you stay on track with regular maintenance. As you probably know, water contains certain minerals, which remain as residue once the water turns into vapor.
That white, chalky residue, also known as limescale, can affect the performance of your machine. And if you let it deposit for too long, it can seriously damage your Keurig coffee maker.
Now, that’s easy to avoid if the machine alerts you when it’s time for descaling. So when you see the descaling light illuminate steadily, then your Keurig is in need of dire limescale cleaning.
What to Do When the Keurig Light Stays On?
But what if you descaled your Keurig machine, yet the light is still illuminated?
In that case, something else might be going on. In fact, there are several possible issues causing the descaling light to stay on.
Needles may be clogged
As you already know, Keurig works on a pretty straightforward principle:
First, it punctures a hole at the top of the K-cup, allowing the hot water to pass down through the coffee grounds. Then, it punctures a hole at the bottom as well so that the drink can flow into your cup.
It’s a relatively foolproof mechanism, but sometimes, coffee particles can get inside the needle. And once they dry out, they can create a puck that clogs down the water flow.
Now, your Keurig won’t know where the issue is. It will only register that the water is not getting out from the machine as it should. And given that limescale is typically the main cause for that, it makes sense why the descale light is on.
So, if descaling didn’t fix the issue, the next thing you should do is clean the needles. If you own a Keurig 2.0 model, it comes with a neat needle-cleaning tool that makes your job rather easy.
Here’s what you need to do:
- Turn off your Keurig machine and unplug it from the wall outlet.
- Fill the needle-cleaning tool with water.
- Open the brew head and place the tool into the K-cup holder. The arrows on the ring should be pointing towards you, while the green power button icon is on the right side.
- Close down the lever, then open it. Repeat the same thing five more times. This should get rid of any coffee residue, which you’ll see inside the cleaning tool.
- To ensure the needles are clean, run the water cycle a couple of times.
If you own a Keurig 1.0, then you won’t be able to use this tool. But a paper clip will do the trick. In fact, you can use the paper clip to unclog a 2.0 model in case you’ve lost the original tool.
In that case, do this:
- Make sure that your Keurig is turned off and unplugged before trying this. Lift the handle on the brew head to open the K-cup holder. The entrance needle will be located on the underside of the lid.
- Straighten the end of the paper clip and insert it into openings on both sides of the entrance needle. Give it a good swirl to ensure you get out all the dirt.
- Take the pod holder out and remove the funnel by pulling it apart.
- Flip the pod holder upside down and insert the paper clip into the needle, moving it around at the same time to remove the grime.
- Rinse the parts before assembling them back together and into the Keurig.
- Run a couple of brews with water only to ensure you got all the buildup out.
Pods are overfilled
Do you use reusable K-cups?
They’re great on so many levels, especially because you can add more or less coffee, depending on how strong you like your java.
However, you can easily fill them up too much. And with coffee grounds packed down, water will struggle to get through. And as we already established – if there’s a problem with water flow, the descale light will pop up.
Luckily, that’s a problem that’s easily solved. Simply avoid filling K-cups to the brim and packing down the coffee ground in order to fit more.
Clogged Tubes
If none of the solutions above worked, then something may be stuck inside the tubes. You’d be surprised how even air bubbles can cause blockage in water flow.
This is also a rather simple problem to solve.
Here’s what you should do:
- Turn off the Keurig brewer and unplug it from the electrical outlet.
- Take out all the removable parts – water reservoir, filter, drip tray, and a K-cup in case you left it inside.
- Hold the coffee maker directly above the sink, then give it a few pats on the sides. If air or dirt got somehow stuck inside the tubes, this should be more than enough to get them moving.
- Run a few cycles with clean water only to ensure you got rid of whatever was blocking the water flow.
Your Keurig is malfunctioning
Did nothing work so far?
In that case, there’s nothing else for you to do but contact customer support.
If your Keurig is still covered by a warranty, they might be able to replace your machine with another one in case of a manufacturing defect.
How to descale a Keurig machine?
If the descale light on your Keurig is steadily illuminated, then descaling your machine is the first thing you should do.
But how exactly does one do that?
You’ll be relieved to know that Keurig is rather easy to descale. The process is pretty much the same for all Keurig models, except for the button they’re using to start the cycle.
Here’s how to descale your Keurig:
- With your machine turned off, remove the water tank and empty it in the sink.
- Take out the water filter inside the tank, as well as the leftover coffee pod from the holder.
- Add the entire bottle of Keurig descaling solution into the empty water tank, then add water until it’s full.
- Place a large mug or a container underneath the spout to collect water that will run through.
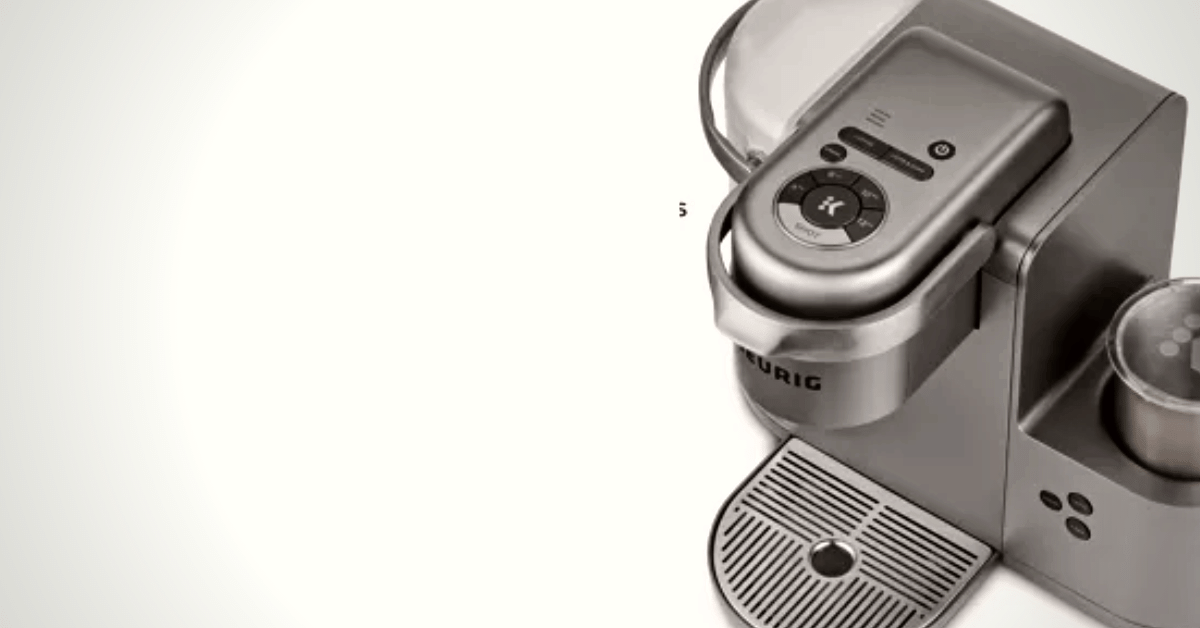
- Turn on your Keurig coffee machine and run a rinsing brew by pushing the brew button. You should wait until the machine goes through the entire solution. If you own a K-Supreme or K-Express model, then you need to press and hold 8-ounce and 12-ounce buttons for three seconds to turn on the descale mode.
- Remove the water tank and rinse it with soap and fresh water. Refill it, then put it back into its designated place.
- Run a water-only cycle a couple of times to ensure no solution residue stays inside the machine.
That’s it! The descaling process is a bit time-consuming but pretty straightforward.
NOTE
If you don’t have the Keurig descale solution, you can use white vinegar instead. Add ½ vinegar and ½ water into the water reservoir and follow the rest of the steps of the descaling process.
FAQs About Why Your Keurig Descale Light Stays On
Still, have questions about Keurig machines? Here’s a quick FAQ with all the most important questions on the subject.
Do I need to reset my Keurig after descaling?
You don’t need to reset your Keurig machine after descaling. But in case the descale light is illuminated even after the descaling cycle, resetting your machine might solve the issue.
How often should I descale my Keurig?
According to Keurig, you should descale your machine every three to six months, depending on how often you use it. However, you should do that more frequently if you are using hard water. After all, descaling won’t damage your machine.
How to reset a Keurig?
To reset your machine, you need to open and close the lever, turn it off and unplug it from the wall. Then, remove the water reservoir and let it rest for half an hour before reattaching and turning the Keurig on.
To Sum Things Up
If the descaling light on your Keurig coffee machine is illuminating, then running a descaling cycle is your first course of action.
However, that might not always solve the issue. If the water flow inside the machine is disturbed in any way, that can also turn on the alert light.
Luckily, the problem is quick and easy to fix at home in most cases.
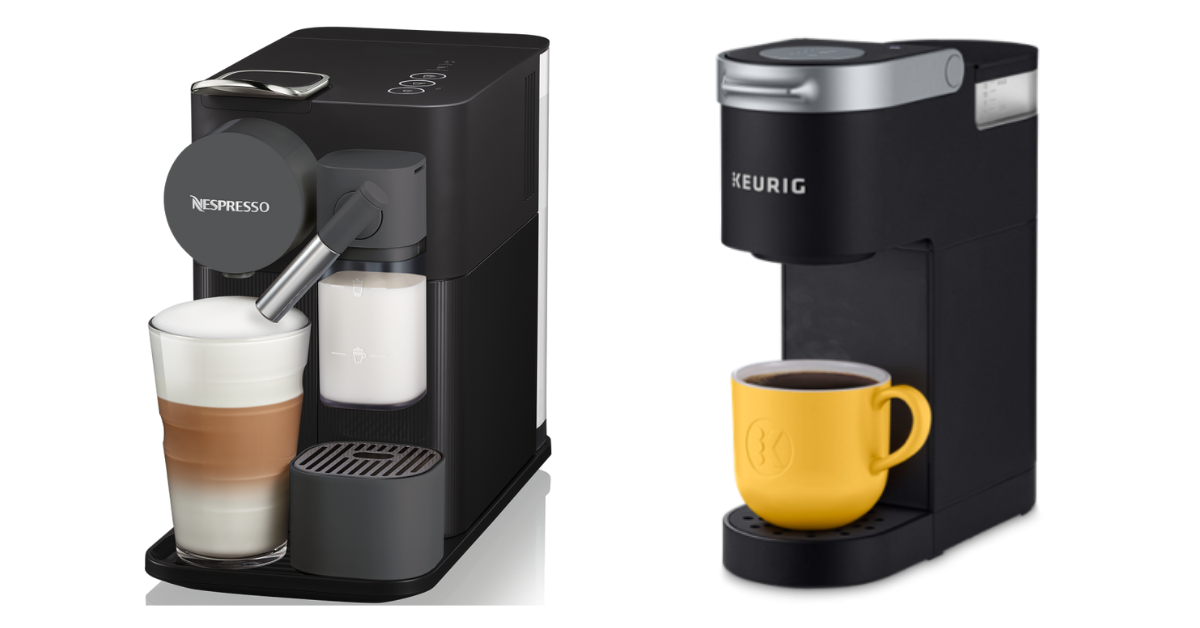
Buying a new Keurig machine? Take a look at our reviews of the best models on the market.