It’s time for the first cup of the day but you’re out of K Cups?
No matter how tragic this event might seem, there are other ways you can get your caffeine fix without scavenging the trash can for a used coffee pod.
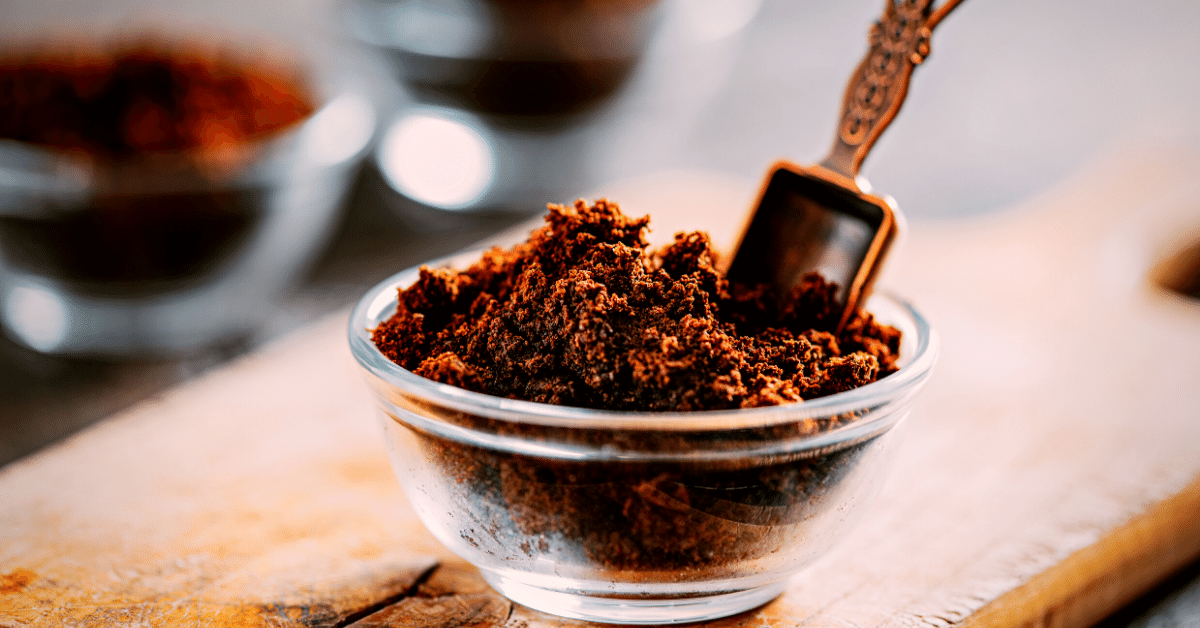
What if I told you that you can use ground coffee instead?
No, that’s not a joke.
In this article, I’ll cover everything you need to know on how to use ground coffee in Keurig machines.
Let’s dive in.
How to Use Ground Coffee in Keurig?
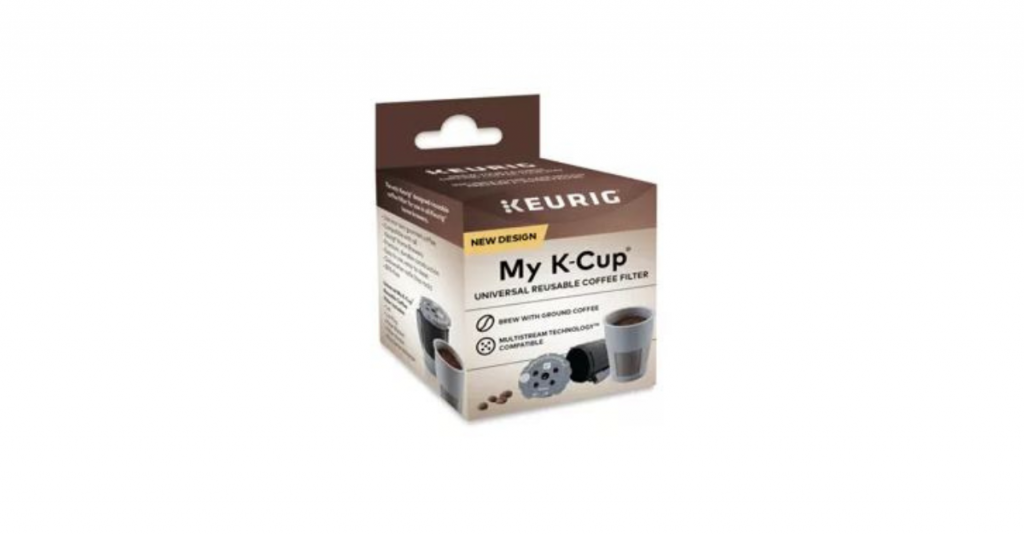
Arguably the simplest way to use regular coffee grounds in a Keurig machine is to get a reusable K Cup.
The market is swarmed with different brands making their version of the filter, but recently, Keurig has started making them as well.
Let’s go over everything you need to do, step by step, to make coffee this way:
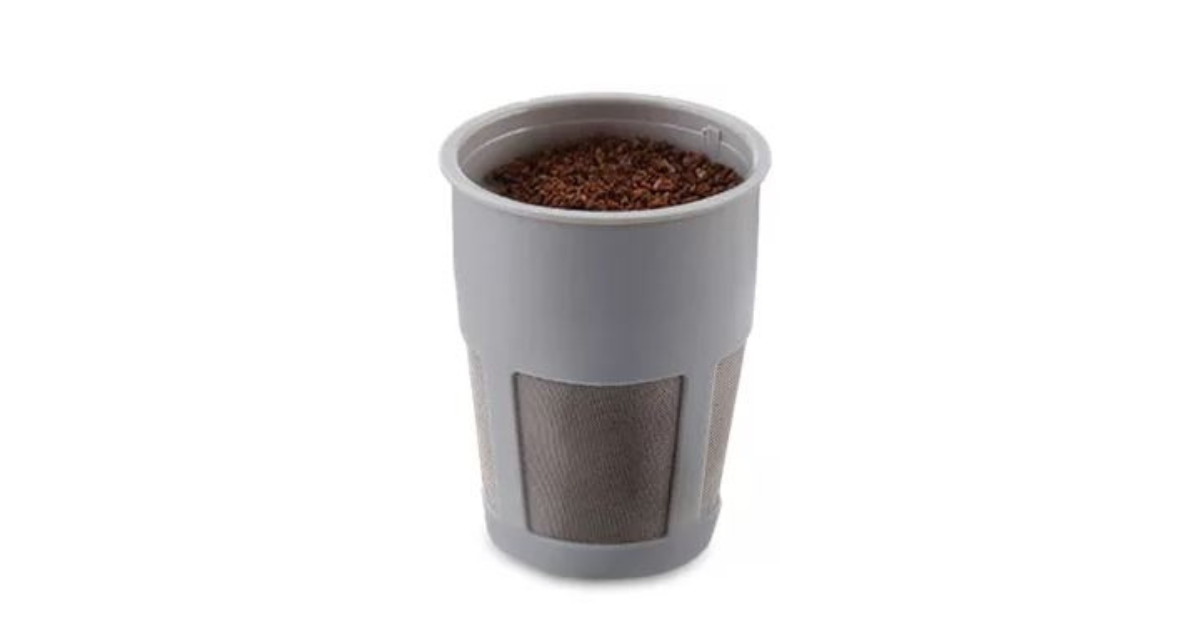
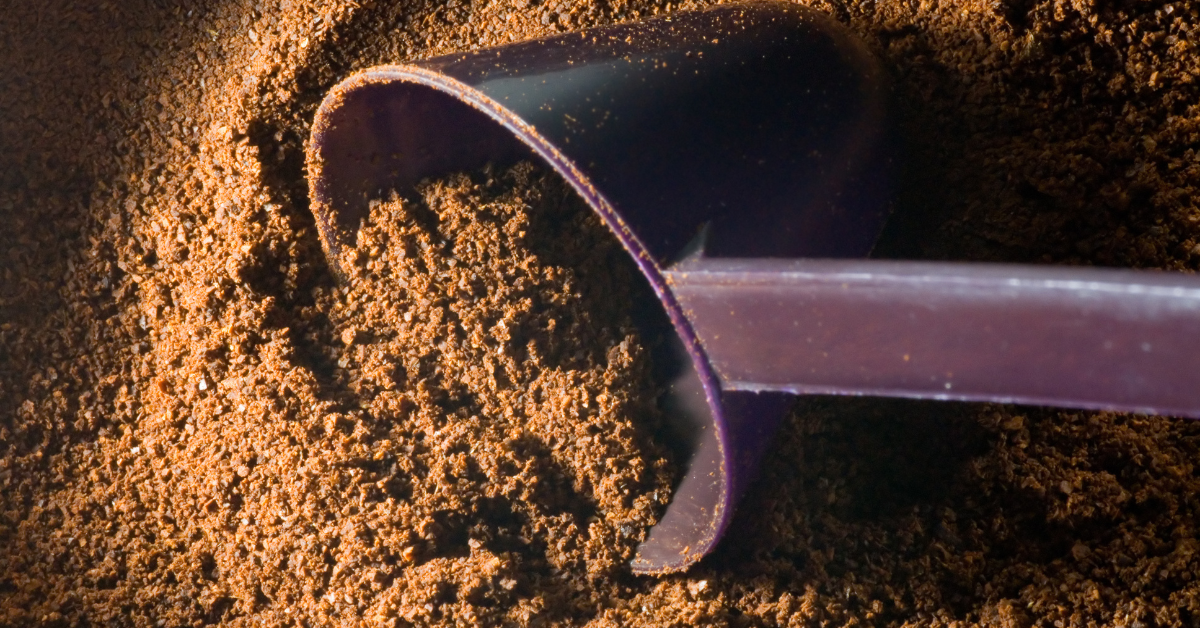
Step 1: Fill the Reusable K-Cup with Ground Coffee
Grab a coffee scoop and add the grounds to your reusable Keurig K Cup.
A standard K Cup pod contains about two ounces of coffee, which equals a single coffee scoop filled to the brim.
If you don’t have a coffee scoop at home, no problem. You can use a tablespoon instead. In that case, you’ll need two of those.
And if you really want to be nitpicky, you can measure your coffee ground with a scale. In that case, aim for anywhere between 9 to 12 grams of coffee (which is 0.3 to 0.4 ounces).
Why can’t I be more precise?
Because the weight of coffee is affected by the type of roast.
A scoop of light roast can weigh as much as 4 grams more than a scoop with its darker counterpart.
But to avoid any guesswork right from the start, you can start with 10 grams of coffee. And then, depending on how you like the end result, you can do some tweaks in the future.
Important tip: make sure to leave enough empty space so that lid can close properly.
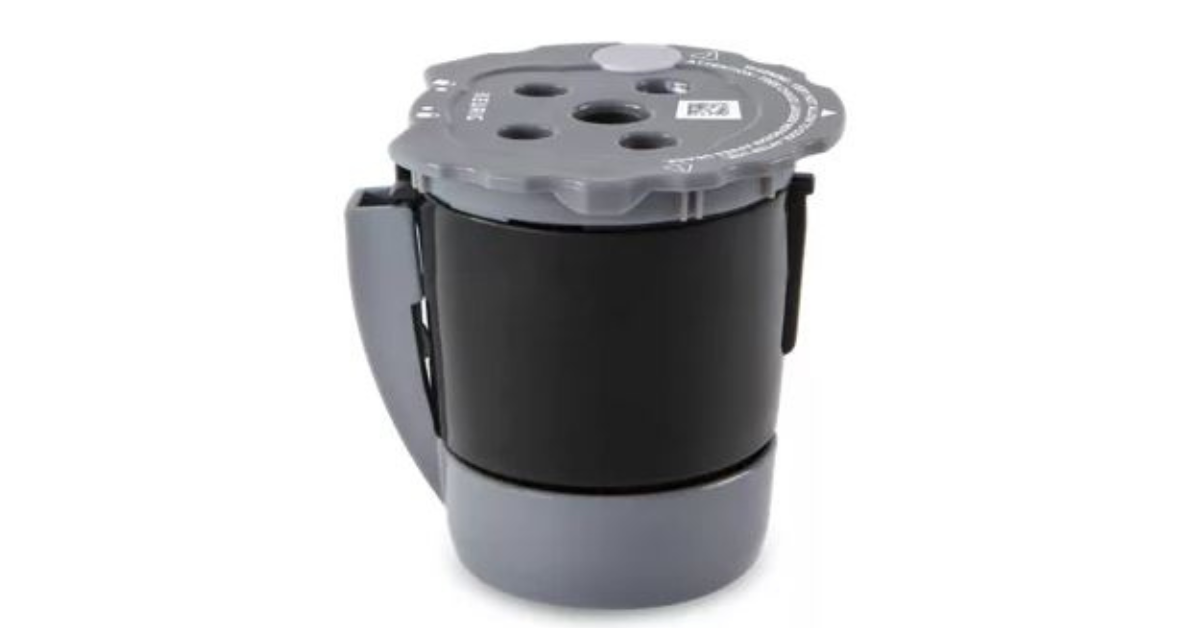
Step 2: Insert the Reusable K-Cup into the Keurig
Open the K-Cup chamber by lifting the handle.
See that holder?
The reusable K-Cup goes in the same way a regular one would. If you got the right size for your Keurig model, it should fit like a glove, with the lid resting right at the edge of the holder.
Once in, close the chamber by moving the handle in a downward motion.
Step 3: Start Brewing the Coffee
And now for the fun part.
With two ounces of coffee grounds inside the reusable K-Cup, you can make a really flavorful 6-ounce cup of coffee.
Of course, if you want something more subtle, you can go for eight ounces instead.
Just make sure to put a mug in a suitable size before you start brewing. I know it seems redundant to mention it, but I’d lie if I said it never happened to me. So, just a friendly reminder.
Important tip: if you see water coming out around the coffee spout while the coffee is being poured, this means your K-Cup lid isn’t closed properly.
Step 4: Clean the K-Cup
You want to clean the reusable K-Cup as soon as you’re done brewing. Well, if it’s too hot to be removed, you’ll have to wait for a few minutes first.
But generally, you don’t want coffee grounds to sit inside your K-Cup for too long. As they dry up while packed like that, the grounds become harder to remove.
Plus, wet coffee grounds are a great growing spot for mold. I’m sure that’s the last thing you want to find inside the machine.
Here’s how to clean the K-Cup thoroughly:
- Take out the K-Cup and discard the used grounds into the trash.
- Rinse it under a warm stream in the sink.
- In most cases, a simple rinse won’t do the trick. What you can do is soak the K-Cup in hot water for a few minutes. Then, grab a plastic brush and try scrubbing off the remaining coffee grounds.
- For oil stains and coffee grounds that won’t budge, mix vinegar and water in a 1:2 ratio and soak in the K-Cup overnight.
- After a good soak, scrubbing the residue away with a plastic brush should be easy.
- Remove the smell and taste of vinegar by rinsing the K-Cup under a stream of water.
Your K-Cup should be as good as new after this.
Other Ways to Use Ground Coffee in Keurig
Don’t have a reusable K-Cup at your disposal?
That’s not a problem either.
But you can’t just pour coffee grounds into the K-Cup chamber and hope for it to work.
Instead, there are two alternative options you can try.
Gold-Tone Mesh Filter
This reusable filter makes it the most environmentally-friendly option to brew coffee with Keurig. Unlike most replaceable K-Cups made with plastic, this one is steel. Unfortunately, it’s only compatible with models from K-Duo and K-Duo Essentials lines.
As you might have guessed by the name, a gold-tone filter plated with gold. Now, gold is great because it’s neutral, so it won’t change the taste of your coffee.
A gold mesh filter doesn’t absorb oil and antioxidants from coffee but lets them through. This gives you a rich and flavorful cup of your favorite drink.
Basket Paper Filter
If you own a machine from the K-Duo, K-Duo Plus, or K-Duo Essentials lines, you can also use a paper filter. For this, any flat-bottom filter compatible with 12-cup coffee makers will do.
Just remember to rinse the filter before using it for brewing. This will remove any flavor or aroma the paper might have, which could affect the way your coffee turns out.
Tips for Using Ground Coffee in Keurig
Okay, we have covered all the technicalities.
But as we all know, the key is in the details.
Here are some things you should know when using coffee grounds in your Keurig machine.
The Best Grind Size for K-Cup

Theoretically, you could put use coffee grounds of different sizes in your Keurig, but they’ll all give you different results.
If you go with a coffee grind size that’s too fine, you’ll end up with sediment in your coffee. With a very coarse grind, on the other hand, you’ll get an under-extracted cup of java.
The best option for your K-Cup is right in the middle.
Go for a grind that’s slightly coarser than what you’d use for a pour-over machine.
How Much Coffee to Put in the K-Cup
You might be tempted to pack as many coffee grounds as you possibly can into a K-Cup, hoping to get a strong cup of coffee.
But in reality, the only thing you can achieve with that method is to get your machine clogged up with coffee grounds.
You need to leave enough room inside the K-Cup for water to actually pass through. Luckily, you should see an indicator line inside the K-Cup, so there’s no need for wild guessing.
Which Keurig Brewers Support Reusable K-Cup
Keurig has two main lines of models, 1.0 and 2.0. The key difference between them lies in the size of their designated K-Cups.
And while most models from the first line were compatible with reusable K-Cups, that wasn’t the case with the second. That was the case with both Keurig and third-party reusable filters.
Today, Keurig makes reusable K-Cup filters that are compatible with every single model by the brand. This is achieved by adding a size adaptor at the base of the filter, allowing it to fit properly into larger models.
The Benefits of Using Ground Coffee in Keurig
Using single-serving K-Cups seems so effortless. Why would one choose to use coffee grounds instead?
Glad you asked!
Here are all the benefits of using grounds instead of pods:
- Preground coffee costs way less than single-serving K-Cups in the same amount. You can save up to ten times more money by choosing grounds over pods.
- Using fresh coffee grounds means your coffee has optimal flavor and aroma.
- You can add more or fewer coffee grounds, depending on how strong you want your coffee to be.
- You can mix and match different roasts and coffee varieties to find the perfect flavor profile.
- You eliminate the waste created by using single-serving K-Cups.
Conclusion
Who needs pods when you can use coffee grounds instead?
A reusable K-Cup is just as easy to use as a regular K-Cup pod, but it’s so much better!
You can experiment with different grinds, roasts, and bean varieties and find what works the best for you. And since ground coffee is much cheaper than pods, you can save up money to spend on something else.
And finally, by switching over to grounds instead of pods, there’s no plastic waste left behind to deal with.
Have other doubts about your machine?
Check out our step-by-step guide on how to use a Keurig coffee maker.