There are many ways you can make your own coffee. Today, we’re discussing 10 coffee brewing methods at home for you to try.
People have been enjoying coffee for centuries now, and it’s not going anywhere.
In fact, brewing methods have only been improving ever since.
Nowadays, you can brew coffee in many different ways.
Drip, French press, Moka pot… the possibilities are endless.
But what’s the difference between them? Which one is the best for you?
Well, that’s what we’re finding out today. I’m a huge coffee fanatic, and I tried various brewing techniques until I found my favorites. In this article, we’ll go over everything there’s to know about brewing coffee, from brewing methods to its variables.
Let’s dive in.
Understanding Coffee and its Variables
Before we get into actual brewing methods, let’s talk about the parameters that affect your brew.
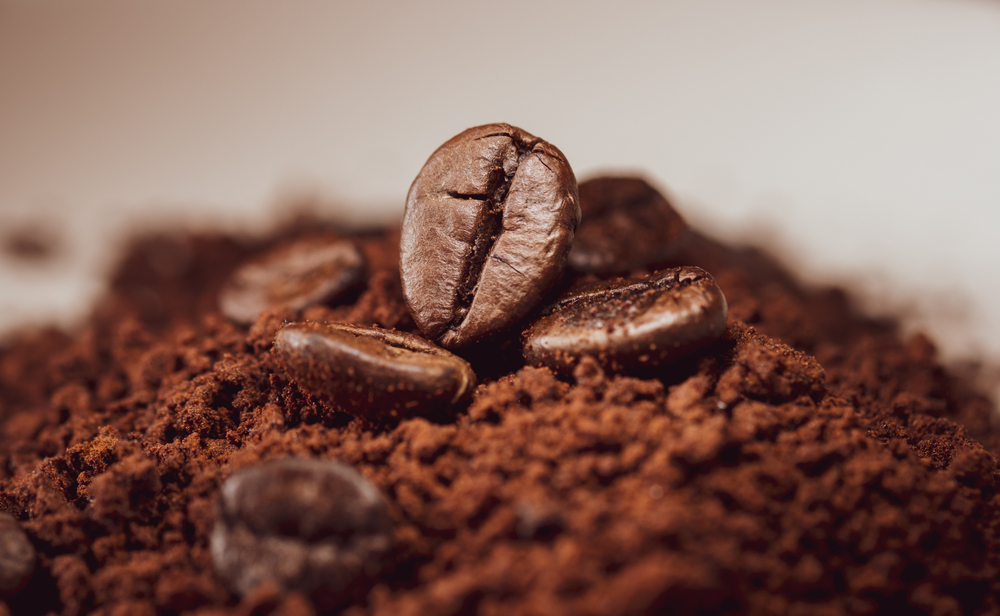
Discussing types of coffee beans
How your brew will turn out depends a lot on the type of beans you’re using.
And you have quite a lot of types to choose from.
As you probably know, the two most popular coffee varieties are Arabica and Robusta. The former makes up almost 60% of all the beans grown in the world, while the latter makes up about 40%.
Between the two, Arabica is considered superior because of its smooth flavor and barely any bitterness.
Robusta, on the other hand, is earthy, bitter, and with very little acidity. Of course, that’s not to say that it’s necessarily bad. In fact, high-quality Robusta exists, and it’s commonly found in espresso blends.
Now, when it comes to Arabica coffee, there are more than 40 varieties and cultivars grown all over the world, all with distinct flavor profiles. Some of the most popular ones are:
Bourbon – crisp acidity, sweet flavor, and caramel notes.
Caturra – prominent citrusy acidity and sweetness of chocolate.
Geisha – floral, with notes of jasmine, honey, and black tea.
Catuai – high acidity, sweet with a hint of honey, almonds, and nutmeg.
Kona – delicate with nutty and earthy notes.
Of course, coffee will also develop distinct flavor notes depending on the region it’s grown in.
So, for instance, coffee from Africa is known for its rich, deep flavor with wine-like acidity. South American coffee, on the other hand, has prominent tones of chocolate and nuts. Finally, South-Asian Arabica beans are earthy, with low acidity and a hint of caramel and spice.
Importance of coffee grind size for different methods
Once you choose your beans, it’s time to grind them.
The grind size can vary depending on the selected method, and it’s in direct relation to brewing time. You see, coarser ground particles take longer to extract than finer particles, as there’s a larger surface area for water to get in contact with.
If you use too-coarse coffee grounds, your brew will be under-extracted. On the other hand, grounds that are too fine will get over-extracted. In both cases, your coffee won’t taste good.
So, what grind size do you need for a specific method?
Let’s put it this way:
| Ground size | Brewing method |
| Extra coarse | Cold brew |
| Coarse | French press |
| Medium-coarse | Chemex |
| Medium | Most pour-over brewers, drip coffee makers with basket-type filters, siphon coffee maker |
| Medium-fine | Drip machines with cone-shaped filters |
| Fine | Espresso, Moka pot, AeroPress |
| Extra fine | Turkish coffee |
Role of temperature in coffee brewing
Water temperature affects extraction rate.
But getting it too hot can make it hard to control the rate, causing the brew to be too bitter. On the other hand, using water that’s not hot enough will keep certain compounds from extraction, causing coffee to be too sour.
Is there a sweet spot for brewing, then?
Yes, there is!
According to the National Coffee Association, that sweet spot is between 195°F and 205°F – slightly below the boiling point.
As you can see, there’s a 10-degree window for you to tweak the drink and play around with extraction. These 10 degrees can make a huge difference in how your brew ends up, especially when you put other parameters into the equation.
It’s worth noting that hot water doesn’t play a role in one brewing method – cold brew.
This method uses room-temperature water. But it avoids under-extraction by dramatically increasing the brewing time to 12-24 hours.
Water-to-coffee ratio
Finally, how much coffee you’re using will also determine the outcome of your brew.
The ratio differs between brewing methods, as it’s also affected by other parameters, such as brew time and grind size.
Of course, there’s no “right” coffee-to-water ratio, as ultimately, it depends on your preference.
But there’s such a thing as a good middle ground for each brewing method.
| Brewing method | Coffee-to-water ratio |
| French press | 1:12 to 1:16 |
| Drip coffee maker | 1:15 to 1:18 |
| Pour over | 1:13 to 1:18 |
| AeroPress | 1:4 to 1:18 |
| Moka pot | 1:6 to 1:9 |
| Siphon coffee maker | 1:12 to 1:18 |
| Cold brew (concentrate) | 1:4 to 1:5 |
| Espresso machine | 1:1 to 1:3 |
| Turkish coffee | 1:9 to 1:12 |
As you can see from the chart, brewing methods give you enough room to customize your coffee consistency.
Detailed Exploration of Coffee Brewing Methods
Alright, now that we know the brewing basics, let’s talk methods.
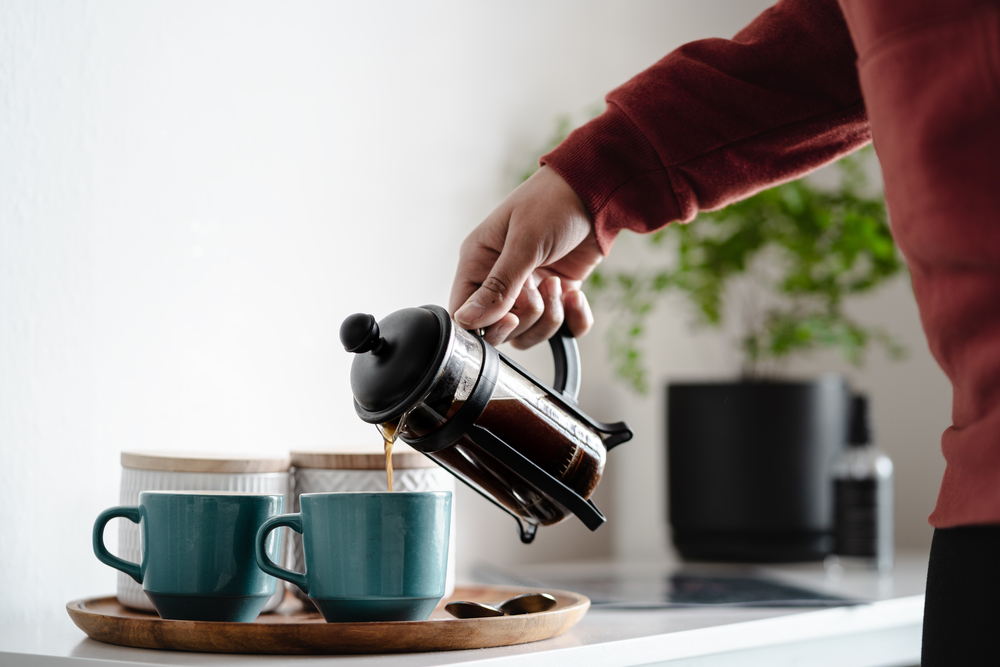
French Press
While it gives off a vintage vibe, the French press definitely isn’t one of the older coffee brewing methods. In fact, the first patent of something that looks like today’s French press goes back to Italy in 1929.
Wait, what – Italy?
That’s right. The name French press, obviously, doesn’t refer to the brewer’s origins. The reason why it’s called “French” is actually because the design we know today as the French press, invented in 1958, became popular very quickly in France.
The French press is an immersion brewing device, meaning that coffee grounds are saturated in hot water for a while before being filtered through.
Since the filter is made of metal mesh, it lets coffee oils through, along with a bit of sediment. As a result, the coffee it makes is well-rounded and bold.
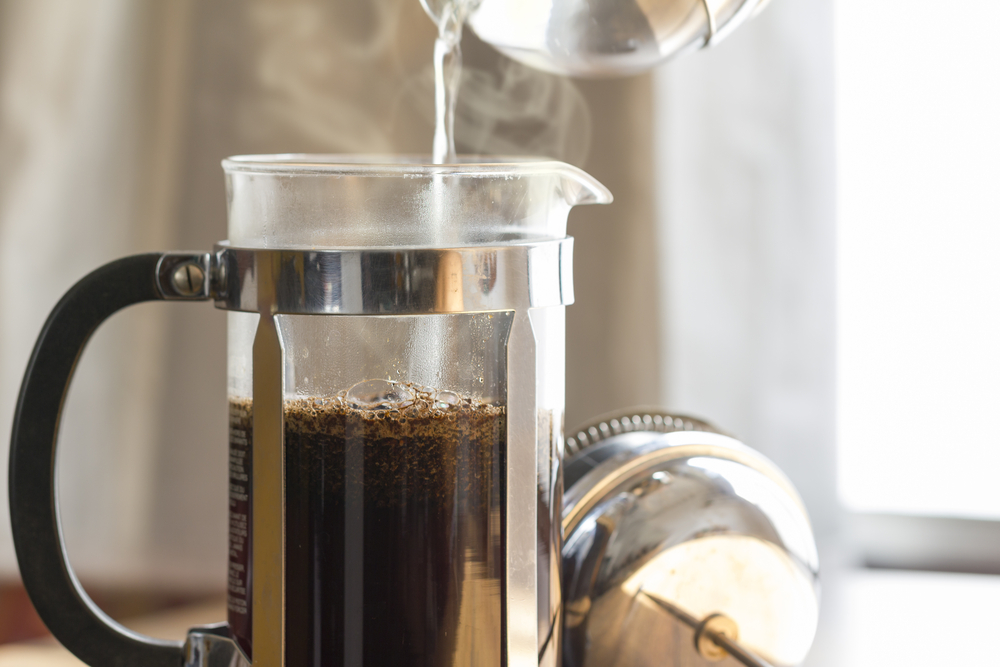
Brewing coffee with a French press is pretty straightforward. Basically, you should:
- Warm up the brewer by rinsing it with hot water.
- Add coffee to the French press.
- Add hot water, then start the timer.
- Stir the grounds a few times before placing the lid onto the brewer (but not pushing the plunger. Wait for up to four minutes.
- Once the time is up, press the plunger to separate the grounds from the liquid.
The process is always the same, but you can play around with your brew by changing parameters, like brewing time and coffee-to-water ratio.
Pros
- Can make several cups at once
- Full-bodied coffee
- High control over variables
Cons
- Some sediment ends up in your cup
- Turns bitter if left steeping for too long
Drip Coffee Maker
The first electric drip coffee maker, called the Wigomat, was invented in 1954 in Germany. Over the course of two decades, the design was constantly improved.
So, by the time it became a staple in American households, an electric drip coffee maker had features such as a built-in timer and brew time programming.
Why is a drip coffee maker such a popular choice of brewer?
Because it’s simple to use, low-cost and can make a large batch of coffee at once. This is great whether your household members are all coffee consumers or you’re drinking a ton of coffee yourself.
Since it’s automated, the machine does pretty much all the work. What’s up for you to do is:
- Fill the water reservoir.
- Place the filter into the basket.
- Add coffee to the filter.
- Start brewing. Once the machine stops dripping, your coffee is done.
Depending on the model, the machine may use conical or basket-shaped filters. It’s primarily designed to work with disposable paper filters, but nowadays, you can find reusable metal ones. Metal filters make your brew richer, as they let some coffee oils through.
Drip machines require medium grind size. As for the ratio, a good basis is 1:15, but you can adjust it to your personal preferences.
Pros
- Typically automated
- Makes a batch of coffee at once
- Features a warming plate or thermal carafe to keep coffee hot for longer
Cons
- Somewhat plain flavor
- Takes up counter space
Pour Over
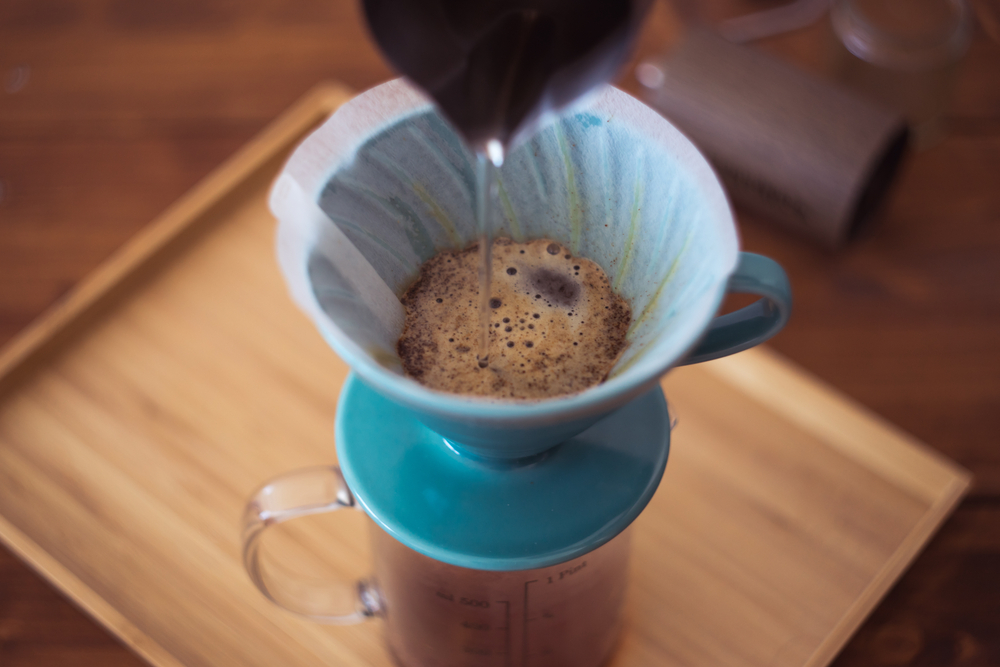
The first pour over was invented back in 1908 by Melitta Bentz, who was a housewife at the time. Melitta was dissatisfied with the brewers available back then, all of which were turning coffee too bitter.
She came up with the idea to use her son’s school book page as a blotting paper and a punctured brass pot. Melitta was happy with how her brew turned out. The rest – is history.
Other pour over brewers, like Hario V60 or Chemex, were invented in the next couple of decades.
What makes pour over brewer so appealing is the fact that it gives you complete control over the flavor. You can make small tweaks to your ratio and brewing time, and you’ll get a completely different cup of coffee.
Regardless of the adjustments, what you can expect is a delicate, bright, and light-bodied cup of java.
Pour over brewers typically require a paper filter, which is responsible for keeping oils and sediment from your cup.
Certain brewers, like Chemex or Hario, offer metal filter alternatives. These filters will give your coffee a thicker body but can also make it slightly bitter.
A word of caution – pour over requires quite a bit of attention and input from your side. Aside from the brew parameters, you also need to control the water flow. Getting the brew right requires patience and practice, but once you master it, it will become a routine.
Most pour over brewers make a few cups of coffee at once – Melitta, Hario V60, and Kalita Wave are the most well-known examples. The only brand that offers larger models is Chemex, which even has a 13-cup format!
How to use a pour over brewer may slightly differ from brand to brand, but the premise is the same:
- Heat the water using a kettle.
- Place a filter on the brewer. If you’re using a paper filter, pre-wet it with hot water, then pour the excess out.
- Add coffee grounds to the filter. Shake gently so that they settle.
- Pour just enough water to cover the grounds in the filter, allowing it to bloom – and release carbon dioxide. Wait for 45 seconds.
- Start pouring the rest of the hot water in a slow, circular motion. You can do it in several pours or in a consistent one, but the total pour time should be roughly three and a half minutes.
Pros
- Makes a clean cup of coffee
- Attractive brewer design
- Gives you complete control over your brew
- Drippers are portable
Cons
- Needs more input and experience from your side
- Makes a small amount of coffee at once
- Requires filters
AeroPress
AeroPress is a relatively new addition to the already decently-sized pool of coffee makers. What’s really cool is that it wasn’t invented by an engineer, like most other brewers. Instead, it was invented by a toy maker named Alan Adler, who’s known for making Frisbee.
I guess the thing AeroPress and Frisbee have in common is that they’re fast and easy to use.
Another reason to love AeroPress is the fact that you can make espresso-type coffee with it. Of course, if you like a less concentrated brew, you can always use a lower coffee-to-water ratio.
Here’s how to brew coffee with AeroPress:
- Preheat water for brewing.
- Place the filter in the basket. Prewet it, then discard the water.
- Attach the basket to the bottom of the brew chamber, then place it on your coffee mug.
- Add coffee grounds.
- Pour water to the No. 4 mark. Stir the mixture a few times, then place the plunger on the chamber (but don’t press it yet).
- Let the ground saturate for about a minute, then gently press down the plunger with steady pressure. Stop when you hear a hissing sound.
Pros
- Makes a concentrated cup
- Very portable
- Gives you control over the brew
Cons
- Requires AeroPress paper filters
- Makes a small batch
Moka Pot (Stovetop Espresso)
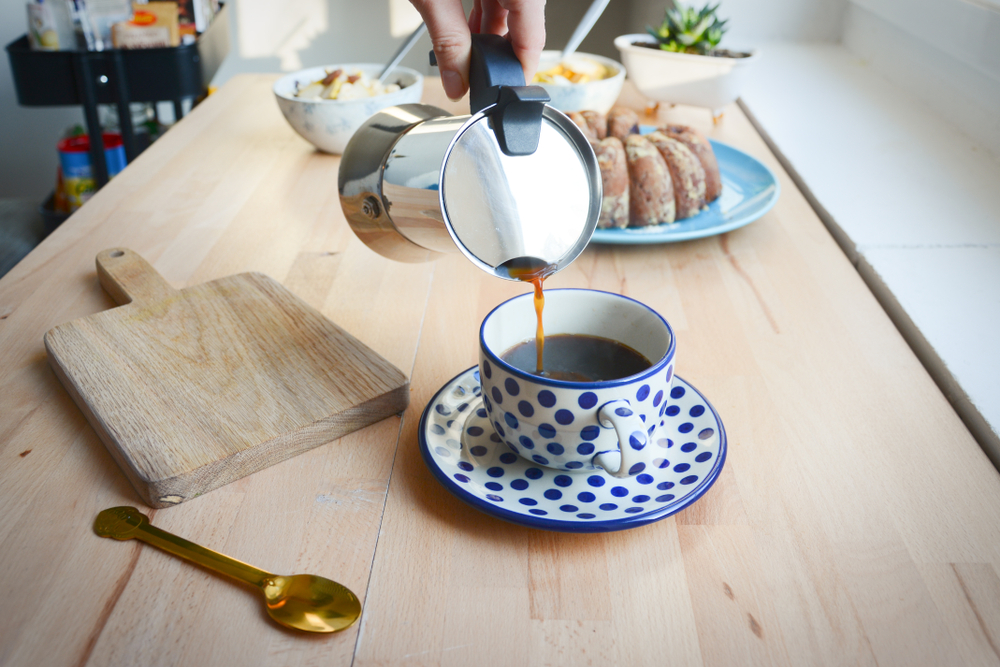
Named after the Yemeni city of Mocha, the Moka pot is an invention of an Italian engineer Luigi Di Ponti. However, that’s not such a well-known fact since he sold the patent to aluminum vendor Alfonso Bialetti in the same year.
Bialetti, on the other hand, is still among the best-known Moka pot brands today.
If you’re all about a concentrated cup of coffee but not willing to invest in an espresso maker, then the Moka pot is worth consideration. Since it uses pressure (created by steam), the coffee you get with this brewer is as close as it gets to an espresso without a proper espresso machine.
Moka pot features three chambers:
- The bottom chamber where the water goes
- Filter that contains coffee grounds
- Top chamber for brewed coffee
When the water in the bottom chamber boils, it creates steam. That steam pressures water up through the grounds into the top chamber, making coffee.
There is little for you to do with this brewer. Basically, you:
- Add water to the bottom chamber, up to or below the air valve. You can use cold water, but warm water will speed up the process.
- Place a filter on top of the bottom chamber and fill it with coffee grounds. Make sure not to compact the grounds, as that will prevent water from passing through evenly.
- Scre the upper chamber onto the bottom one, then place the brewer on the stove.
- Your coffee is done once you hear the hissing sound.
Pros
- Little input required
- Concentrated cup of coffee
- Very portable
Cons
- The brewer needs to cool down before being disassembled
- Small brewing size
Siphon (Vacuum) Coffee Maker
The Siphon coffee maker is an old invention. The first patent belongs to Loeff from Berlin and dates back to the 1830s. But it took a few years for it to kick off.
The first successful siphon brewer was made by Mme. Vassieux, which had an improved design – both aesthetically and functionally.
Owning a siphon coffee maker for its sophisticated look is definitely a good enough reason. But using one is definitely worth it, as it makes a clean and smooth cup of coffee.
Plus, brewing coffee with it makes you feel like a chemist.
The siphon coffee maker has four parts:
- The bottom chamber, where water is added and where your brew eventually goes
- Top chamber where coffee is brewed
- The sealer that creates vacuum
- Filter
Basically, the brewer uses a heat-inducing vacuum to pass water through the grounds. Then, once it’s one steeping, coffee drips back to the bottom chamber where it rests.
Compared to most coffee makers, a siphon brewer is a bit more complicated to use. Here’s what you need to do:
- Add water to the base chamber.
- Place a heat source underneath the base.
- Insert and attach the filter to the top chamber.
- Connect the top and bottom chambers together, making sure the gasket is sealed.
- Eventually, the steam will push the water to the top chamber. At this point, you should add the grounds to the top chamber and stir to get them fully saturated.
- Turn on the timer. Depending on the amount of coffee you’re making and your preference, you can adjust the brewing time. But a good place to start is 1:30 minutes for a 3-cup siphon.
- Once the timer goes off, stir the coffee a few times, then turn off the heat source. The steam will stop being produced, which will cause coffee to drip into the bottom chamber.
Pros
- A very clean and smooth cup of coffee
- Allows unique bean flavor to come through
- Beautiful and sophisticated brewer design
Cons
- Rather complicated and time-consuming
- Fragile
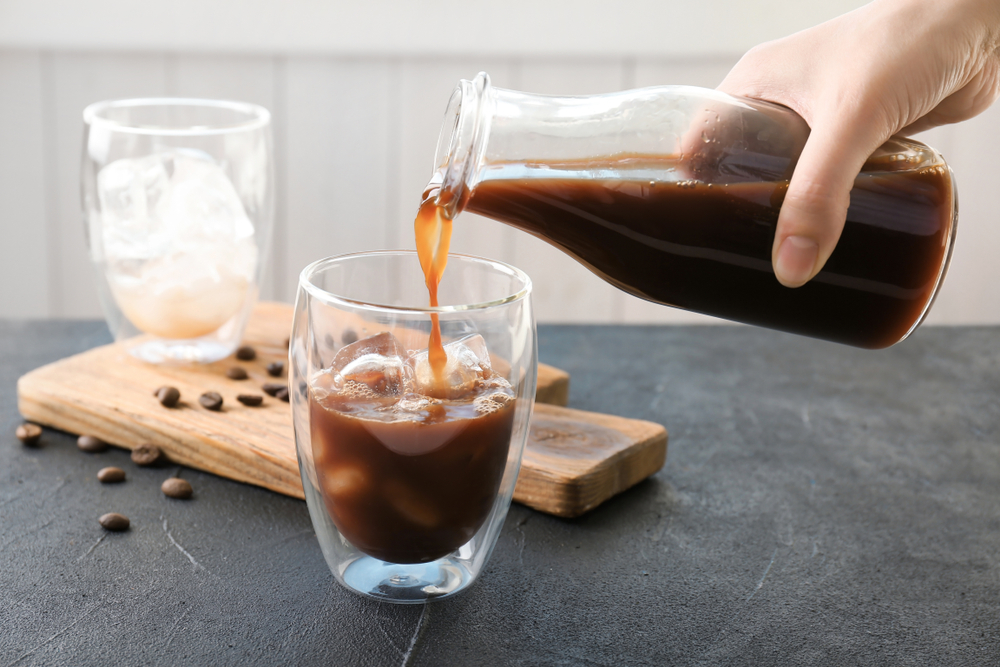
Cold Brew
Did you know that cold brewing is one of the oldest methods on the list?
I was quite surprised to learn that the earliest record of cold brew dates back to 17th-century Japan. It’s believed the idea was introduced by Dutch traders, who developed it as a way of brewing that didn’t require using fire.
As you know, heat helps speed up the extraction process. Without it, coffee compounds take hours to dissolve in the water. To be precise, anything from 12 to 24 hours.
But what you get is well worth the time. Cold brew coffee is smooth, slightly sweet, and acidic but never bitter.
Now, I know brewing time is insanely long. But you’re not (or at least shouldn’t be) making one cup at a time. Cold brew is typically made as a concentrate, which you can later dilute with water or ice.
The exact coffee-to-water ratio depends on your personal preference, but a good place to start for a concentrate is 1:4.
For this method, you can use a French press, Aeropress, a mason jar, a pitcher… Any vessel, as long as it’s large enough to hold enough liquid. The only difference is that with the French press, you already have a built-in filter. With other vessels, you’ll need to use something to strain the grounds later.
Here’s how to make a cold brew:
- Add coffee and water to the vessel in the desired ratio.
- Stir the coffee grounds to make sure they’re evenly saturated.
- Cover the vessel and let it brew for up to 24 hours at room temperature.
When stored in an airtight container or vessel in the fridge, cold brew can last up to two weeks!
Pros
- Low acidity
- No special brewer needed
- Very refreshing in the summer
Cons
- Rather long brewing time
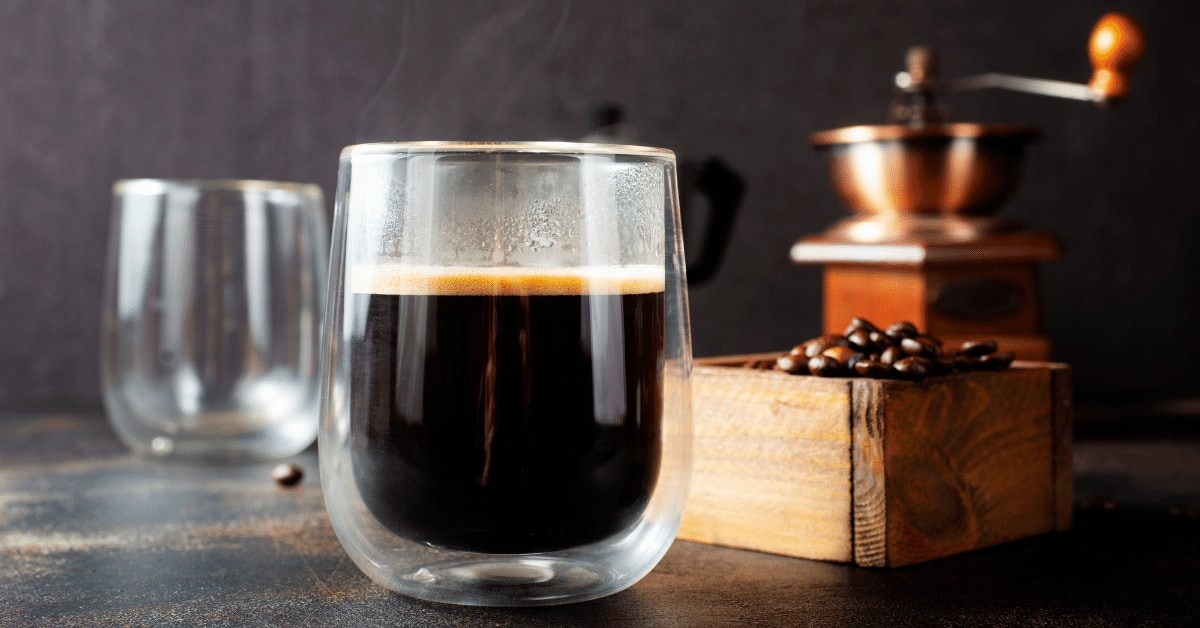
Espresso Machine
The first espresso machine dates back two centuries ago! However, the original design never became big.
Over the course of half a century, many inventors tried their luck in improving the idea. In 1884, Angelo Moriondo of Turin made the first espresso machine that used both water and steam.
In the early 20th century, Luigi Bezzerra and Desiderio Pavoni made significant improvements to the design. It’s these guys we have to thank for the invention of the portafilter, pressure release valve, and steam wand.
Then, in 1933, Hungarian-Italian Francesco Illy created a machine that could achieve the 9-bar pressure, the sweet spot for making espresso.
But for all the baristas out there, the most important invention came in 1961. It was the first pump-driven espresso machine made by Faema. Instead of requiring physical force to produce 9 bars of pressure, the machine featured a motorized pump.
Today’s espresso machines all have the previously mentioned goodies. Together, they ensure hot water is forced through the coffee grounds to create a very concentrated cup of coffee.
Espresso machines come in all sizes and shapes, with price tags going up to four digits. But the price is well worth it, as what you get is a great shot of espresso.
Depending on the level of automation it provides, using an espresso machine can be somewhat complicated. However, once you get it down, you’ll be able to pull a consistent shot every time.
The brewing process goes something like this:
- Add coffee grounds to the portafilter. Be generous, as you want the grounds to be slightly heaping over the edge.
- Use a tamper to firmly press the coffee grounds down into a compressed puck.
- Place the portafilter in the designated location on the machine, then pull the shot. Most machines nowadays have an automatic option, but some require you to physically pull the lever and stop when done. Espresso pull usually lasts between 25 and 30 seconds, depending on the preference.
Pros
- Makes a strong and concentrated shot
- Offers great control over the brew
- Can be automated to various degrees
- The actual brewing process is very quick
Cons
- Requires an expensive, specialized coffee maker
- A lower level of automation requires a higher skill
- Longer heat-up time
- Takes up counter space
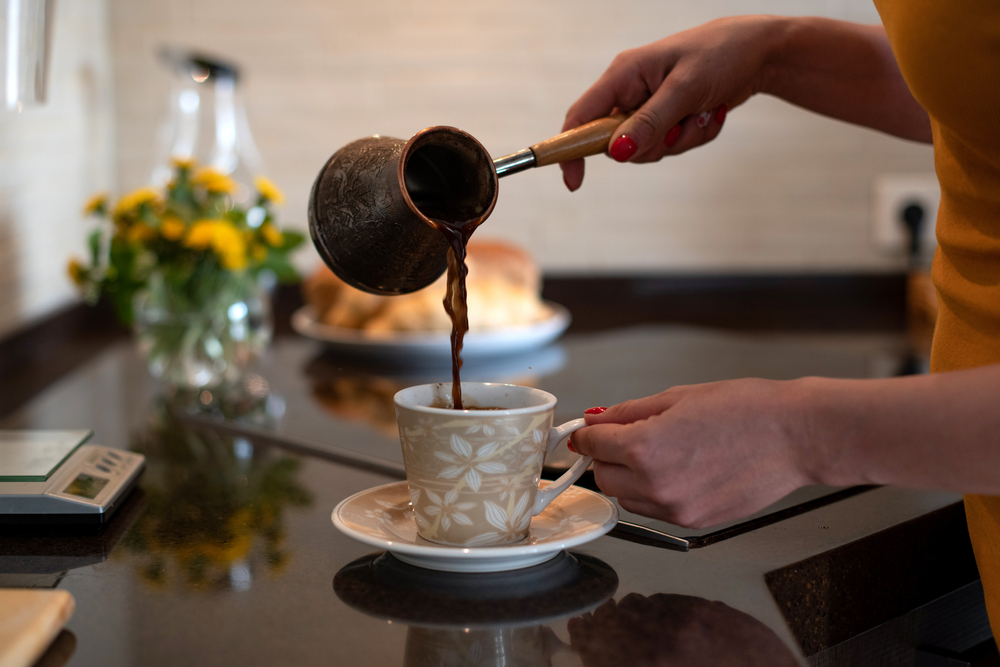
Turkish Coffee
The Turkish coffee brewing method is so old, that it’s practically impossible to trace back its origins. However, it’s believed to have been brought by traveling merchants to the Ottoman Empire in the 1400s.
What we do know is that it was popularized by Sultan Suleiman the Magnificent, who was a big fan of this coffee.
This method is fairly quick and simple, and what you end up with is a strong drink with a frothy layer on top.
To make Turkish coffee, you need a special pot called cezve. Here’s how to brew it:
- Add water to the cezve, then put the brewer on the heat source.
- Bring to a boil, then remove from the heat.
- Add coffee grounds, then stir to ensure they’re saturated.
- Put back cezve onto the heat source and let it boil again, twice in succession. Make sure to remove the cezve from the heat between the two boilings, to let coffee settle.
Since it doesn’t use a filter, this brewing method makes coffee with sediment. However, most of it ends up at the bottom of the cup, so it shouldn’t end up in your mouth. Just make sure not to drink the last few drops in your cup.
Pros
- Very concentrated
- Easy cleanup
- Fast and simple brewing process
Cons
- Has a lot of sediment
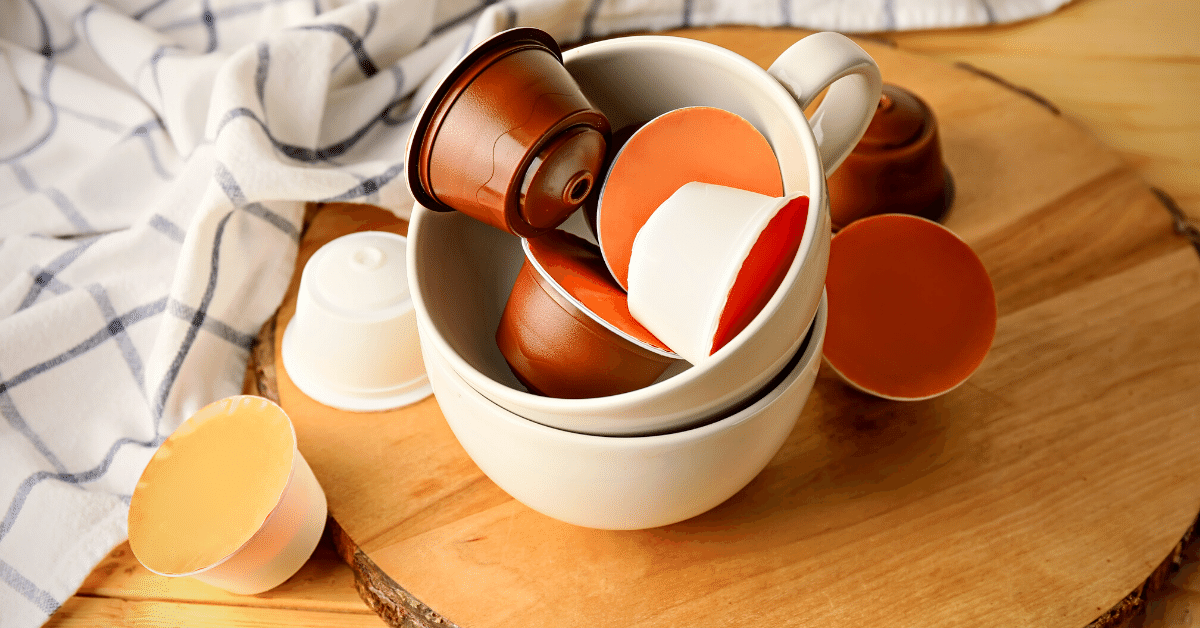
Single-Serve (Pod) Coffee Machines
Even the most avid coffee aficionados have those days when brewing feels like so much work.
Nestle had that in mind when designing Nespresso, the first coffee pod machine, in 1986. The idea was to make a simplified version of an espresso machine, and the brand nailed that.
The first design was aimed at office buildings, but it wasn’t long before Nestle realized that home consumers are a much better target group than businesses.
Today, single-serve pod machines are loved for their convenience at home. You don’t need to grind the beans, tamper the grounds or pull the shot. The only thing you do is:
- Fill the water container.
- Add the coffee capsule to the holder.
- Hit the start button.
Of course, the convenience comes at a price. With a single-button operation, there’s practically no room for customization. But unless you’re very picky about your brew, you won’t need that. These machines make a pretty decent cup of coffee without all the prep and cleanup hassle.
However, it’s worth noting that buying pre-packed capsules comes out more expensive than buying coffee grounds or beans. But again, you’re paying more for convenience.
Pros
- No input required
- Fast brewing
- Easy cleanup
Cons
- Pods are generally more expensive than coffee grounds
- Little room for customization
Coffee Brewing Tips
Don’t be overwhelmed by the number of brewing methods and the differences between them. In this section, we’ll go over some tips that should help you choose and master any/every one of them you decide to try.
How to choose the right method
There are a few things you should consider when choosing the right brewing method.
First and foremost, what kind of coffee do you prefer?
Certain methods, like espresso or Moka pot, make a rather concentrated and bold cup of coffee. On the other hand, if you prefer a lighter cup of coffee, consider the pour over or drip coffee method.
Another thing to consider is how involved you want to be in the process. Those who prefer convenience above all things should consider single-serve pod machines and drip brewers. If you want to be more involved in the process, pour over and siphon require the most attention.
How to ensure maximum flavor extraction
The most important part of getting your coffee extracted properly is hitting the right parameters.
Now, this isn’t always so straightforward, especially with more-involving brewing methods. So, for instance, with pour over, you need to ensure the water flow is not too fast or too slow.
But one thing that you can always make sure it’s right is the grind size. There’s a specific grind size suitable for every brewing method, so that’s where you should start.
Another thing you can do is ensure the water is within 195°F and 205°F. At this temperature range, all the flavor compounds necessary for a good cup of coffee will be extracted.
Tips for maintaining coffee brewing equipment
Any brewing equipment will work well the first few times. But whether it will work just as well in a month or a year depends on whether you take good care of it.
At the very least, you should rinse the equipment after every brew.
In most cases, that involves using warm water and your own hands. Most brewers aren’t safe to use in the dishwasher due to specific parts.
Of course, espresso and pod machines can’t be rinsed under tap water, as they use electricity. These machines need to be rinsed by flushing hot water through them. Furthermore, you also need to descale them on a regular basis to get rid of the limescale.
To Sum Things Up
As you can see, there are many ways you can brew coffee.
Certain methods, like drip and pour over, simply pass water through the grounds. Some, like espresso machines and Moka pots, use pressure for extraction. Finally, cold brew and French press let the grounds steep in water for a certain amount of time.
And all of them make a different cup of coffee! Some are concentrated, while others are light-bodied.
But all are delicious! So make sure to try them out!
Not sure how much coffee to use? Here’s our article on how to measure coffee with scoops.