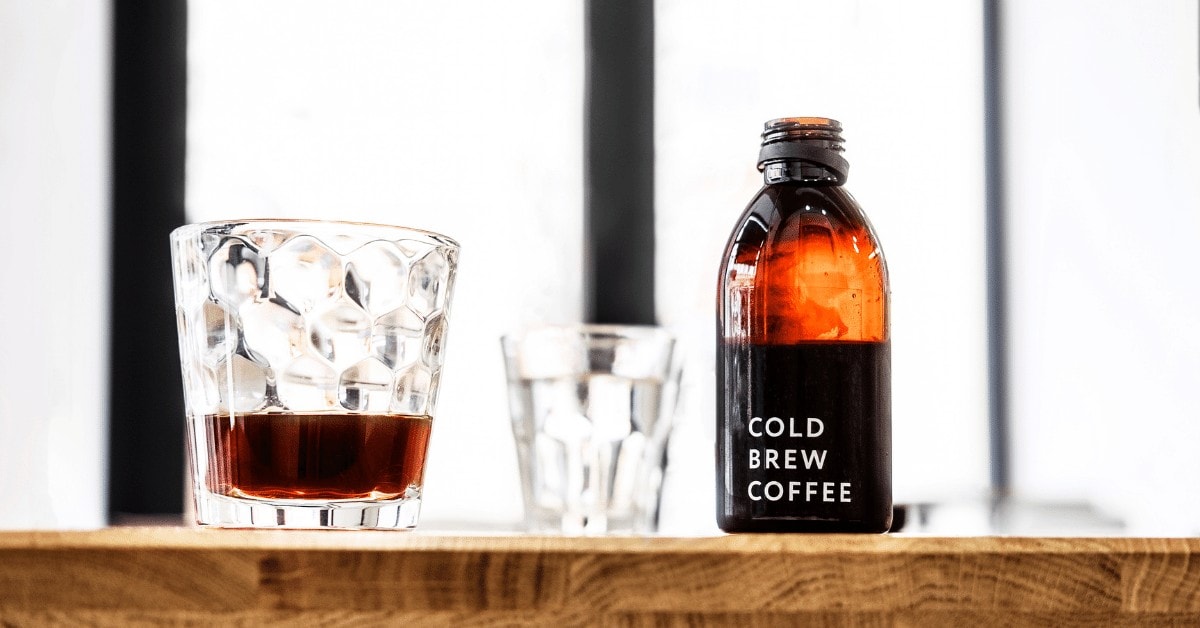
Cold brew has been all the rage for nearly a decade now.
And good news for coffee lovers –
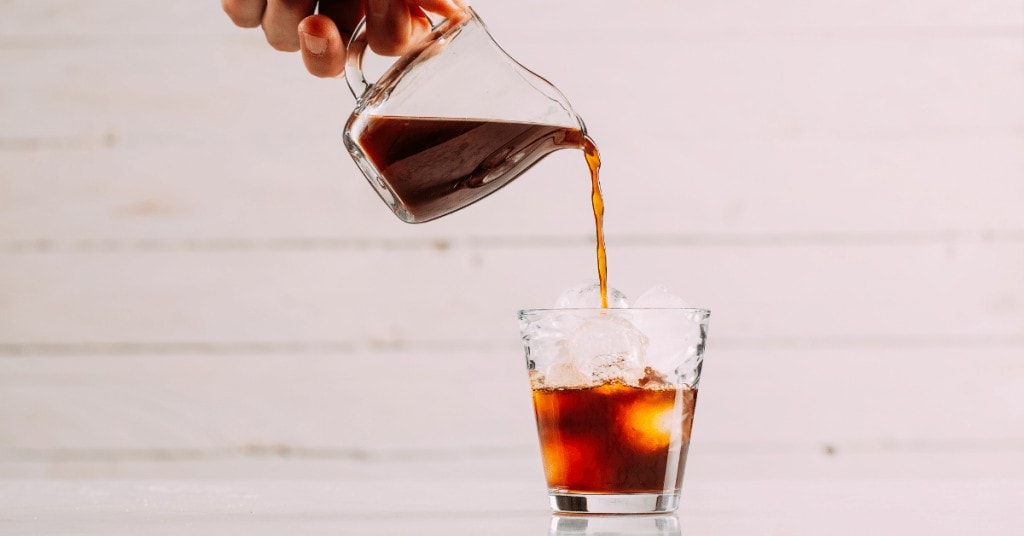
Making your own cold brew concentrate is easy!
You can use a ready-made brewer, a DIY brewer, or even a French press.
I’m going to tell you all about each of these methods and take you through the various processes. I’ll also explain the difference between cold brew and concentrate, and how to calculate brewing and diluting ratios for a balanced brew.
So, ready to find out all about how to make delicious cold brew concentrate at home?
Let’s jump straight into it!
Cold Brew VS Cold Brew Concentrate
Hang on a minute –
Why even make a concentrate to begin with?
Can’t you just brew your cold brew ready to drink?
Well sure, you can. But making a concentrate means you can get more coffee from a brewing container of the same size.
If you’re using a smaller container – like a mason jar, say – it makes more sense to make a concentrate, so you can still get a decent amount of coffee. After all, the brewing process takes a while. Do you really want to wait all that time for just 2 cups of coffee?
On top of that, making concentrate gives you more versatility, because you can easily make hot coffee drinks out of it just by adding hot water or milk.
So, if you’re already going to the trouble of making cold brew, you might as well make a concentrate.
It can keep in the fridge for up to 2 weeks just like regular cold brew, so you’ll have even more delicious coffee stashed away for days to come.
Let’s Talk Ratios

So, what do you do differently to get concentrate?
The brewing method is identical. The only difference is in the water to ground coffee ratio.
(Don’t get this confused with the water to concentrate ratio, which is how much water or milk you use to dilute your concentrate.)
Opinions vary when it comes to the ideal water to ground coffee ratio to make concentrate. But at the end of the day, as long as you dilute your concentrate in accordance with the ratio you used to brew it – it doesn’t really matter.
Here’s what I mean:
Say you’re using a 7:1 water to ground coffee ratio to brew your cold brew concentrate. If you then dilute that concentrate with equal parts water, you’ll end up with a cold brew coffee that has a 14:1 water to coffee ratio.
If you’ve added ice, you’ll end up with a ratio of around 15:1.
In case you didn’t know – that’s on the stronger end of the golden standard ratio. In other words, your coffee will be a little on the strong side, but flavor wise it’ll be spot on.
So, what if you were to brew your concentrate stronger than that?
At a 5:1 ratio, you’d need to add 2 parts water to 1 part concentrate when you’re diluting it. That way, you’ll end up with a 14:1 ratio. Again, ice will dilute it a bit more, so take that into account.
Basically, you just have to do the math. The goal is to end up with a water to coffee ratio anywhere between 15:1 and 18:1 – the golden ratio range – once you’ve diluted your concentrate.
If you keep that in mind, you’ll get a flavorful cup of cold brew coffee every time.
How To Make Cold Brew Concentrate
Here’s the cool part:
There are lots of different ways you can make cold brew concentrate at home.
There’s no need to buy a fancy cold brew dripper – although you can, of course, if you like. There are plenty of ways you can make it using items you already have lying around.
Here are some different methods you can use to make your own cold brew concentrate, with step by step instructions for each.
The Home-Made Brewer
There are lots of things you can use to make your own cold brewer. A glass carafe, a stock pot, a bucket – basically any type of vessel that can hold liquid.
Everybody has at least one mason jar in their kitchen. If you don’t, they’re dirt cheap and easy to find. So this is a method that anybody can set up quickly and with minimal effort.
But you’ll need one more thing for this method, and that’s a strainer. You can use a cheesecloth, a nut milk bag, a fine mesh sieve, a filter bag – anything that’s fine enough to separate the coffee grains.
Note: If you’re using a fine mesh sieve or anything else that isn’t as fine as a cheesecloth, you might want to use a coffee filter as well for good measure.
Here’s what you need to do to make cold brew concentrate in a mason jar:
- Put your coarsely ground coffee in your vessel of choice
- Add room temperature filtered water
- Stir the mixture with a stirring stick
- Seal the container shut
- Leave it out at room temperature overnight (at least 12 hours)
- Open the container and pour the mixture through a strainer
- Pour the strained mixture into a bottle or mason jar and seal it
And there you have it – fresh cold brew concentrate!
The amount of water and coffee you use is up to you. Just make sure you stick to those golden ratio rules we talked about in the beginning.
You can store your cold brew concentrate for up to 2 weeks in the fridge, but I find it’s best to use it up within a week.
And let me tell you – I for one don’t have any trouble using it up while it’s fresh. A fridge stocked with this stuff is a coffee addict’s wet dream.
The Ready-Made Brewer
There’s a wide range of ready-made cold brewers available on the market. I can’t give you a step-by-step for this one, because the method varies heavily depending on the model.
Some of them have a plug at the bottom, so once you’re done steeping the coffee, you just unplug the bottom and it pours out through a filter into a decanter.
Others have a carafe with a filter basket inside. With these, the ground coffee sits in the filter, which you steep in the carafe that’s filled with water. Once it’s done steeping, you just pour the cold brew concentrate out of the carafe.
Other models don’t even use loose coffee grounds. Instead, they use filter bags with ground coffee inside that steep in a sealed carafe like a giant tea bag.
In any case, whichever type of model you buy is sure to come with an instruction manual, so you’re all set in that department anyway.
Just follow the instructions and you should get great results.
The French Press Method
This is one of my absolute favorite ways to make cold brew concentrate. It’s just so damn convenient.
If you own a French press, you should definitely give it a go.
You literally don’t need anything but a French press, ground coffee, and water.
Here’s how it’s done:
- Put your coarsely ground coffee in the French press
- Add room temperature filtered water
- Stir the mixture with a stirring stick
- Close the top of the French press coffee maker
- Leave it out at room temperature overnight (at least 12 hours)
- Push the plunger all the way down
- Pour the cold brew concentrate into a bottle or mason jar and seal it
How easy is that?
Now all that’s left to do is dilute your cold brew concentrate, and enjoy!
Again, the amounts aren’t important – the ratio is. Scroll back up to the top of this article for a detailed explanation on ratios.
And to repeat – your cold brew concentrate is at its freshest within the first week, but it’s still pretty good for another week after that. Just remember to keep it sealed and refrigerated!
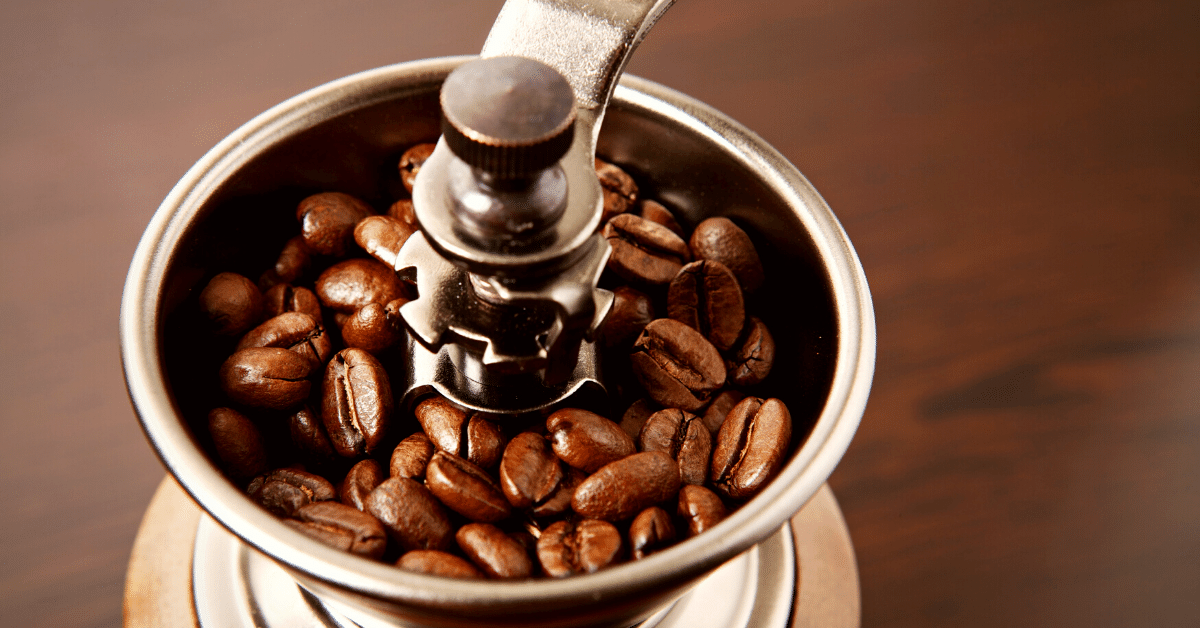
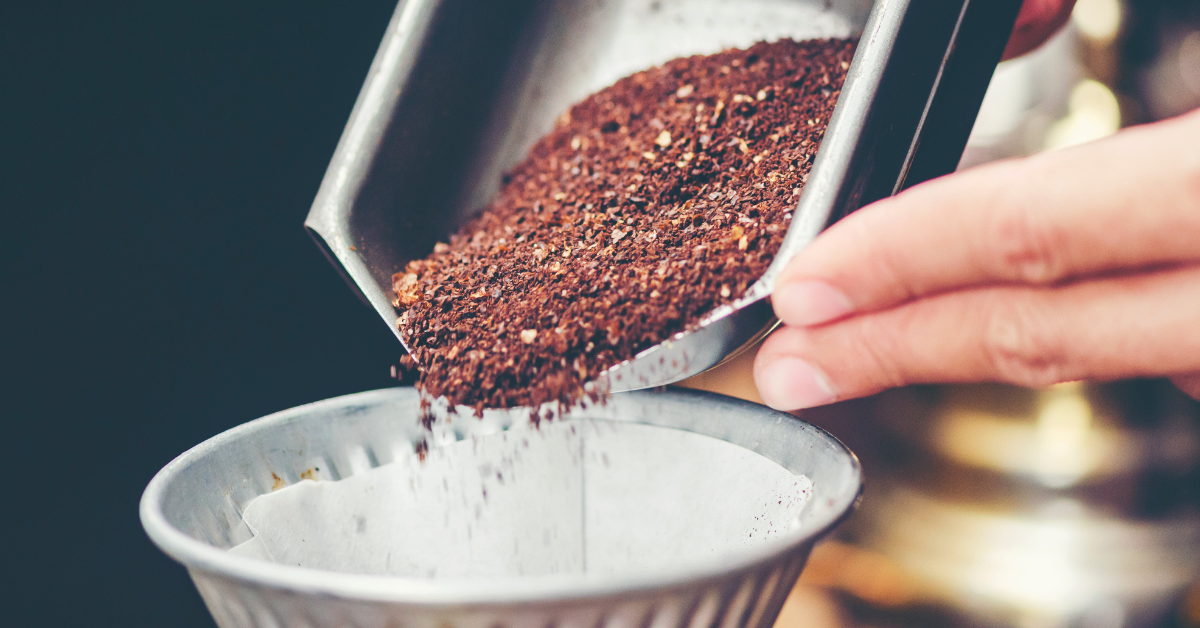
How Fine Should You Grind Your Coffee?
For cold brew coffee concentrate you should use the same grind as you would for regular cold brew – extra coarse.
The grind you use for cold brew should be coarser than for any other coffee brewing method.
Why, you might be wondering?
It’s because of the insanely long brewing time. Because the coffee and the water are in contact for so long, there’s plenty of time for all the flavors and aromas to be extracted.
Think about it:
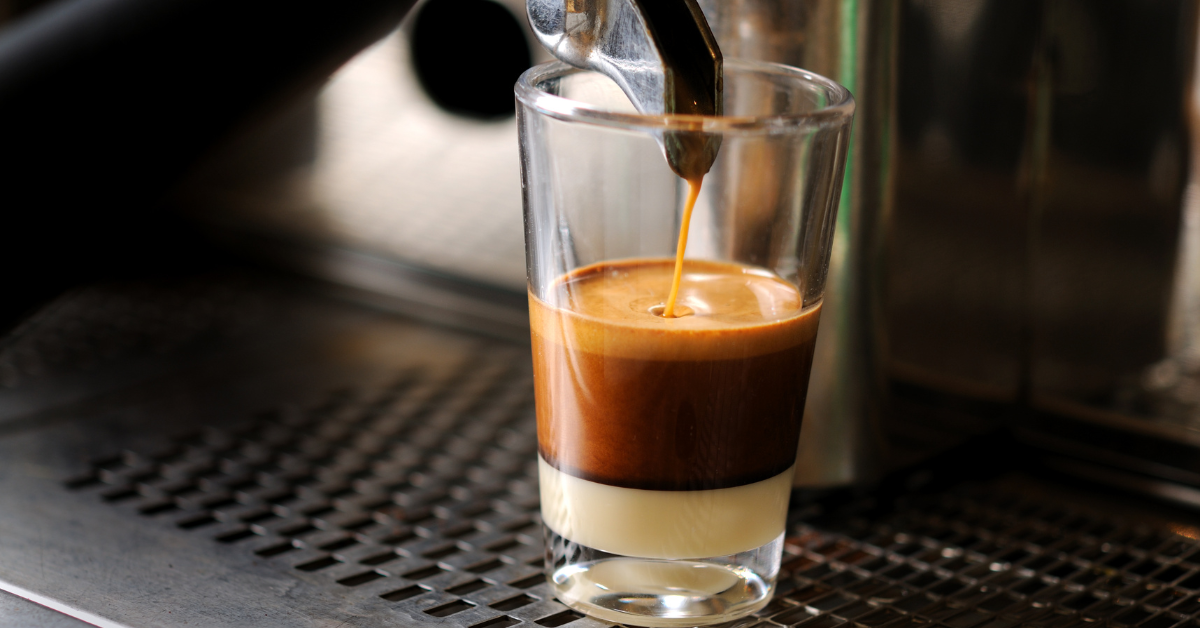
Espresso is the fastest method, and you use the finest grind to make it. That’s because more surface area means the coffee can be extracted quickly.
So it makes sense that on the flipside, cold brew – the slowest brewing method – uses the coarsest coffee grind.
How To Make Coffee Out Of Cold Brew Concentrate
OK, so you’ve made your concentration.
Now, what do you do with it?
Don’t worry – it literally couldn’t be any easier.
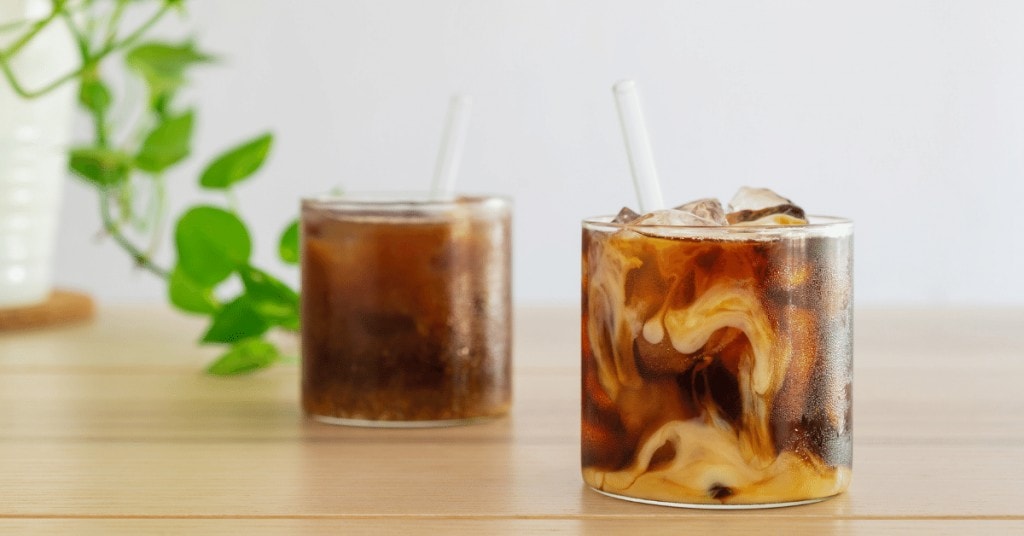
All you have to do is pour some into a cup with ice cubes and add water, milk, or plant milk. For an iced Americano, add water. For an iced latte, add milk or plant milk like soy, oat, or almond milk. For a proffee, add milk and protein.
The amount of water/milk/plant milk you should add depends on how strong you’ve brewed your concentrate. We talked about this at the beginning, so scroll up to refresh your memory.
I brew mine at a 7:1 water to coffee grounds ratio, so I find that it’s best to dilute it at a 1:1 ratio. In other words, half cold brew concentrate and half of whatever else it is that you’re adding to it.
However, if you prefer your coffee weaker or stronger, feel free to adjust the amount of water, milk, or plant milk to suit your own taste.
But what if you’re in the mood for a hot coffee drink?
Say no more!
Skip the ice and add hot water, milk, or plant milk.
That’s the best part – the liquid you add to your concentrate can be hot or cold. So you can choose between an iced coffee drink, or a hot coffee – depending on what you feel like.
You gotta love that kind of versatility.
Of course, you can add in any extras you want like sugar, vanilla syrup, caramel, pumpkin spice – anything you can think of to pimp your cold brew coffee.
The Bottom Line
That’s pretty much everything you need to know about cold brew concentrate.
Remember – it’s all about the ratios.
Whichever method you’re using to make it, you need to calculate your final water to coffee ratio.
To do this, you need to consider:
- Your water to ground coffee ratio when you’re brewing
- Your water to concentrate ratio when you’re diluting
Make sure that the ratio you end up with after dilution is somewhere between 15:1 and 18:1.
And don’t be discouraged if you don’t get it right straight away. With a little trial and error, you’ll eventually get amazing cold brew for a fraction of the price you’re paying at coffee shops.
Good luck and happy brewing!