This James Hoffmann V60 coffee recipe is one of the best I have come across.
It combines a lot of traditional brewing with some key insights about why we choose some techniques over others.
In this article, I’ll break down James’ recipe and give you a step-by-step guide on how to do it at home.
And I’ll include some of my own tips and tricks for elevating your V60 brew.
Let’s get started!
James Hoffmann V60: The Basics
There are a few things we should probably go over before we get into the actual brew guide.
If this is your first time brewing with Hario V60, or if you’re looking for a new coffee recipe, this is the place to start.
Who is James Hoffmann?
The honest truth is that James Hoffmann is more than just a coffee YouTuber.
Those of us who have been around coffee for a long time knew about James well before he started YouTube.
That’s because he first became a coffee name in 2007 when he won the World Barista Championship.
After that, he started Square Mile Coffee Roaster and authored The World Atlas of Coffee. And even with his YouTube channel, he still works as a consultant for coffee businesses around the world.
He started a YouTube channel after doing most of that.
So, yeah, he does know what he’s talking about!
Is this recipe different from others?
Yes and no.
If you already have a V60 recipe that you love, this will look very similar.
However, there’s definitely something in this recipe that will help you elevate your V60 brew a little bit.
James takes care to explain why each step and piece of equipment matters.
If you are completely new to brewing with this Japanese coffee maker, then this recipe is a phenomenal starting point. It’s easy to follow and gives you a base for understanding how extraction in a pour over setting works.
How to Brew James Hoffmann’s V60 Recipe
DISCLAIMER
This is an intense recipe. When I was starting out as a barista, I wasn’t allowed to brew V60s for customers for three months while I trained. That’s not to say you shouldn’t try this recipe, but if your first few brews don’t turn out quite right, try again.
Before we start brewing coffee, we need to look at everything we’ll need.
Starting with the ingredients.
Ingredients
You only ever need two actual ingredients to brew a cup of coffee. But they are still worth thinking about again:
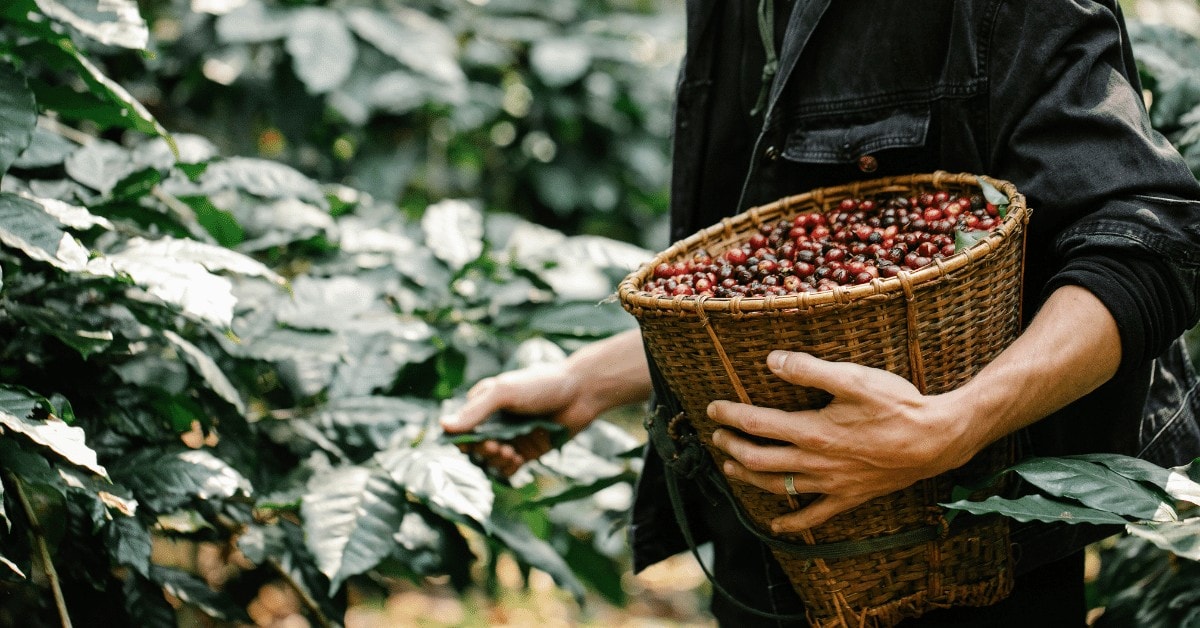
- Quality Coffee Beans. It doesn’t matter if you have the most expensive V60 and electric kettle, if you have bad beans, you’ll only make a perfectly awful cup of coffee. But quality beans don’t always mean expensive. Chat with your barista about your brewing method, recipe, and taste. They will more than likely have a recommendation for you!
- Water. The water you use to brew is just as important as the beans themselves. After all, 98% of your coffee is water. Using “hard” water, or water that is high in minerals, is not good. You want “soft” water or water that has lower mineral content. A good rule of thumb is that if your water tastes funny on its own, then it will taste funny in your coffee.
Once you’ve got your hands on good water and quality beans, then you’re ready to move on to the actual brew.
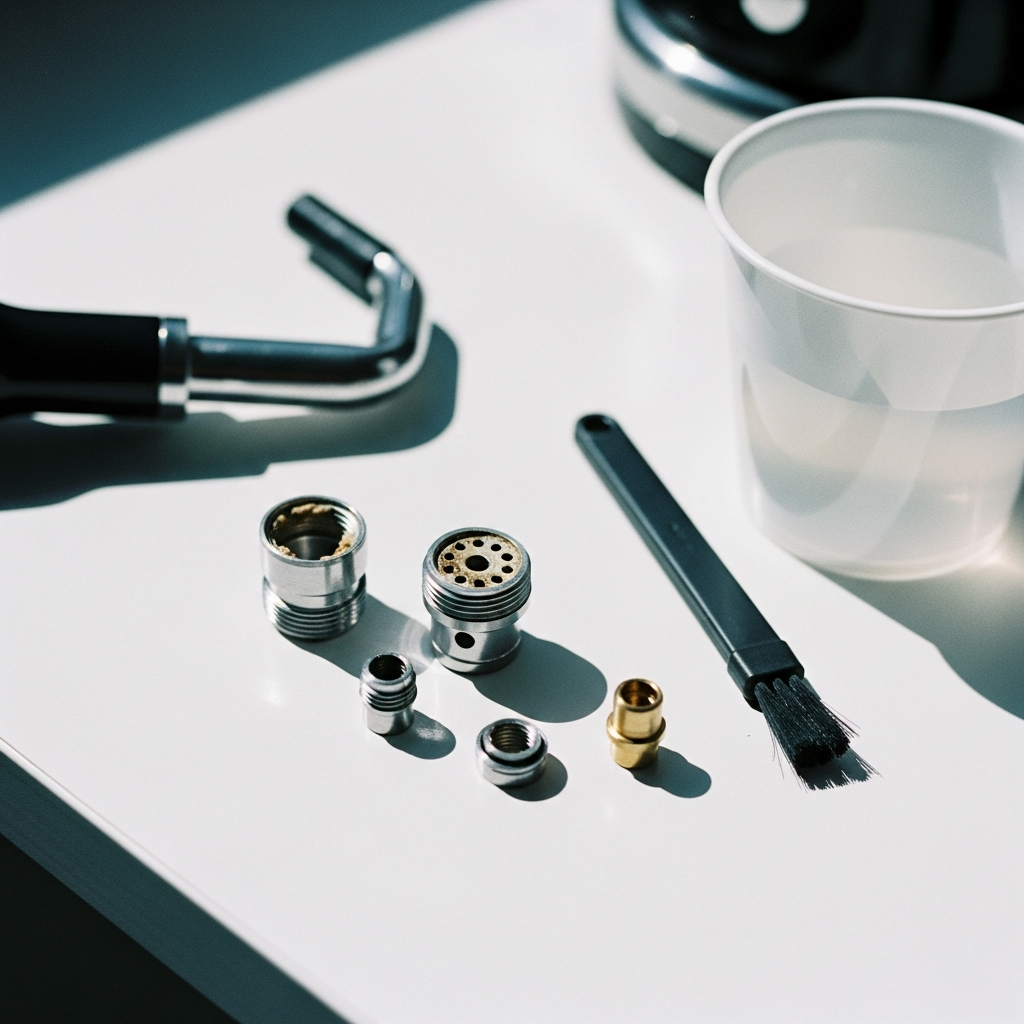
Equipment
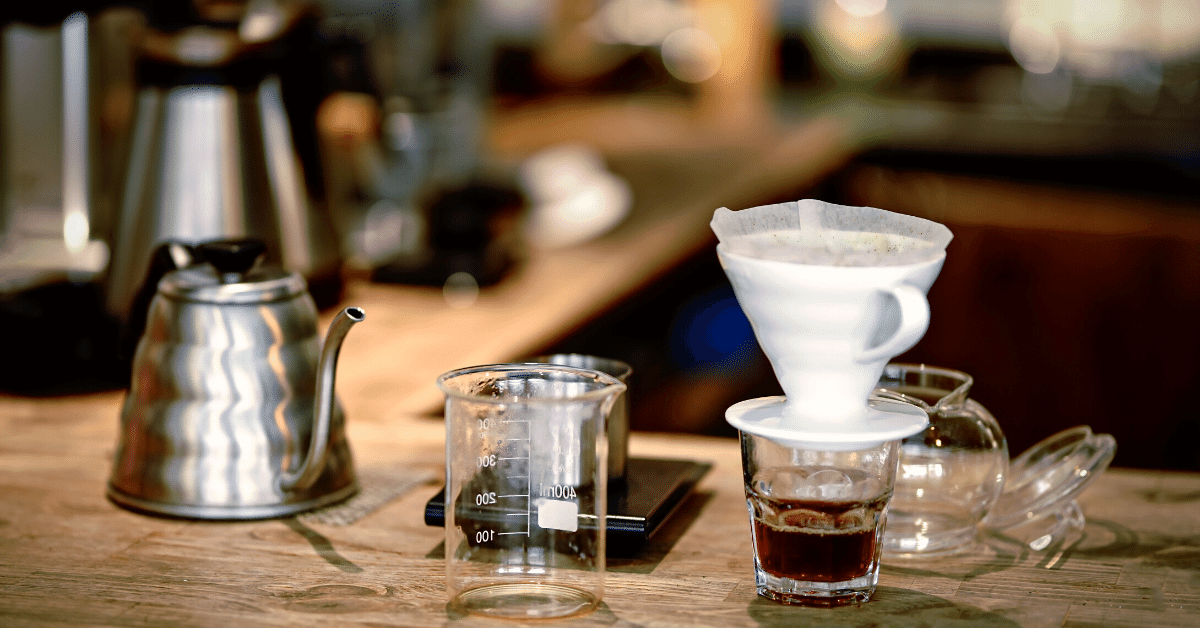
I know that this list looks intimidating, and it is. Especially if you don’t have any of this equipment.
Unfortunately, you’ll need all of these pieces to follow James’ recipe. And all of these pieces serve an important role.
- V60. A plastic V60 works just fine, but you can find them in ceramic, glass, or even metal. V60 refers to the shape of the brewer, not the material. James prefers plastic V60s for their heat retention.
- Filter Papers. Papers are important to consider but don’t play a huge role in the brew itself, especially if you get Hario filter paper. One thing you need to do: make sure you have cone filters and not flat ones.
- Digital scale. This is more important than it might sound. You need a scale that reads to the tenth of a gram at least. A scale ensures you have repeatable variables in your brew. It also means you have more control over your ratio and pouring.
- Timer. If your scale doesn’t have a built-in timer, then you’ll need a timer of some sort. I typically just use my phone’s stopwatch.
- Spoon. Any old spoon is fine.
- Kettle. This recipe is designed to work with any kettle you might have. The only thing to consider is that you should always pour from the kettle you heated the water. Decanting hot water into a pouring kettle is a waste of time and temperature.
- Grinder. You can use pre-ground coffee, but that will result in a less-tasty cup. Having a good grinder to grind beans right before you use them is ideal. And a grinder at home means you can further dial in your recipe.
Instructions
Now that we’ve got all the ingredients and the equipment, it’s time to brew!
Here are the parameters for your ingredients:
- 30g coffee: 500g water (~1:17 coffee to water ratio)
- On the finer side of medium (a note on grind size later)
And here’s the recipe:
- Grind 30 grams of beans.
- Rinse out the filter in the brewer. This removes any papery tastes and heats up the V60.
- Add grounds to the center and make a well in the middle. This is helpful for the next phase of coffee brewing.
- Zero the scale, start your timer, and begin to pour. Only pour 2 grams of coffee per gram of coffee.
- Stop pouring at ~60grams. Get all of the coffee wet.
- Put the kettle aside and swirl the brewer. This is to ensure that the coffee ground and water are evenly mixed. If you swirl for a bit and there are still some clumps of coffee, keep going until everything is evenly mixed.
- Let it rest for 30-45 seconds. Returns diminish after 30 seconds but don’t wait longer than 45 seconds. This “bloom” phase allows any extra CO2 to get out of the coffee.
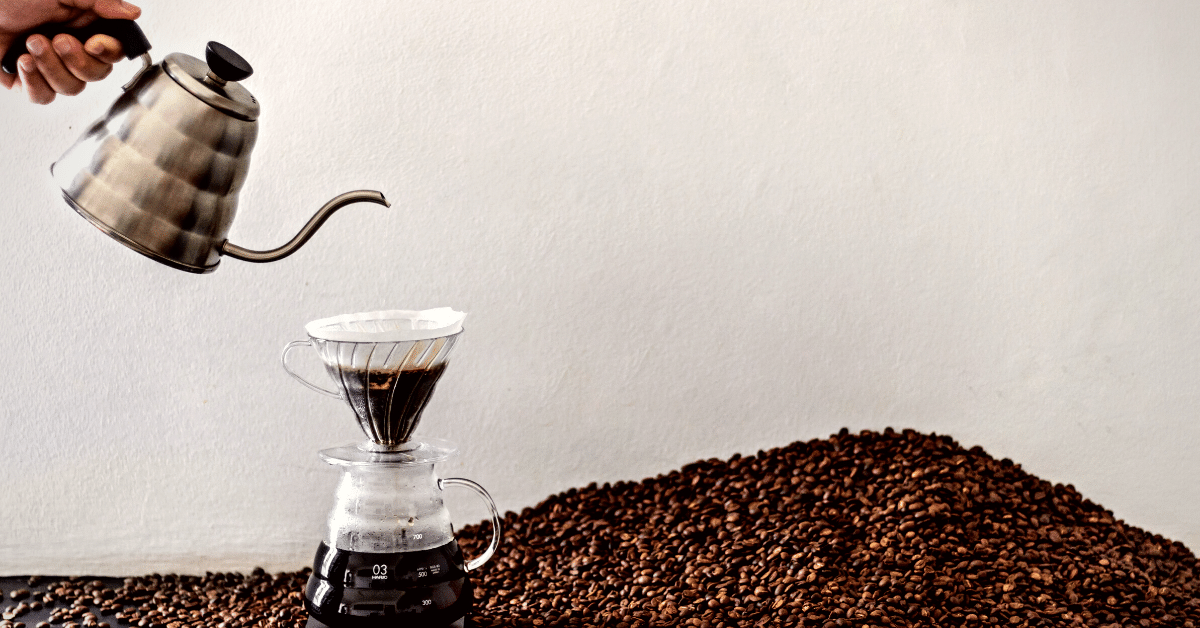
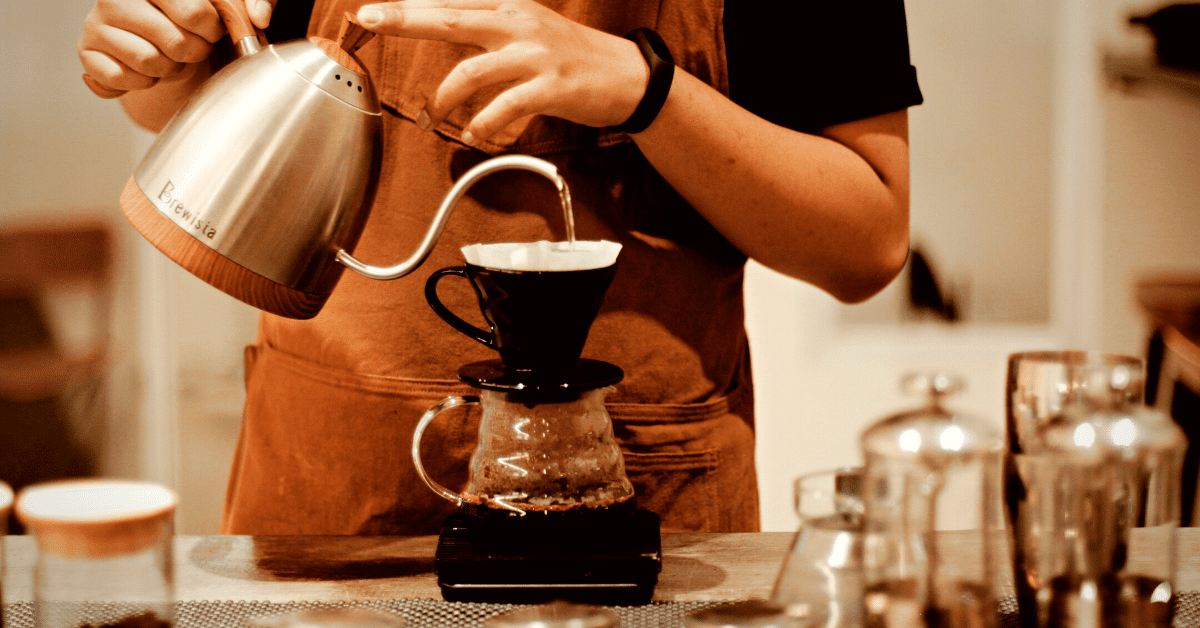
- Pour 60% of the total water in the next 30 seconds. For this example, you’re aiming for 300 grams of water in the brewer by 1:15. Don’t pour too aggressively or too timidly. You want an even and consistent pour.
- Pour a little slower and aim for 100% of water in the next 30 seconds. Again, don’t pour too aggressively. You want to keep the cone full for most of this step. Keeping the cone full helps keep the temperature high. And the higher the temperature, the more even and consistent the extraction.
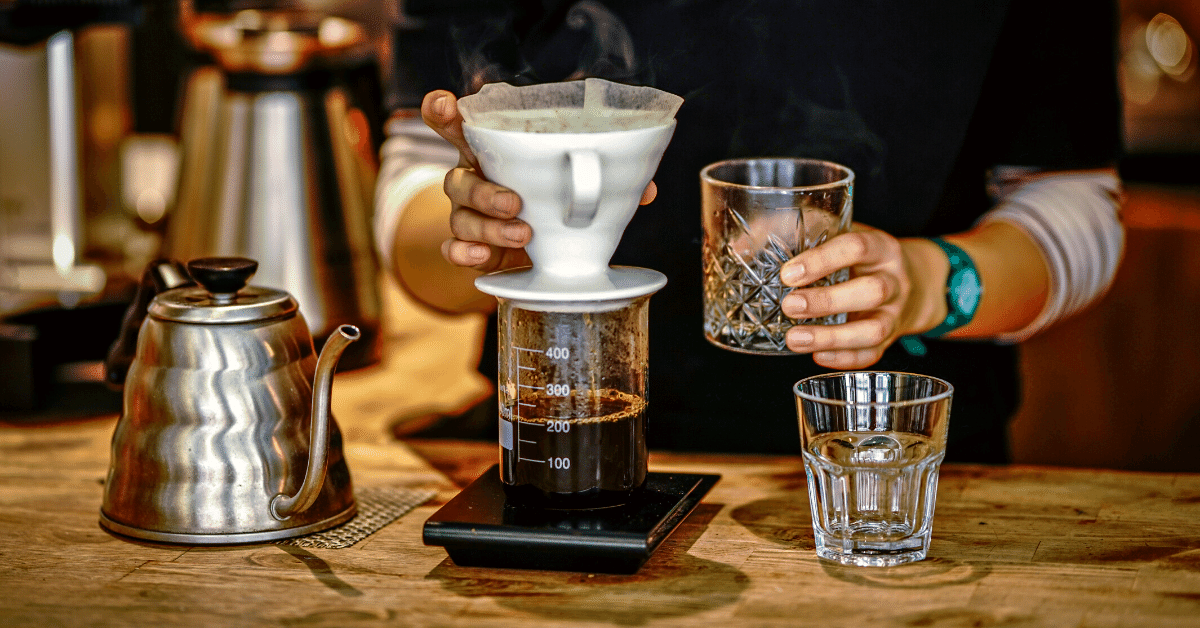
- Grab your spoon and stir twice in each direction. This is to loosen ground stuck to the side of the filter. Don’t stir fast. If you stir too fast, you’ll create a dome in the coffee bed. That’s no good. Stir slowly to keep the coffee bed flat.
- Give one final swirl. Do this once the water is a little lower. This is to help flatten the coffee bed and get any final grounds off the side of the filter.
- Let the coffee drawdown. This takes some patience. Typically your total brew will take between 3-4 minutes. But note how long each brew takes to help dial in your grind in the future.
- Enjoy.
Pro Tips
- Preheating your V60 is really important. If you have the plastic one, hot tap water works alright, anything else and you should use the hottest water possible. Preheating coffee brewers is simply good practice.
- Aiming for 60% in the initial pour is scalable. If you’re using a different ratio or a smaller V60, you should still aim for 60% of your total water by 1:15. This tip actually applies to most other pour-over brewers as well. I use 60% as a benchmark for my pour-overs.
- Brew hot, brew fast. This doesn’t mean you should aim to brew quickly, it means you should aim to keep the temperature high. A higher temperature means you will brew quicker and have a more even and consistent extraction.
- Change your brew by changing your grind instead of other variables. When you do this recipe over and over, you’ll want to start dialing into specific coffees or tastes. You should do this by changing the grind size instead of other variables. My rule of thumb is to grind coarser and coarser until you reach a wall where the coffee tastes astringent, bitter, and awful. Then slowly walk the grind back until your coffee tastes amazing.
- Keep a journal. This is an odd tip, but if you want to really dial in your V60 brews, keeping a journal is a great idea. You should take note of all the parameters, variables, times, and tastes. Then you can go back through your journal to start seeing patterns. And you can change variables to see how those change the taste. Journaling coffees is also a good way to start developing a palate.
My Final Thoughts
James Hoffmann is an accomplished coffee professional. And I really do respect him as more than just an influencer.
This is the V60 recipe that I use whenever I brew a pour-over. And I hope that you’ve learned something new!
Again, don’t be discouraged if this is your first time with a V60. It took me three months of intense training before I was allowed to serve customers.
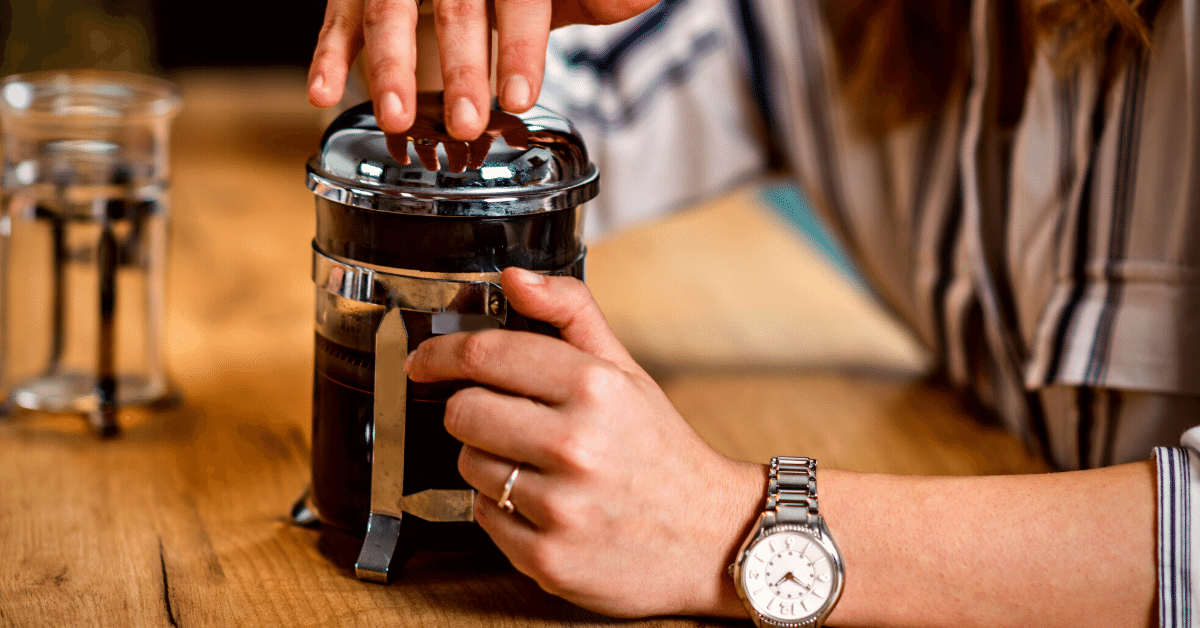
Looking for more of James Hoffman’s brewing methods? Check out our article on his French Press coffee recipe.