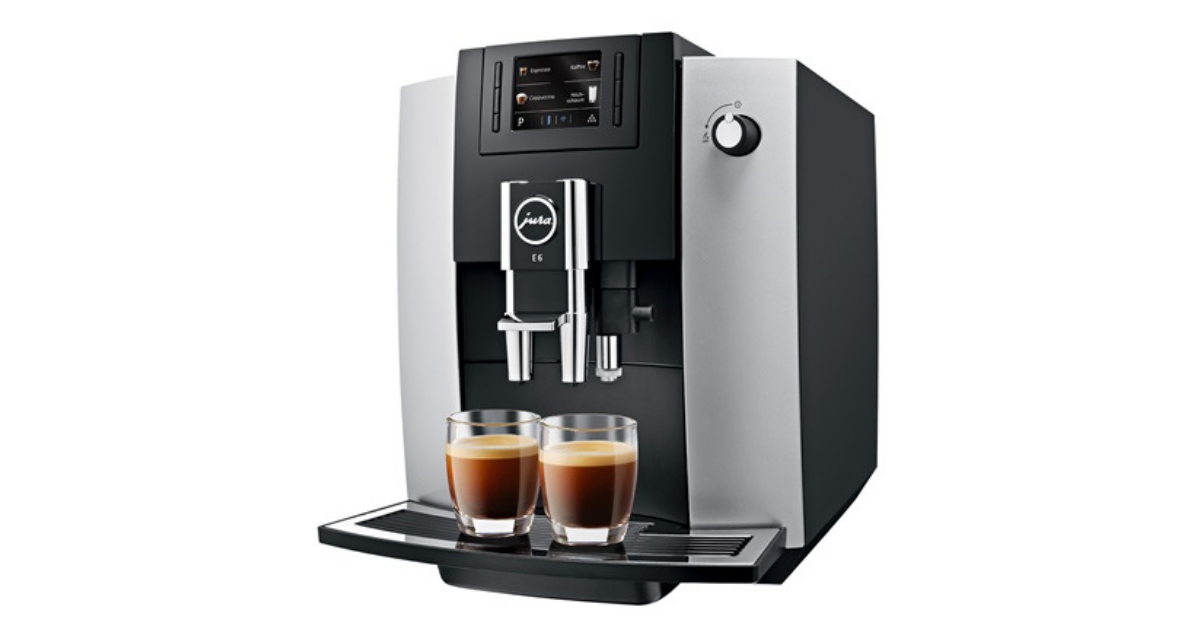
Feeling sick?
Maybe it’s just the common cold. But maybe it’s your coffee.
No, I’m not joking.
Your Keurig machine could be a potential breeding spot for mold, which can get you sick as much as a winter virus.
In this article, we’ll go over everything you need to do to prevent mold from growing in your machine.
We’ll also list all the common symptoms of Keurig sickness so that you can recognize it in time.
Let’s get straight to the point.
Symptoms of Keurig Sickness

Just to make things clear – it’s not like one cup of moldy coffee will get you to the ICU. But prolonged exposure to mold and bacteria from your coffee maker can cause the so-called Keurig sickness.
Some of the most common symptoms are:
- Stuffy nose
- Watery eyes
- Sneezing
- Wheezing
- Coughing
- Skin rash
- Headache
- Sore throat
- Heartburn
- Acid reflux
- Nausea
Some people are allergic to mold. In that case, these symptoms might be more severe, even causing an asthma attack.
What to Do to Prevent Mold in Your Keurig
Luckily, none of that should happen if you take precautionary measures. Here’s what you need to do to prevent mold and bacteria inside your coffee machine.
Clean and dry removable parts of the machine
Your Keurig coffee maker has several removable parts. These include the water tank, filter holder, drip tray, and K-Cup holder.
Each of them is in contact with either water or coffee – in some cases, both. This already creates a suitable environment for mold to grow.
You should clean both the water reservoir and filter once a week. As for the other parts, that should be done once you’re done making coffee for the day.
Change the water in your machine regularly
If you don’t drink a lot of coffee on a regular basis, water sits inside your reservoir for days.
In that amount of time, chlorine and other disinfectants will disappear. And in such an unprotected environment, mold (and even algae) can start growing.
So even though you might have a huge water tank, you don’t want to go more than 4 days without changing the water. If possible, you should do that every day for optimal-tasting coffee.
If you’re going away for a few days, always empty the water tank and dry it with a cloth before putting it back in place. Of course, don’t refill it until you get back.
Frequently change the charcoal filter
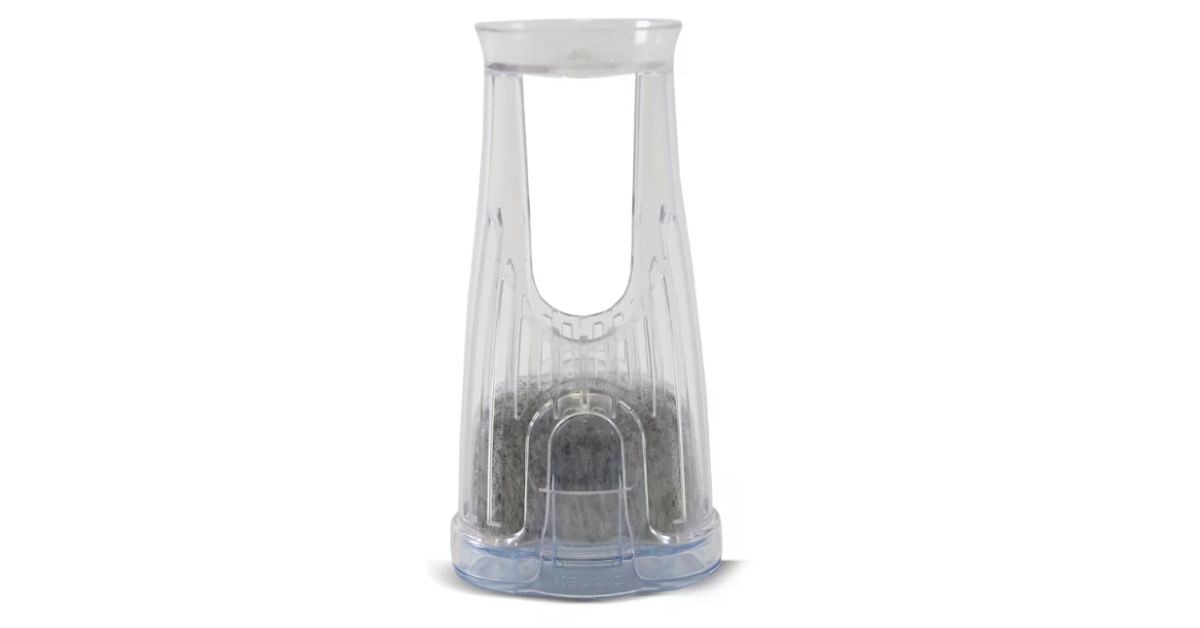
The charcoal water filter is also a suitable spot for mold growth, as it’s designed to trap grime and impurities from the water inside the tank.
Keurig recommends changing the charcoal filter every 2 months. But that’s a really rough estimate, as not everyone drinks the same amount of coffee on a daily basis.
If you don’t drink coffee religiously every day, the manufacturer recommends changing the charcoal filter once in 60 refills. This is, hands down, a much better calculation than sticking to the calendar.
Since it’s consumable, a charcoal filter will stop doing its job once it’s used up. It won’t do anything in terms of filtering water. In fact, it can only negatively affect your machine.
When you leave a charcoal filter in way past its due, its particles start tearing down and breaking apart. And some of these particles can end up inside the water line and block the water flow.
In that case, not only do you risk mold growing, but your Keurig won’t be able to pump water either.
Charcoal filters are cheap and easy to install, so there’s no excuse for not replacing them regularly. Here’s what you need to do:
- Remove the filter holder from the water tank and disassemble its parts.
- Take out the used charcoal filter and dispose of it.
- Place a new charcoal filter in a bowl filled with water. Let it soak for about 5 minutes.
- Rinse the new filter under a water stream for about a minute. Do the same with the filter holder parts.
- Put the new charcoal filter into the designated place inside the filter holder and assemble the parts together.
- Reinstall the filter holder in its designated place by pressing it firmly until it’s locked.
That’s it. The whole thing is pretty simple and doesn’t take up more than 5-6 minutes.
Also, you should run a descaling program after every second filter change.
Store the coffee properly
Coffee itself can also get moldy. And if you use it, it will end up in your machine, potentially creating a breeding spot somewhere inside.
Luckily, that’s easily avoidable by storing coffee properly.
In the case of K-Cups, always make sure that both the seal nor the capsule are intact. Even the tiniest hole is enough for both oxygen and moisture to get inside and cause coffee to go stale and moldy.
You should always keep the K-Cup stored in a dry and cool place, such as the pantry or a kitchen cabinet. Just make sure it’s away from the stove or the oven, as heat is not their best friend either.
Of course, you shouldn’t just let them sit out in the open and collect dust. It’s best to keep them in a container with a lid. I know that Keurig pod holders can be cute and all, but they’re surely not practical.
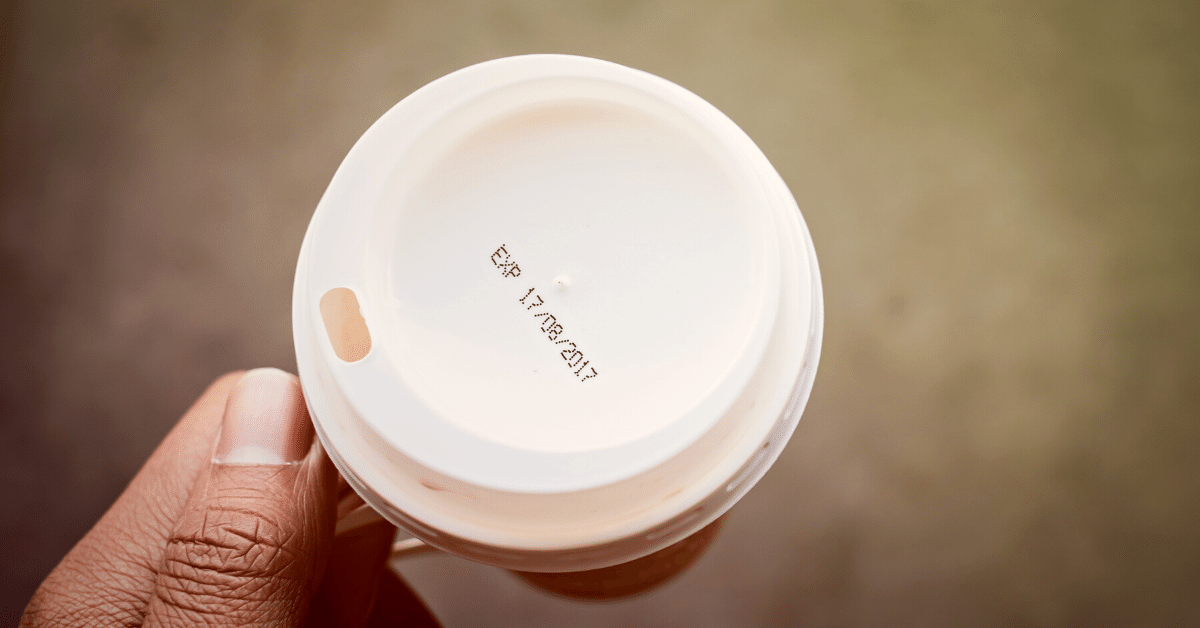
K-Cups have a rather long shelf life compared to ground coffee, but they also expire at some point. To assure you always have the freshest coffee, always buy the capsules with a best-before date that’s at least a few months away.
Prefer using reusable pods?
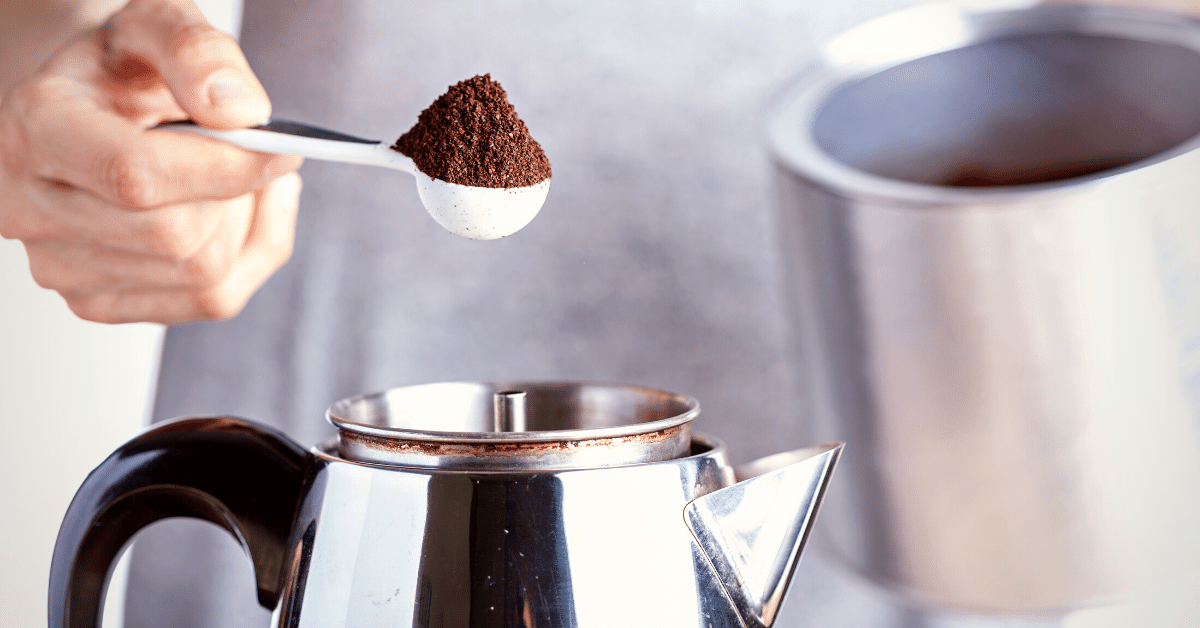
You should know that both beans and ground coffee could contain mold spores that weren’t destroyed in the roasting process. That’s actually a common thing for most food.
Mycotoxin levels are way below the safety limit, so that’s not something to be worried about.
But, things can get out of hand with improper storage and mold exposure. So, for instance, if you leave coffee grounds in a moist environment, those spores will form a mold colony in no time.
That’s why it’s important to keep your coffee grounds in an airtight container, somewhere where it’s dry, cool, and dark.
Properly clean and dry the reusable K-Cups
Routine cleaning of a reusable K-Cup after every use should be a rule of thumb.
Coffee grounds can easily get stuck between the mesh, and if you leave it there for too long, the inevitable with happen. Yes, you guessed it – mold and bacteria.
You should wash the reusable K-Cup with hot water as soon as you’re done brewing, then let it air dry.
Every now and then, you should also soak it in a mixture of water and vinegar to get rid of coffee oils that can build up between the mesh.
FAQ
Proper maintenance is key to keeping your Keurig mold-free. That’s why I’ve gathered answers to some cleaning-related questions you might have.
How often should Keurig be cleaned?
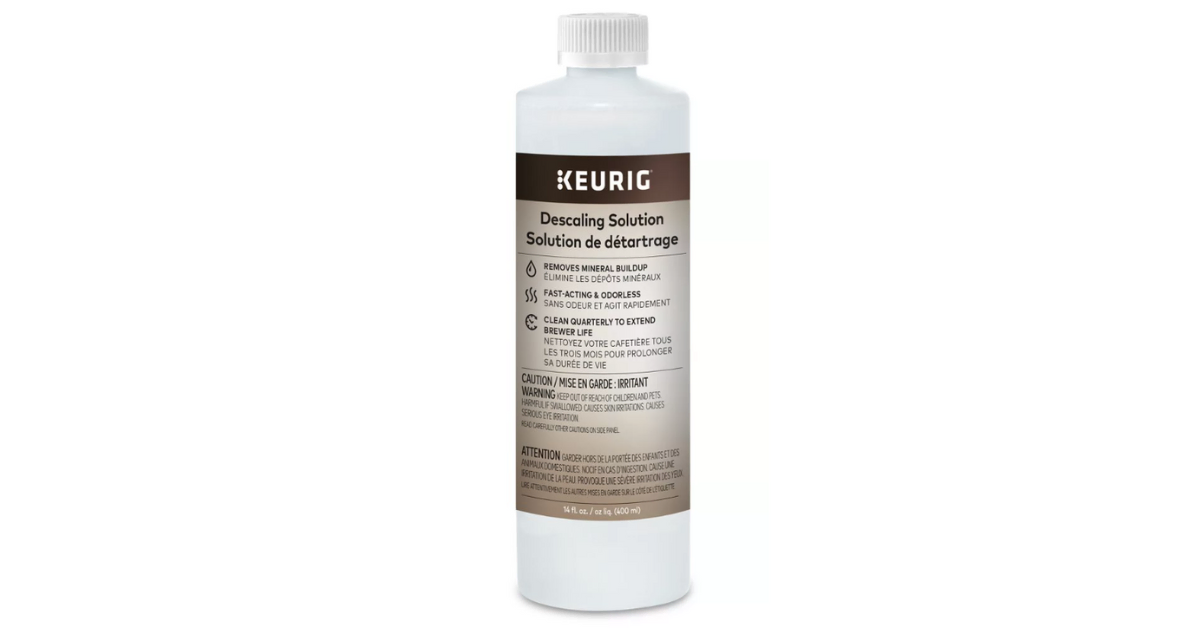
According to the manufacturer, you should descale a Keurig machine with a descaling solution every 3 to 6 months, depending on how often you use it.
As for the removable parts, they should be cleaned every day. Except for the water reservoir and the filter holder, which should be cleaned on a weekly basis.
What happens if you don’t descale your Keurig?
Once limescale builds up, your Keurig won’t work well. Brewing will take a longer time, and the final result won’t taste as usual. Eventually, your coffee maker might stop working completely from the water flow being clogged by the amount of debris.
Can you run vinegar through a Keurig?
Yes, you can. But it’s recommended to use a 1:1 ratio of water to the white vinegar solution. Using pure vinegar can potentially damage your unit, as it’s too acidic.
Final Thoughts
With all the water and coffee growing through your Keurig, the risk of mold and harmful germs growing inside the machine is high.
Prolonged exposure to mold in your coffee can cause Keurig sickness. Its symptoms range from allergic reactions to more serious respiratory problems.
Luckily, you can easily avoid that. As long as you properly store coffee and frequently clean all parts of your coffee maker, you shouldn’t worry about getting nauseous from drinking coffee.


