Does your cup of coffee taste odd lately, or does the brewing take too long?
The solution is simple… You need to clean your Cuisinart coffee maker.
I did thorough research, and now I have all the essential information in my pocket.
Follow my easy step-to-step guide on how to clean a Cuisinart coffee maker, and you will brew delicious coffee again in no time.
Let’s dive in!
How Often Should You Clean the Cuisinart Coffee Maker?
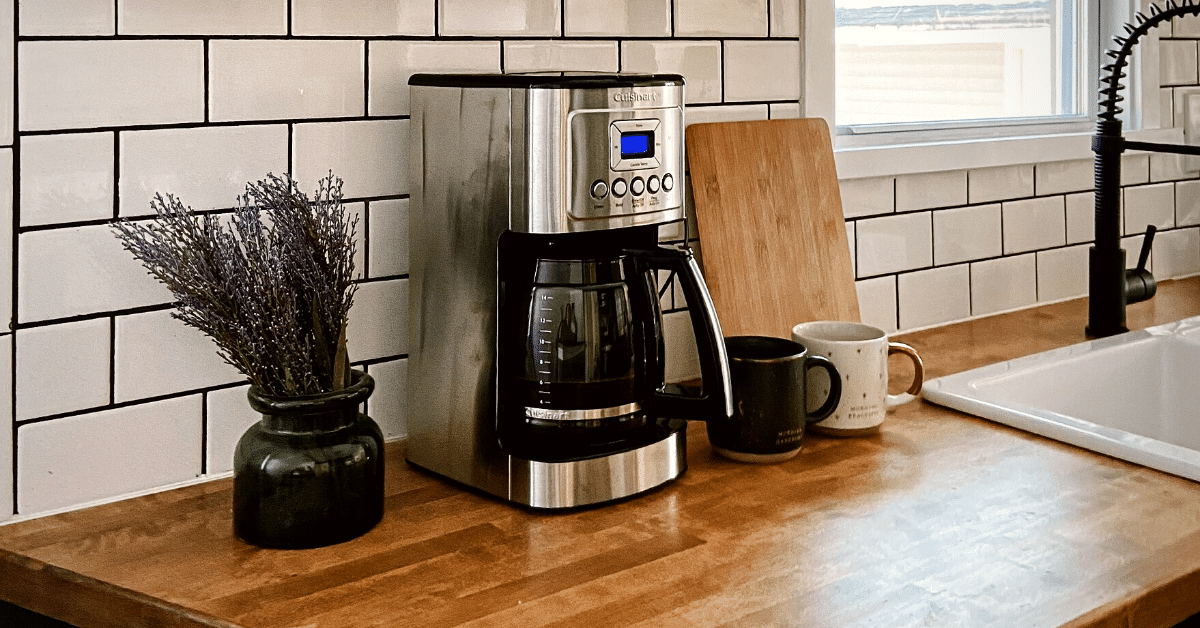
We can definitely agree that Cuisinart coffee makers are one hell of a good machine.
But there’s a catch…
Even the best coffee maker needs care and proper maintenance if you want them to make good coffee for a long time.
You can tell that your machine needs cleaning when:
- little CLEAN light on the front starts flashing (on the Cuisineart coffee makers that have the auto-clean program)
- your coffee tastes off
- it takes too long to brew coffee
- the coffee maker is making unusual and loud noises
- your brew is not hot as it should be
Here’s the deal:
The thing with all drip coffee makers is that water leaves behind mineral residues inside them.
Ever heard about “hard water”? It means that water contains a lot of minerals like calcium and produces limescale.
So, you can picture how limescale buildups slow down your coffee machine and even cause permanent damage.
Not to mention that some part of those buildups will inevitably end up in your cup.
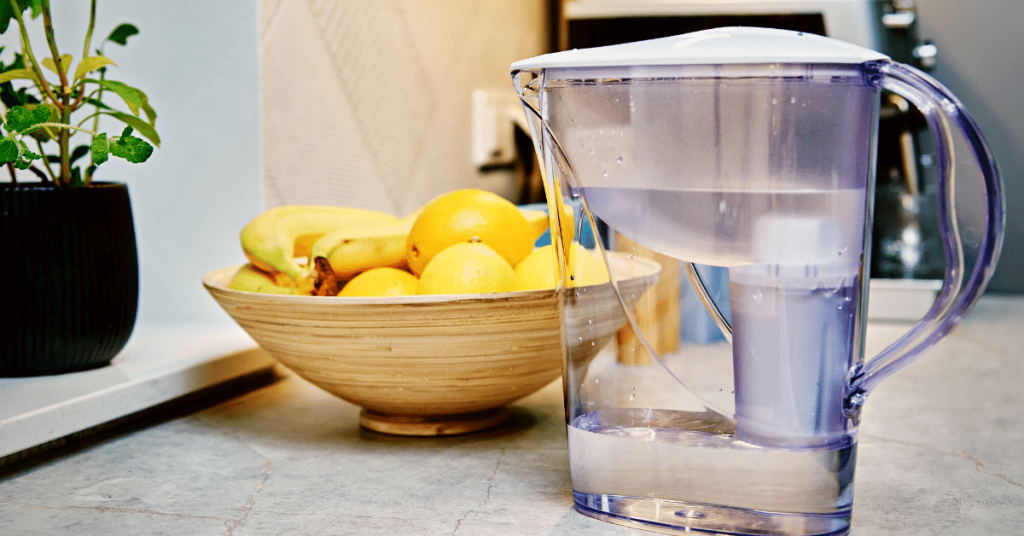
Of course, it would be much better if you used filtered water. But even then, you can’t completely avoid calcium accumulating inside of your Cuisinart coffee maker.
On top of that, there is a coffee residue buildup in the machine. While brewing, coffee extracts oil and sugar, which also sticks inside, making a nasty guck.
Not only can those build-ups clog your machine, but, in combination with moisture, they are a playfield for bacteria and fungi. And you definitely don’t want those growing inside of your beloved coffee maker.
Fortunately, there’s a simple solution.
Just clean your Cuisinart coffee maker!
You must be wondering how often you should do it, right?
Well, it depends mostly on how hard your water is and how often you use your coffee maker.
If you have a Cuisinart machine with a self-cleaning program, you don’t have to think about it. The CLEAN light will start flashing to warn you when the time for cleaning.
Otherwise, it is recommended to clean it every 3-6 months. But, if you’re using hard, tap water, you can do it even more often, even once a month.
How to Clean a Cuisinart Coffee Maker: Auto-Clean Button
Are you struggling with cleaning your Cuisinart coffee maker regularly? You’re telling me!
To be honest, I need a reminder to do that regularly. And some help to do it as easily as possible.
I often just forget about cleaning my coffee maker, or I just delay it until my coffee gets really bad. (Yuck!)
Luckily, they designed a Cuisinart coffee maker with a self-cleaning program. It has a LED light that flashes when it’s time for cleaning.
So convenient for a slacker like me!
What You Will Need
For cleaning the inside of your Cuisinart coffee machine, all you need is a descaling solution.
You can make it on your own. Just mix up vinegar and water in a 1:2 ratio.
Vinegar is awesome for descaling, but it also kills germs and bacteria.
Most likely, you already have vinegar at your house, so you can skip buying more expensive descaling solutions.
Of course, if you want to use commercial solutions from the market, be my guest.
Step-By-Step Instructions
If you are ready, let’s get down to business and clean your Cuisinart coffee maker!
- Remove the charcoal water filter from the coffee maker. If you notice that the filter holder also has limescale, you can soak it in a vinegar solution. Just take out the filter first.
- Take out the permanent filter, but leave the filter basket inside. Make sure there are no coffee grounds leftovers in it.
- Place the empty carafe in its place.
- Pour vinegar and water mixture into the coffee maker’s water tank. Make sure you fill it to the Max line.
- Press the CLEAN button. It’s the same button that flashes to notify you that your machine needs cleaning. Press and hold until the light is steady. Cuisinart will signal you with a beeping sound when the cycle is finished. The whole cycle lasts about 30 minutes.
- Pour out the dirty vinegar and water mixture from the carafe. If it’s too murky and you can actually see limescale particles (white, chalky particles), mix a fresh measure of vinegar and water and run one more cycle. This time you can use a regular brewing cycle.
- Once it’s finished, empty the carafe and clean it thoroughly.
- Run two or three water-only brewing cycles to wash out vinegar leftovers and smell from your coffee maker.
- Put back in the charcoal filter. By the way, you should change a charcoal filter from time to time. Although a general thumb rule is to change it after about 60 brewing cycles, you can do it more often if your water is very hard.
And that’s it. Your Cuisinart coffee machine is as good as new!
How to Clean Cuisinart Coffee Maker Without Auto-Clean Button
If you have a Cuisinart coffee maker model without an auto-cleaning program, there is not too much difference in the cleaning process.
Just follow my instruction, and you’ll finish cleaning your coffee maker in no time.
What You Will Need
Same as with an auto-cleaning Cuisinart coffee machine, you will need only a descaling solution, for example, white vinegar.
Mix white vinegar with water in a ratio of 1:2.
It will descale and disinfect your coffee maker.
Step-By-Step Instructions
- Remove the charcoal water filter from the Cuisinart coffee maker. If the filter holder has limescale also, soak it in a vinegar solution also. Just take out the filter from the holder first.
- Take out the permanent filter, but leave the filter basket inside. Make sure there are no coffee grounds leftovers in it.
- Place the empty carafe in its place.
- Pour vinegar and water mixture into the coffee maker’s water tank. Make sure you fill it to the Max line.
- Start the regular brewing cycle.
- Pour out the dirty vinegar and water mixture from the carafe. If it’s too dirty and you can actually see limescale particles (white, chalky particles), mix a fresh measure of vinegar and water and run one more cycle.
- Once it’s finished, empty the carafe and clean it.
- Run two or three more cycles with just clean water to wash out vinegar leftovers and smell from your coffee maker.
- Put back in the charcoal filter. The charcoal filter should be replaced from time to time. It’s recommended to change it after about 60 brewing cycles, but you can do it more often if your water is very hard.
NOTE
If you run out of white vinegar you can clean your coffee maker with apple cider vinegar too.
Cleaning the Exterior of Cuisinart Coffee Maker
Now when your coffee maker is squeaky clean from the inside, don’t forget to polish the exterior too.
Cleaning the Carafe
It’s such a shame to see a beautiful glass carafe covered with stains.
My mom’s carafe looks like it was bought yesterday, and she’s been using it for years. So let this be our goal!
All you have to do is to wash it with warm water and detergent after every use. You can even put both the carafe and its lid on the top rack of the dishwasher.
After washing, wipe it with a dry, soft cloth to avoid limescale stains from water.
But if you’re dealing with some hardcore stains, baking soda can help you.
Put some baking soda on a wet cloth or sponge and gently rub the stain. Or soak it in warm, soapy water and add a coffee spoon of baking soda.
This should do the trick and make your carafe sparkly clean again.
Cleaning the Base and Exterior
When it comes to cleaning the base (heating plate) of your Cuisinart coffee machine, the only thing you need is a damp cloth or sponge.
You know that one last drop of coffee that always ends up on a heating plate? Wipe it as soon as the base cools down. If you leave it there, reheating over and over again, it’ll become much harder to wipe off.
If this is the case, take just a drop of dish soap on a wet cloth and gently clean the base.
Wipe all the soap with a clean, damp cloth, and make sure it is completely dry when you finish.
The same goes for the rest of the Cuisinart exterior: damp cloth and a drop of dish soap will be enough.
Avoid using aggressive cleaning products if you don’t want to scratch or damage your coffee maker. Also, don’t use anything harder than a sponge, such as steel wool.
Note: Always unplug the coffee maker when you’re cleaning it like this. Also, never put it into the water or any other liquid.
3 Pro Tips for Cleaning and Maintaining the Cuisinart Coffee Maker
Keep on reading because I will give you some easy tips on maintaining your Cuisinart coffee maker and extending its lifespan.
- Use filtered water for brewing coffee and cleaning your Cuisinart coffee machine. Filtered water doesn’t contain as many minerals as tap water, so limescale will form slower.
- After each use, wash the permanent filter and filter basket, and let it dry completely. This way, oil from coffee won’t stick to the filter and basket, and you will prevent molding. Both of these are dishwasher-safe. From time to time, you can also soak them in a vinegar and water mixture.
- Wash the carafe after every use, but first, let it cool down. If you pour cold water into the hot carafe, a big temperature difference can break the carafe glass.
Wrap-up
And, that’s it:
If you take good care of your Cuisinart coffee maker and maintain it properly, it will brew you magnificent coffee for years.
Wash the removable parts after every brewing and run the whole cleaning process once in 2-3 months.
Cleaning it is really simple. All you need is white vinegar, a clean cloth, and some time and patience.
Is your Cuisinart coffee maker leaking? Read our article and learn how to fix 11 common problems causing your coffee machine to leak.