This James Hoffmann AeroPress recipe is definitely one to save.
I use my AeroPress all the time and I’m always looking for the best recipes to try.
James Hoffmann came up with a simple, repeatable, and quick recipe that’s super tasty.
In this article, I’ll break down the AeroPress and give you a step-by-step guide on how to brew like James Hoffmann.
Let’s get to it!
AeroPress Coffee: What You Should Know
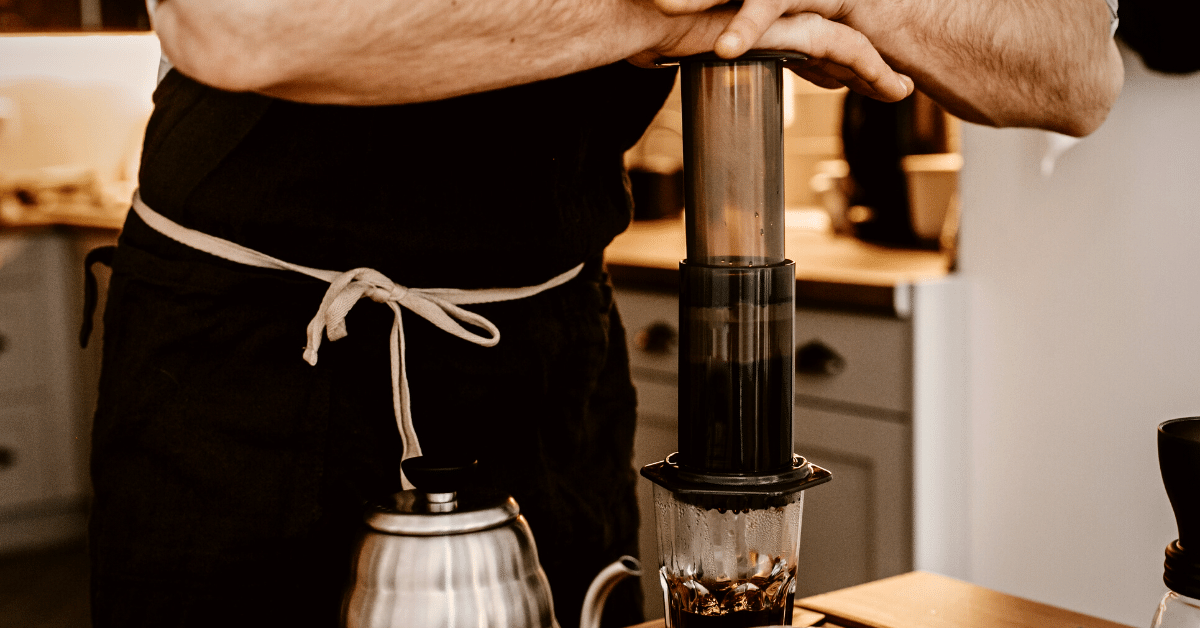
If you told me I could only have one coffee brewer for the rest of my life, I would probably choose AeroPress.
For me, it’s the most versatile and usable brewer ever made. And it’s wildly popular.
I mean, there’s even an annual World AeroPress Championship. (The winner gets a golden AeroPress.)
Do you know what’s crazy about that? The AeroPress has only been around since 2005, making a baby in the coffee world.
But it’s more than a cult brewer, it’s actually a really solid option for a daily coffee.
It can make brewed coffee, iced coffee, Americano-style coffee, and even an espresso-style brew you can use for lattes.
The versatility is awesome, but that doesn’t entirely explain why the AeroPress is such a success.
Another piece is that the AeroPress is easy to use and very forgivable. You don’t need a fancy kettle, you don’t have to pour in a specific way or deal with expensive pour-over brewers.
AeroPress is designed for home use.
And yes, it is technically an immersion brewer like a French press. But it uses paper filters instead of metal ones. That means you usually get a cleaner and less muddled cup.
James Hoffmann’s Aeropress recipe
There are two things you need to understand before we dive headlong into James Hoffmann’s AeroPress recipe:
- James knows what he’s walking about. He won the World Barista Championship in 2007. He wrote The World Atlas of Coffee and has a successful YouTube channel. This is a good recipe from a reputable source.
- There are many, many ways to brew in an AeroPress. This isn’t supposed to be the ultimate aeropress technique you should try. Instead, it’s meant as a guide for you to build your own AeroPress recipe. Take what you want from this recipe and add them to how you already brew.
Okay, let’s get into the actual recipe.
What You Need To Get Started
Here’s everything you should have on-hand to brew:
- Coffee. Any coffee works in an AeroPress, so whatever you enjoy at the moment is a great choice.
- AeroPress. Obviously. These are cheap and easy to acquire.
- Digital Scale. This isn’t exactly necessary, but it helps to keep your brews consistent.
- Hot Water. Notice I didn’t say kettle. That’s because however you heat water is good enough for this recipe. Kettle, pot, gooseneck kettle: it doesn’t matter.
- Filter. Filters in the box with the AeroPress.
How Much Coffee And Water To Use
As with most coffee brewing recipes, there are only two ingredients:
- 11 grams of coffee. It should be on the finer side. Just a touch coarser than espresso. That said, there’s no one answer for grind size, and that’s one of the variables to change later.
- 200 grams of water. Generally speaking, for a lighter roast coffee bean – the hotter, the better. In fact, you can pour right off boil for the light roasted coffee. For medium or dark roast beans, a little cooler than boiling works better.
This gives us about an 18:1 water to coffee ratio. This is a good place to start for making a slightly bigger or smaller cup of coffee.
The Step-By-Step Guide
Now, let’s get into the actual brew:
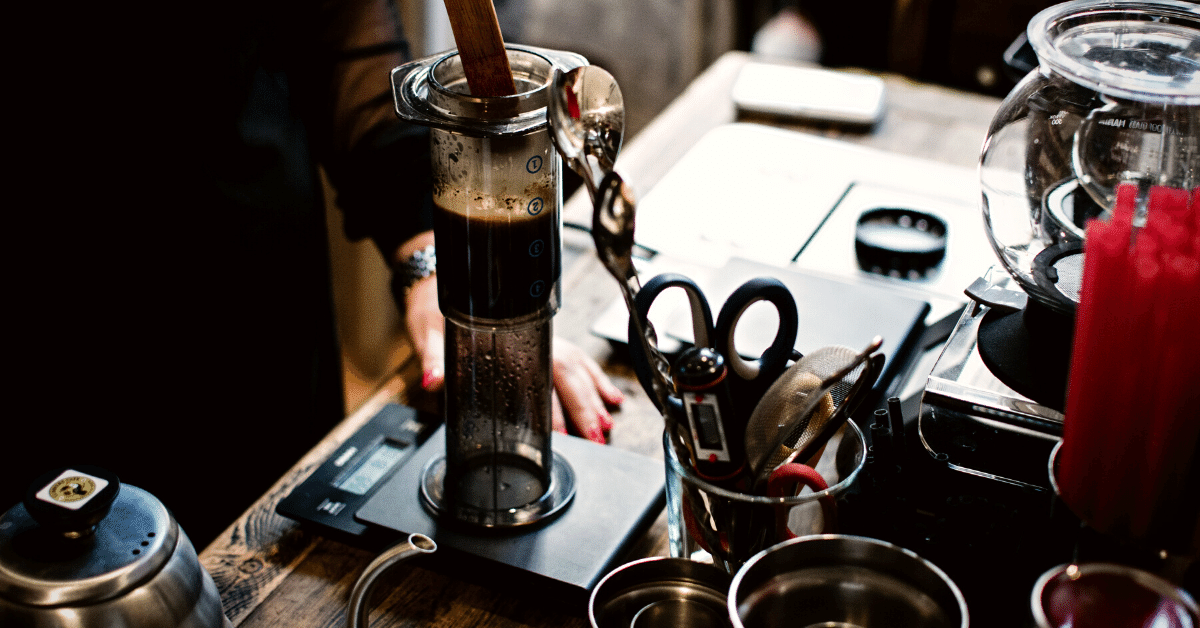
- Disassemble your AeroPress. Take the plunger out and remove the filter basket.
- Place a filter in the basket and put it back in the brewer. You don’t actually need to rinse the filter, but you can if you want to.
- Place the brewer onto a mug or carafe. Or whatever you’re brewing into. This could be a carafe or a mug. I use an old jam jar because I like the size and shape. You can even brew straight into a travel mug or thermos.
- Put coffee into the brewer and place it on the scale. Don’t forget to zero your scales before starting a timer and adding water!
- Add 200 grams of hot water. Unlike other home brewers, you add all the water at once in this recipe. Just aim to get all of the coffee wet in this step. It doesn’t matter too much how fast or slow you pour, just get all of the water into the brewer.
- Start a timer and place the plunger into the brewer. You start the timer after all the water is in the brewer. Don’t forget to add the plunger in this step.
- After 2 minutes, hold the brewer and plunger and swirl gently. You don’t want a vortex in the brewer. You’re aiming to get the crust of coffee grounds to drop to the bottom.
- Wait 30 seconds. After swirling, wait another 30 seconds for everything to settle.
- Press gently all the way. You can pause when you hit resistance. Then continue until you have pressed every drop from the brewer.
- Enjoy!
Recipe Box
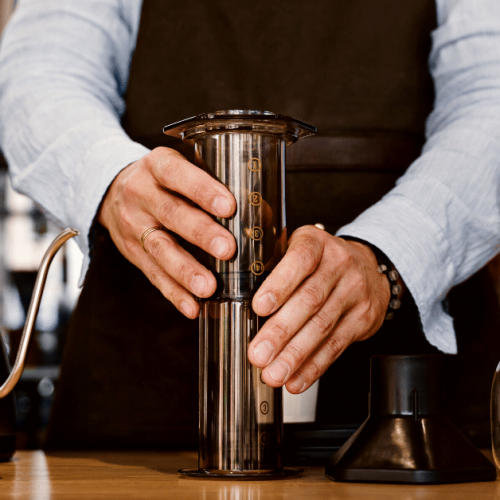
James Hoffmann’s AeroPress
Equipment
- AeroPress
- Coffee
- Digital Scale
- Timer
- Kettle
- Filter
Ingredients
- 11 grams of coffee (ground fine to medium-fine)
- 200 grams of water (just off the boil)
Instructions
- Disassemble your AeroPress.
- Place a filter in the basket and put it back in the brewer.
- Place the brewer onto a mug or carafe.
- Put coffee into the brewer and place it on the scale.
- Add 200 grams of hot water.
- Start a timer and place the plunger into the brewer.
- After 2 minutes, hold the brewer and plunger and swirl gently.
- Wait 30 seconds.
- Press gently all the way.
- Enjoy!
Notes
FAQ
If you haven’t encountered Aeropress before, you might have some burning questions about what it is and how it works.
I pulled out a few common questions and answered them in this section.
How is AeroPress different from a French press?
While both Aeropress and French press are immersion brewers, they are a little different.
Aeropress usually uses paper filters, while French presses use metal filters.
The other big difference is that Aeropress can only make about 8oz of coffee at a time.
French presses make anywhere from 8oz up to a liter.
There are also many more ways to brew in an Aeropress than in a French press coffee maker.
Which is better, V60 or AeroPress?
This is all personal preference.
In my opinion, Aeropress is much more beginner-friendly and versatile. You can, after all,
make an Aeropress in so many different ways.
However, V60 has a higher ceiling for how a cup of coffee tastes. As in, I believe you can
make a tastier cup of coffee in the V60 than in the Aeropress.
Each has its own merits, and each can produce a great coffee.
Why is my AeroPress coffee weak?
There are a number of reasons your Aeropress coffee might be weak. But the most common are:
• Not enough grounds
• Too short a brewing time
• Not letting your coffee bloom
• Too coarse a grind size
Following the above recipe should help you make a more consistent Aeropress!
Conclusion
Look, AeroPress is maybe the most versatile and user-friendly home brewer on the market.
But part of that is because there are so many ways to brew with it.
This isn’t meant to be the best recipe out there. It’s just meant to be another recipe you should try.
Take some of this recipe and add them to your own!
Want to try more James Hoffmann coffee recipes? Check out his V60 brewing guide.

