Want to make an AeroPress latte? Check out our guide and try the ultimate recipe for making a delicious latte with your AeroPress at home.
By owning an AeroPress, you can make a vast amount of coffee drinks at home.
Including the crowd’s favorite – a latte.
If you don’t know how don’t worry.
I’ve done it a million times before. And with a few tweaks here and there, I’ve found the best recipe.
So today, we’re learning to make AeroPress latte.
Let’s dive in!
The Basics of Latte
Before we get into technicalities, let’s discuss what a latte actually is first.
We all know it’s a milk-based espresso drink. But so is a cappuccino and macchiato.
The actual difference between the drinks lies in the ingredient ratio.
And in terms of a latte, the ratio is as follows:
- ⅓ espresso
- ⅓ steamed milk
- ⅓ foam
As you can see, there’s a lot of milk involved, which gives the latte versatility. Because it’s sweet and has a rich mouthfeel, it’s suitable for drinking any time of the day.
Furthermore, you can serve it hot or iced and even add syrups and toppings for additional flavor.
Regular Espresso vs AeroPress Espresso for a Latte

Let’s make one thing clear.
Coffee purists will tell you that the espresso you get with an AeroPress is not an authentic espresso.
And the main reason lies in the actual coffee maker.
You see, true espresso machines use a 9-bar pump to make enough pressure for espresso extraction. An AeroPress can reach nowhere that much pressure.
Furthermore, true espresso is made with finely ground coffee. AeroPress uses medium-fine grind size.
I’m not going to negate these two facts. But just because the two coffee makers don’t work on exactly the same principle, that doesn’t mean what you get with an AeroPress can’t be called espresso.
It’s small but concentrated coffee with a layer of foam on top. That’s a good enough shot for me to be called an espresso.
In any case, you will get a strong coffee for your latte.
How to Make a Latte with AeroPress?
Alright, let’s get into the nitty-gritty. In this section, we’ll discuss everything you need to know before making a latte.
What ingredients do I need?
For a latte, you just need three things:
- 0.6 ounces of ground coffee
- 7 ounces of hot water
- 9 ounces of milk
If you own a grinder, I highly suggest grinding your own coffee beans right before brewing. That way, your coffee is as fresh as possible.
But don’t worry if you don’t have a coffee grinder at home. In that case, just make sure the bag of coffee you bought was roasted no longer than two weeks ago.
As for the roast level, dark roast is typically used for espresso. But you can use any type of coffee bean roast you prefer.
Dark roast makes a full-bodied, strong, and slightly bitter cup of espresso. Light roast, on the other hand, is bright and crispy. Medium roast, as the name suggests, falls somewhere in the middle.
NOTE
I would recommend opting out for espresso beans, though. Espresso roast is created especially for brewing espresso, so it will get you as close to a true latte taste as possible.
As for the grind size, AeroPress uses a medium-fine grind. That’s slightly coarser than your typical espresso coffee ground, kind of like table salt.
When it comes to milk, you have tons of choices – but not all of them will work just as well.
Two important factors for making a nice foam are:
- Protein
- Fat
Proteins are responsible for building and holding the foam. Fat, on the other hand, is there mostly for flavor.
Between the two, protein is much more important. Now, there’s no ideal amount of protein you want in your milk, but it’s important for it to have some.
As for fat, you don’t want too much of it, as it can destabilize the foam.
For that reason, whole milk is probably the best choice. It has just the right amount of fat to give it flavor without ruining the foam. This is the most common type of milk used in cafes.
Whole milk makes a creamy and sweet foam that makes a perfect background for latte art.
If you want your latte to be “lighter,” then skim milk is not a bad option either. It has most of the fat removed, so your foam won’t be sweet and too creamy, but it will be there.
Finally, as far as non-dairy milk goes, oat milk is the best for frothing. It froths well thanks to soluble fibers, with a consistency similar to the one of whole milk.
What do I need to use?
As far as technical stuff goes, you’ll need:
- AeroPress
- AeroPress filter
- Coffee scale
- Kettle
- Milk steamer
AeroPress coffee maker originally came with a paper filter, but the brand recently came up with a metal one as well.
The metal filter is great cause it’s reusable. It also lets coffee oils pass into your cup, so your coffee has more body. A paper filter, on the other hand, makes a lighter and cleaner cup.
The coffee scale and kettle are self-explanatory – you need something to measure the grounds and warm up the water.
As for the milk frother, you have several options.
Automatic, manual, handheld… Whatever you have at home.
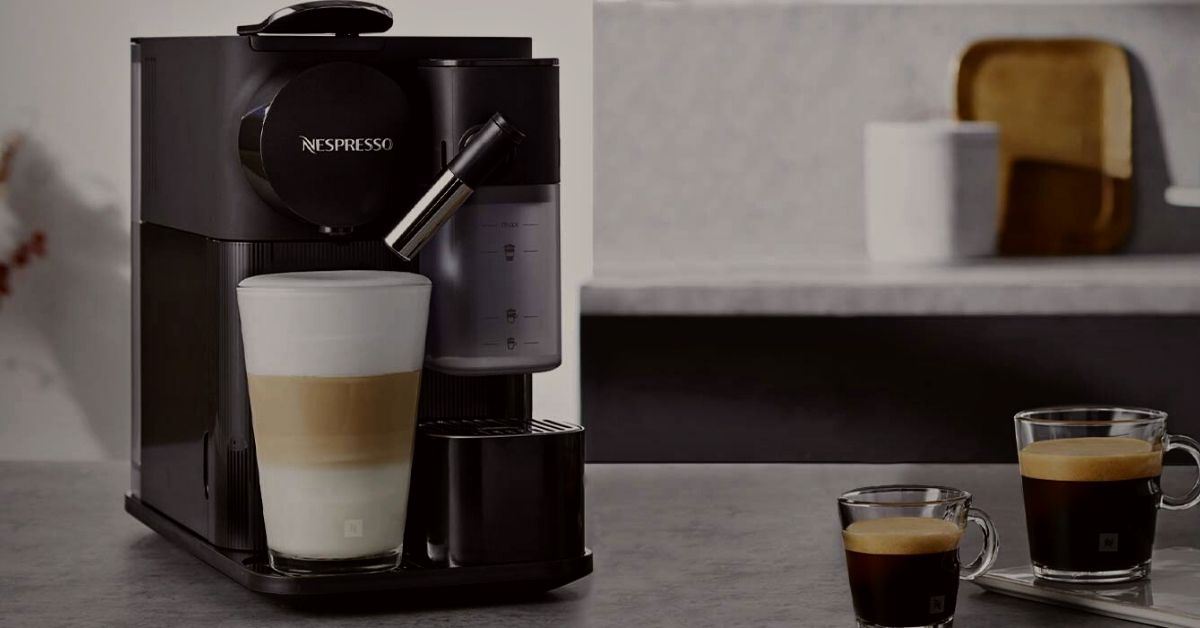
Automatic frothers, like the Aeroccino, for instance, are definitely the easiest to use and will make the best foam. That’s because it heats up milk while steaming, which adds bubbles to the foam.
But manual or handheld will also work. The foam might not be as thick and velvety, but you can get pretty decent results.
And in case you have none of these gadgets at home – don’t worry.
You can always use a good ol’ jar trick.
By this, I mean adding milk into the jar and shaking vigorously until your hand hurts.
Just kidding – a few minutes will be more than enough for a nice foam.
Step-by-step instructions
Now that you have everything you need, let’s start brewing coffee!
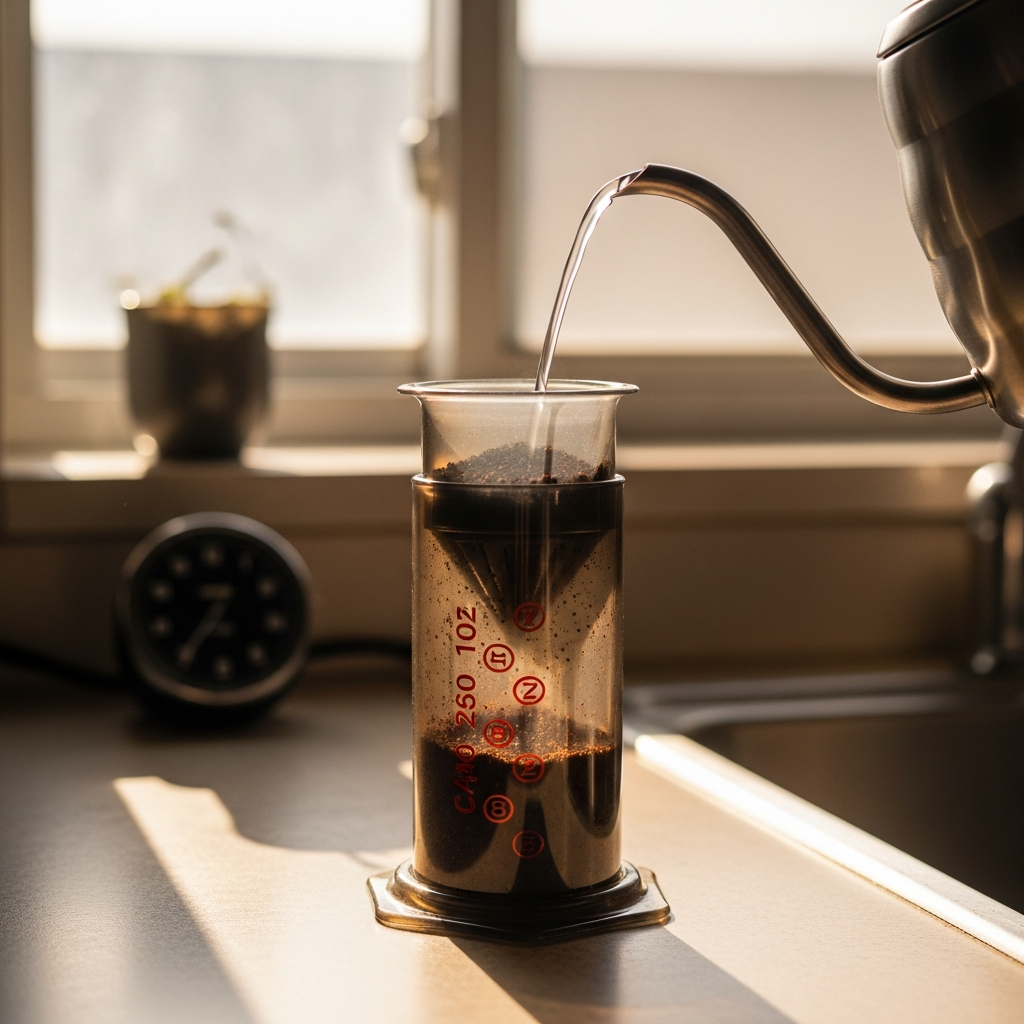
- Take a plunger and put it in the brewing chamber. Then, flip the AeroPress upside down.
- While holding it in such a position, place the whole thing on the coffee scale. Tare the scale with the AeroPress on, then add 0.6 ounces of coffee grounds. Tap the AeroPress gently to create a flat coffee bed.
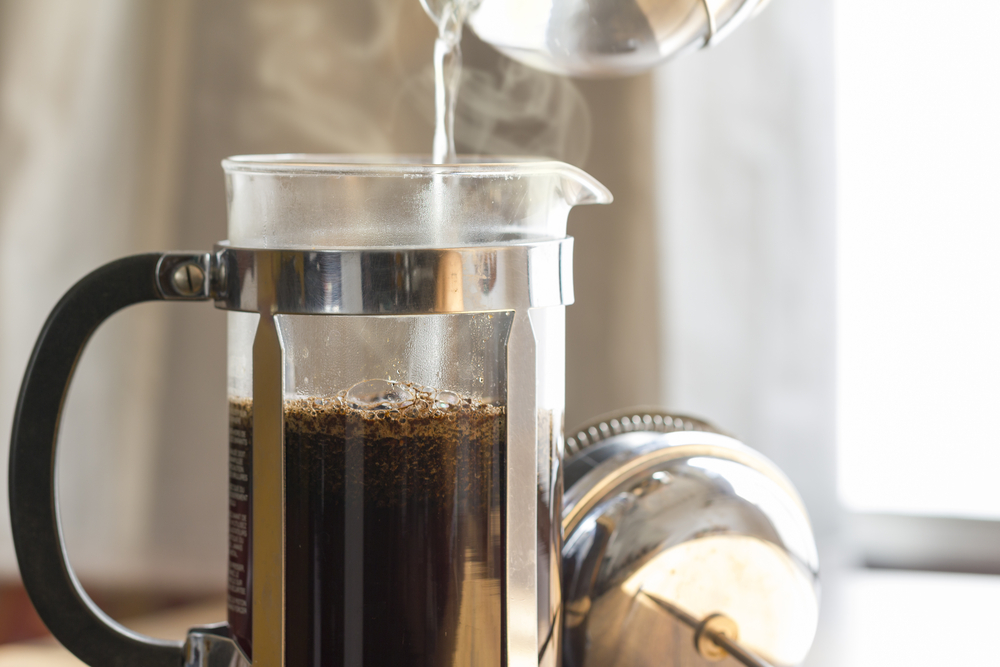
- Boil water in a kettle, then let it rest for 30 seconds so that it cools down slightly.
- Pour a small amount onto the coffee grounds, just enough to wet the bed.
- Wait for about 30 seconds before pouring the rest of the water in. With a teaspoon, stir the grounds for another 30 seconds.
- While that’s happening, you can start frothing your milk. Use whatever method you prefer, and let the milk rest until it’s time to add it.
- Place the filter into the cap. If you’re using a paper one, get it wet beforehand so that it sticks better.
- Flip the whole AeroPress upside down into its original position and place it over the cup. Push the plunger slowly but firmly, and watch the coffee get poured.
- Pour milk into the cup.
That’s pretty much it. Of course, you can add sugar, syrup, or whichever topping you prefer to make your drink even tastier.
Making an iced latte with an AeroPress
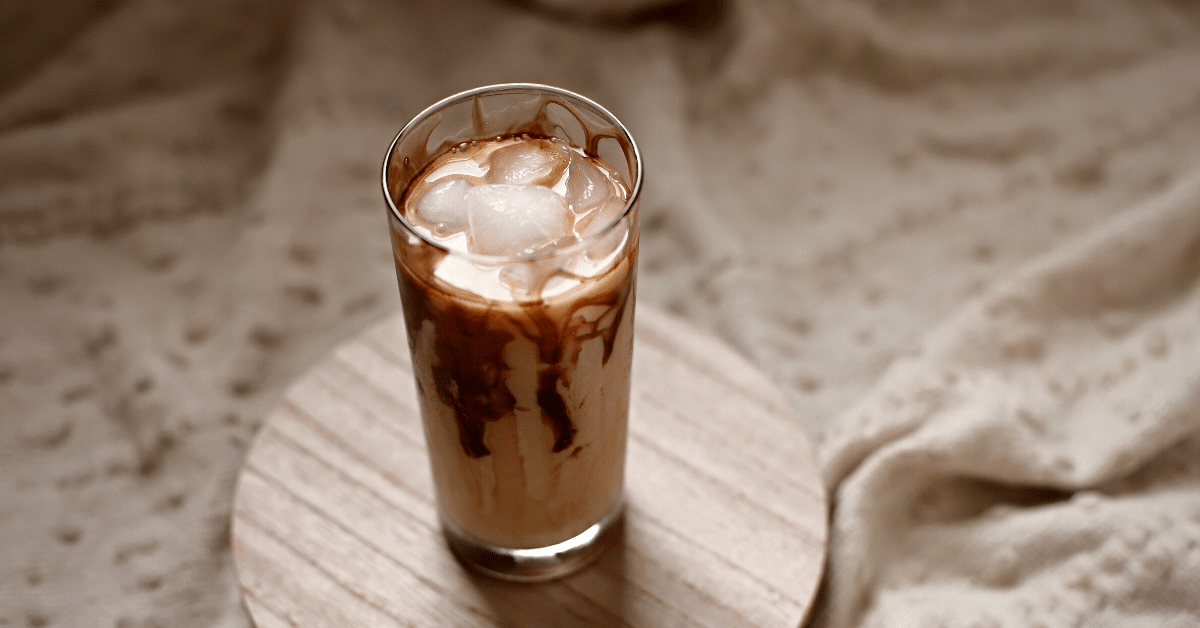
It’s a very hot day?
Then an iced version might be better for you.
The process of making an iced latte is pretty much the same. But you need to take into consideration that ice takes up a lot of room inside the cup. So make sure to use a larger one that can accommodate all ingredients.
Also, keep in mind that hot coffee will melt the ice. But you can prevent that from happening too fast by using cold milk to make foam.

AeroPress Latte
Equipment
- AeroPress
- AeroPress filter
- Coffee Scale
- Kettle
- Milk steamer
Ingredients
- 0.6 ounces of ground coffee
- 7 ounces of hot water
- 9 ounces of milk
Instructions
- Assemble the AeroPress, then flip it upside down.
- Place the whole thing on the coffee scale, tare it, then add 0.6 ounces of coffee grounds.
- Boil water in a kettle, then let it rest for 30 seconds
- Pour a small amount onto coffee grounds, just enough to wet the bed.
- Let it rest for 30 before pouring the rest of the water. Then, stir for another 30 seconds.
- In the meantime, start making milk foam with the preferred tool.
- Place the filter into the cap. Flip the AeroPress and place it over the cup. Push the plunger slowly but firmly, and watch the coffee get poured.
- Pour milk into the cup.
FAQs About Aeropress Latte
Have other AeroPress-related questions? Let’s get them answered in this short FAQ.
What type of coffee works best in AeroPress?
AeroPress uses a medium-fine grind, which is between the drip and espresso machine. If you use coffee grounds that are too fine or too coarse, you might struggle to get the extraction right.
Can I put milk through an AeroPress?
Technically, you could, but it’s not recommended. AeroPress is a brewer, so the milk will just interfere with your extraction, creating an oddly tasting drink. It’s much better to simply add milk to the cup afterward.
Can I make a flat white with an AeroPress?
Sure you can. The brewing method is the same, as the basis is espresso. As far as foam goes, you just need to use a smaller amount to make a nice, thin layer on top.
To Sum Things Up
Making espresso-based drinks with AeroPress is rather simple.
The AeroPress coffee maker is responsible for making concentrated coffee, while you need other tools for making froth.
However, the result is well worth the hassle. And don’t let coffee purists tell you what you get isn’t a real latte!
Prefer iced coffee over a latte? You can make that, too, using AeroPress, and here’s our guide on how to do that.