Making your own lattes and cappuccinos is easier than you might think.
All you need is nice frothy milk foam.
That’s where a milk frother comes in.
There are a few different types of milk frothers out there.
I’m going to show you how to use each of them to make beautiful, velvety milk foam.
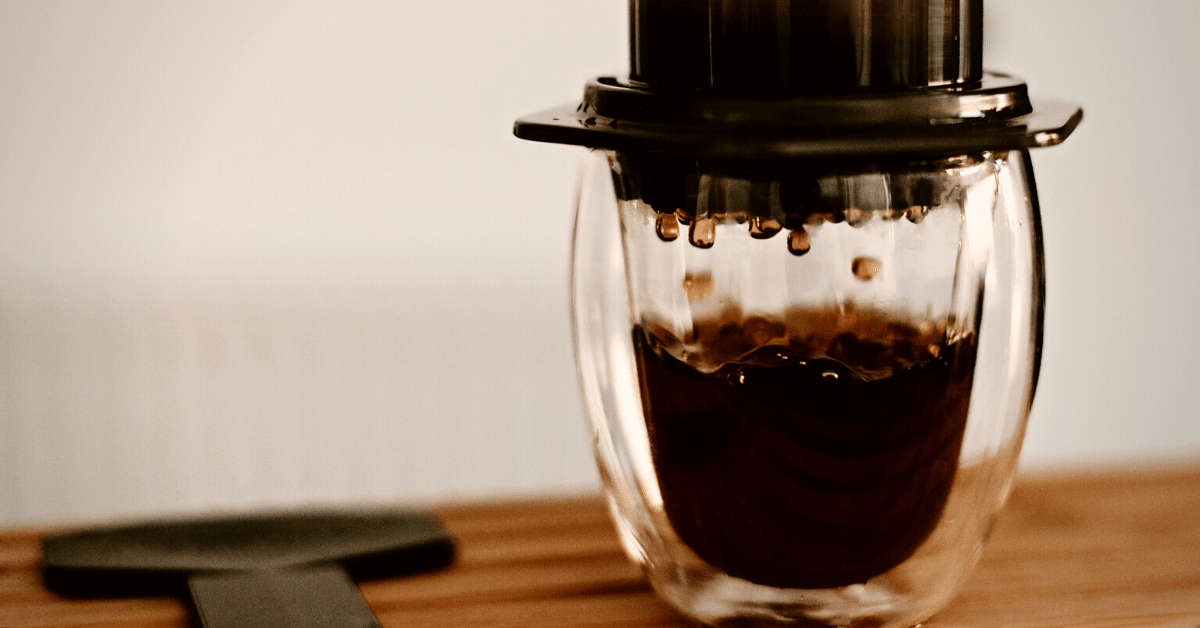
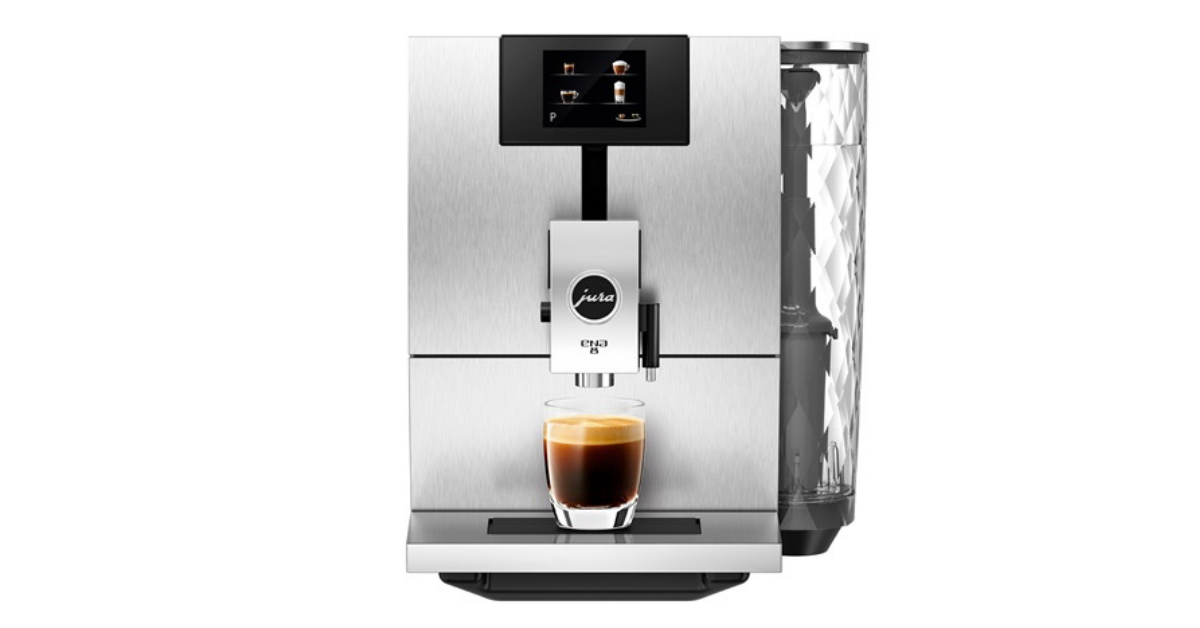
Then all you have to do is pour it over a strong coffee like espresso or moka pot, and you can recreate all your favorite coffee shop drinks in your own kitchen.
So, ready to learn how to use a milk frother?
Let’s get started!
Different Types Of Milk Frothers
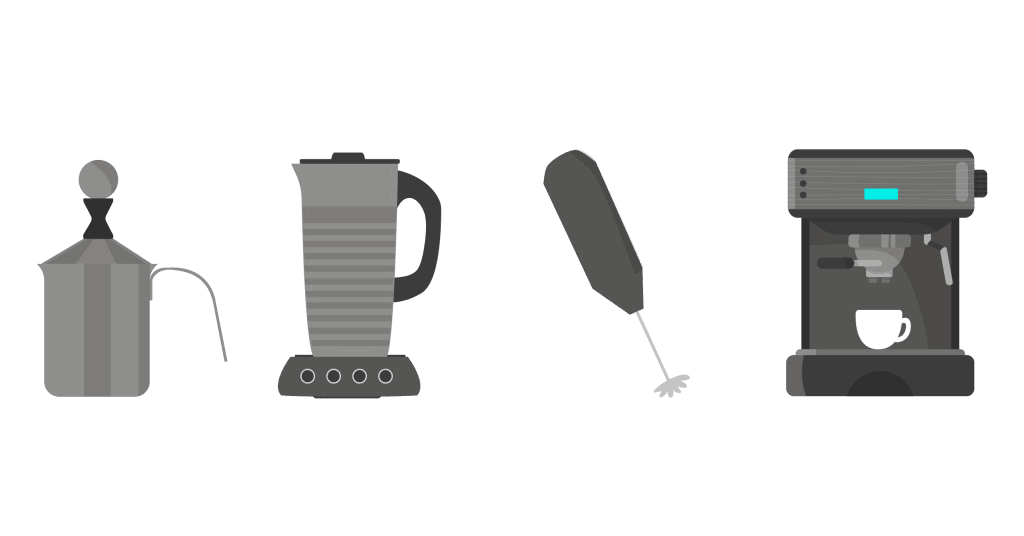
There are 4 main types of milk frothers.
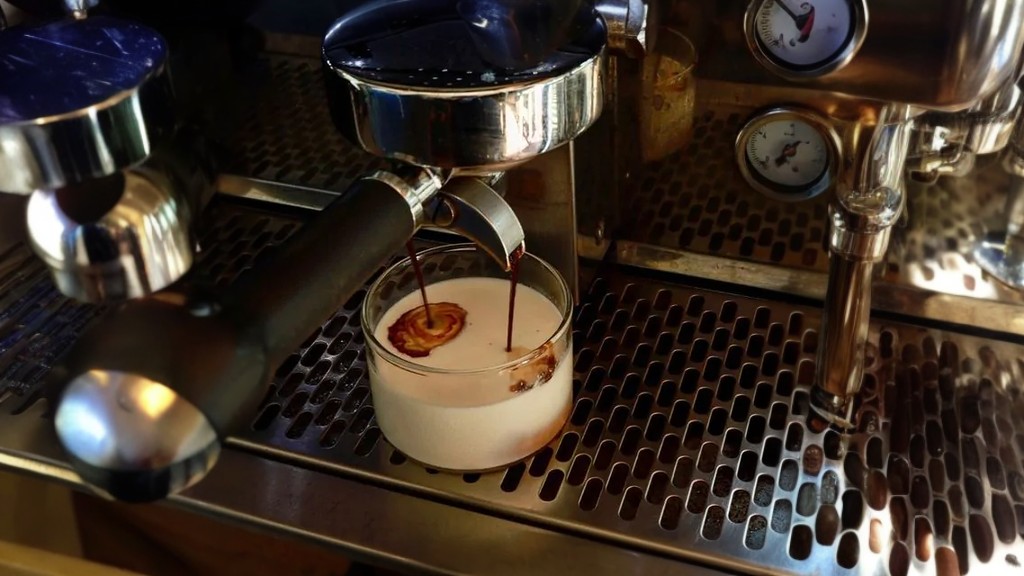
The first is a steam wand on an espresso machine. This is what baristas use in cafes, so if you have one of these at home you can make your milk foam just like they do.
But that’s more steaming than it is frothing, so we’re not going to talk about that in this article.
Instead, we’re going to focus on the other 3 types of milk frothers, which are far more common in your average kitchen.
Those are:
- Manual milk frothers
- Automatic milk frothers
- Handheld electric milk frothers
We’re going to tell you how to use each of these to get perfectly creamy frothed milk for your homemade cappuccino and latte drinks.
But, before we dive into that, we need to talk about…
All About The Milk
Before we get into using each type of frother, we need to talk about the milk.
The type of milk you use, how hot it is, and how much of it you use are all crucial to how your milk foam will turn out in the end.
Here’s what you need to know.
Milk Selection
The first thing you need to do is decide which type of milk you want to use.
Here’s the deal –
When it comes to dairy milk, skim milk is the easiest type of milk to froth. It’s much more forgiving than full fat when it comes to aerating it, so you’re more likely to end up with a successful milk foam.
That said, the foam you get from skim milk is a lot lighter and not nearly as creamy as the foam you get from full fat milk.
So, if you want the richest, creamiest frothed milk you can get, full fat milk is the only way to get it.
As far as non dairy milk goes, your best bets are oat milk or soy milk. These are a lot easier to turn to foam than other types of plant milk, because they contain a good amount of protein. And, as you may or may not know, protein is the key to stabilizing your foamy milk.
Milk Temperature

When you’re using a steam wand on an espresso machine, your milk heats up as you steam it.
With the 3 methods we’re going to talk about in this article, that’s not the case.
You can choose between frothing cold milk or hot milk.
If you’re frothing your milk cold, you’re making what’s known as cold foam. For this, you don’t have to measure the temperature of your milk. You can just use it straight out of the fridge.
But if you want to make hot milk foam, you need to heat your milk up before you froth it. And unless you’re confident that you can eyeball it to decide when to take your milk off the heat, you should probably use a thermometer – just to be safe.
You want to heat the milk until it reaches anywhere between 140 and 155 degrees Fahrenheit. That said, you can push that all the way up to 165, if you want your coffee to stay warm longer.
The most important thing is that your milk doesn’t boil. If it does, the flavor won’t be right, and it won’t froth properly either.
Milk Volume
If you’re using a milk frother with a mark that indicates how much you can fill it – stick to that.
If not, the main thing you need to keep in mind is that your milk can double in volume when you froth it.
That means you should always fill the vessel you’re frothing your milk in less than halfway. If you fill it halfway, that could already be enough for it to spill over while you’re frothing it.
So, to stay on the safe side and avoid spillages, make sure to avoid starting with too much milk.
How To Use A Manual Milk Frother
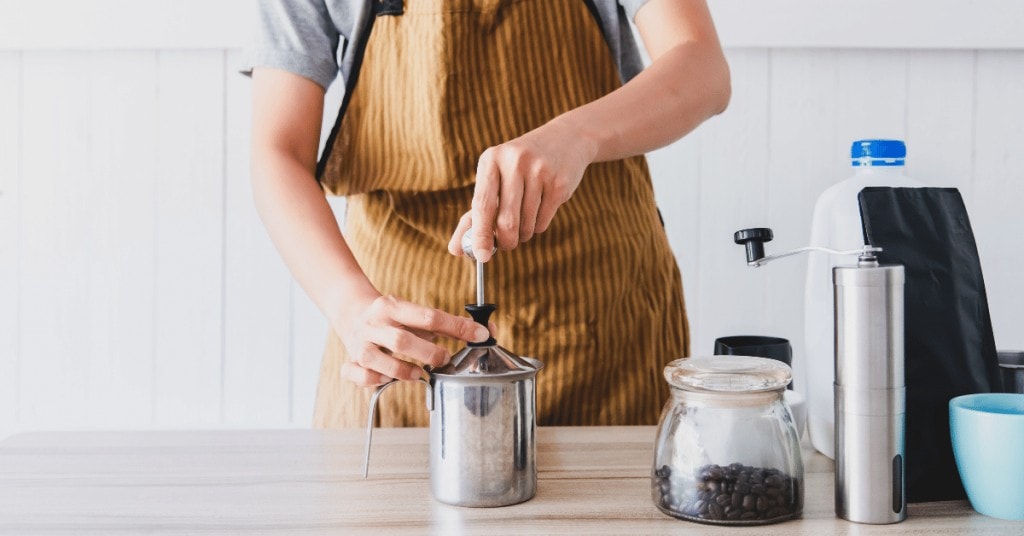
A manual milk frother looks kind of like a French press.
In fact, you can actually even use a French press. Although, it’ll take more effort than it does to use a milk frother, because there’s more resistance, which makes it harder to push the plunger.
That said, a French press can be used for both brewing coffee and frothing milk. A milk frother, on the other hand, can only be used to froth milk. If you try making coffee in it, the particles will pass through the sides, so your coffee will be full of sediment.
In any case, whether you’re using a manual milk frother or a French press, here’s how it’s done:
- Pour your milk into the frother – for this method it’s best to avoid filling it more than a third of the way
- Put the plunger in and close the lid – make sure it’s secured shut
- Pump up and down a couple of times to see if everything is working smoothly
- Continue to pump vigorously around 60-90 times (but not too hard – you don’t want to break your frother)
- Check to see if you’re happy with the consistency
- If you’re not – keep pumping for another 3-5 seconds and check again
- Repeat the previous step until you’re happy with the consistency of your foam
That’s all there is to it!
Sure, it takes a little elbow grease, but it’s honestly not too bad. It’s like pumping the tyres on your bike – no biggie.
How To Use An Automatic Milk Frother
What’s the easiest way to froth milk at home?
Using an automatic milk frother – by far.
To be clear, when I say automatic milk frother I’m talking about gadgets like the Nespresso Aeroccino – not the handheld whizzers, but we’ll get to those as well in the next section.
This type of electric frother literally does all the work for you.
All you have to do is:
- Pour your milk into the frothing machine
- Choose the setting you want – some machines will have special settings for cold foam, other machines can only make warm milk foam
- Run the machine
Piece of cake, right?
Right.
It doesn’t get any easier than that, let’s be honest.
How To Use A Handheld Milk Frother
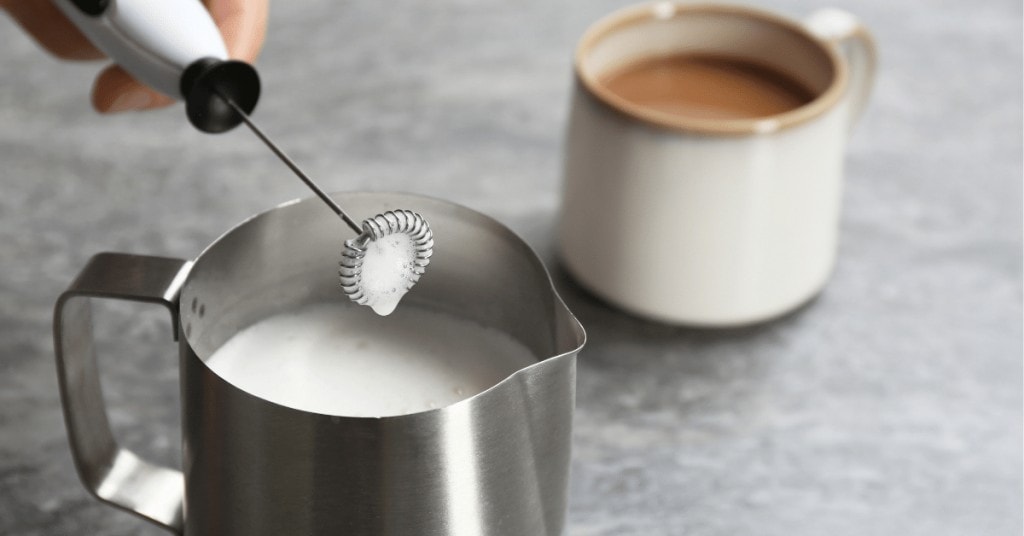
And last but definitely not least, we have the electric handheld milk frother.
Unlike the other kind of electric milk frother we just talked about, these babies are super cheap. And unlike a manual frother, they don’t require any elbow grease on your part.
I don’t know about you, but pumping my milk froth by hand seems like a lot of effort for my morning cup of coffee. But hey, maybe I’m just lazy.
Anyway – if you’re lazy too and you’re using a handheld frother, this is what you do:
- Pour your milk into a carafe or tall glass
- Turn the frother on for a few seconds while holding it over the sink to get any particles that might be on there off
- Dip the frother into the milk vertically so that the head is submerged completely – but don’t dip it in too deep, keep it relatively close to the surface
- Turn the frother on at high speed
- Let it run until you’re happy with the consistency of your foam – it should take about 30 seconds give or take
And there you have it – simple as that.
It might not be quite as straightforward as using a milk frothing machine. But let’s be real – it isn’t much more complicated either.
FAQ
Still have more questions?
I don’t blame you – frothing milk can be tricky.
But don’t worry, I still have a few more tips and tricks to share with you.
Hopefully, you’ll be able to find the answers you’re looking for here.
Is it OK to microwave your milk?
Yes – it’s perfectly fine to microwave your milk both before and after frothing.
As long as you make sure that the milk doesn’t reach its boiling point, you shouldn’t have any issues.
In fact, a quick zap after frothing might even improve the consistency of your milk foam.
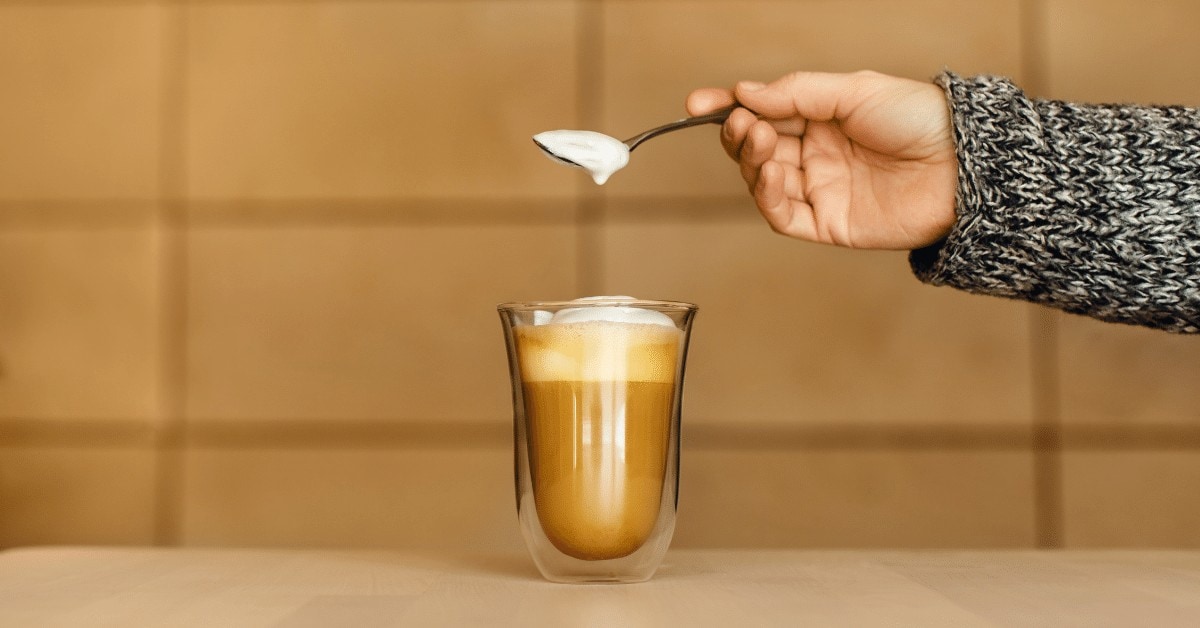
How can you groom foamed milk to improve its consistency?
What does it mean to groom your milk foam?
It’s anything you do to try and improve its consistency after you’ve finished frothing it.
If there are large air bubbles on the surface, give it a good tap or two on the counter while holding your other hand over the top to prevent milk from splashing out.
You can also run the tip of a spoon through your milk foam if you’ve overdone it. This might be able to improve the consistency of over-aerated milk enough to save it.
What can you add to your milk foam to jazz it up?
There are lots of extra ingredients you can add to your milk before you foam it to give it sweetness or a particular flavor.
Sugar, simple syrup, vanilla syrup, hazelnut syrup, caramel syrup, pumpkin spice, cinnamon – the list goes on…
You can even add a pinch of salt to a sweet milk foam for a delicious salty sweet treat on top of your coffee. I’m personally a huge fan of salty sweet flavor combinations, so this is one of my favorites – especially when I’m making cold foam.
Over To You
Manual frother, automatic frother, handheld electric milk frother… Now you know how to use a milk frother – whichever type you have.
Now it’s time to put that newly acquired knowledge into practice!
Give it a try and don’t be discouraged if you don’t get it perfect straight away. With a little trial and error you’ll get the hang of it.
And then you’ll be able to make all your favorite coffee drinks at home.
Just think – a cafe style latte, cappuccino, macchiato… all at your fingertips.
Now, that’s what I call a skill worth learning.