Have you ever tried the inverted AeroPress method? Jump into our guide and learn how to make a delicious coffee with upside-down AeroPress.
Don’t like how your AeroPress coffee turns out?
Maybe you should try turning it upside down.
No, inverted AeroPress is not horseplay but an actual alternative method for brewing coffee.
I’ve been using it for years, and I don’t plan on going back.
And today, I’ll show you how you can do it too.
Let’s dive in.
What Is the Difference Between Traditional and Inverted AeroPress Brewing?
Obviously, the inverted method is, well… upside down. But what does that mean for the coffee?
Well, when you’re making coffee using the traditional method, you’re doing steps in this order:
- Place filter
- Add coffee
- Pour water
- Stir
- Plunge
Now, as soon as you pour water into the AeroPress chamber, it will start dripping almost immediately. So you have a little bit of time to stir before you should start pressing the plunge.
But with the invented method, this doesn’t happen. You turn the whole thing upside down, add coffee and water, and then place the filter right before flipping AeroPress onto your cup.
So what happens here is that you can let the coffee steep in the water for a while before you start plunging. This is called immersion – which is the same method a French press uses.
As you can see, the main difference between the two methods is how quickly coffee gets extracted.
But if we are to be nitpicky, we could also say that there are two other differences: in the coffee-to-water ratio.
How?
Well, remember how I said that water starts dripping almost immediately as you pour it into the AeroPress?
I’m not saying a whole cup of water comes out. But there’s definitely some water loss involved. And what was supposed to be, for instance, a 1:17 ratio might quickly turn into a 1:15 or even less.
Again, not a big deal, but your coffee won’t turn out precisely as you intended it to be.
That’s something you can easily avoid by using the inverted brewing method. And let’s be real – life is too short to drink coffee that’s just “okay.”
So, let’s jump into the inverted AeroPress brew guide.
How to Brew with the Inverted AeroPress Method?
Brewing coffee with the inverted AeroPress method is no rocket science, and it produces a great coffee. In this section, we’ll go over every step of the process.
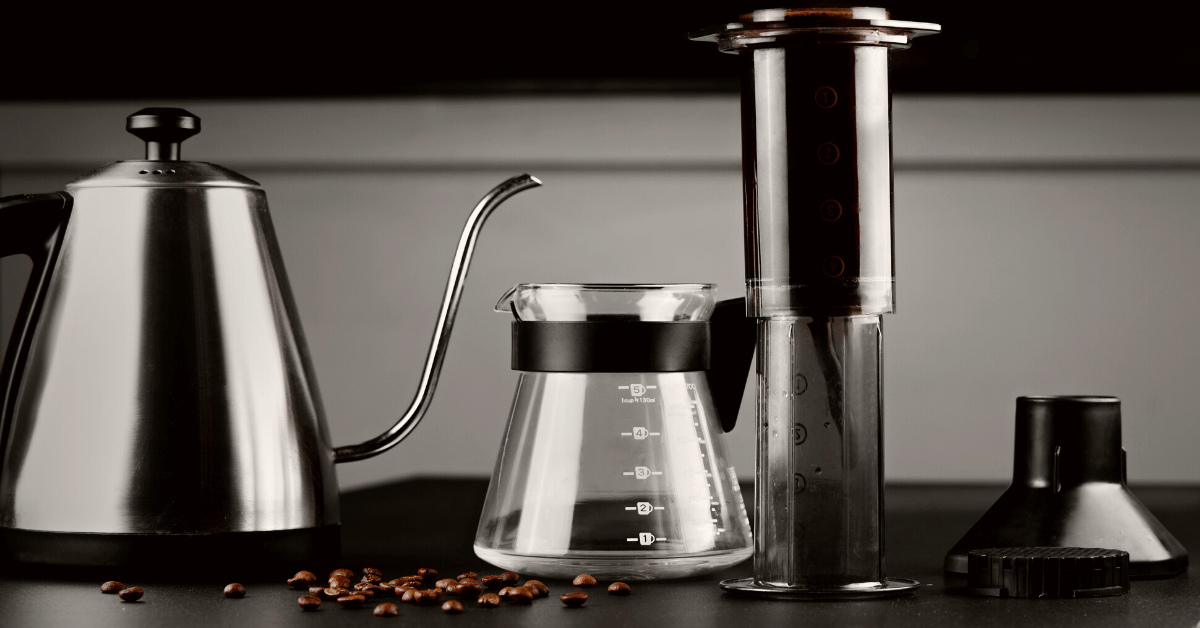
What you’ll need
For this method, you’ll need these tools and ingredients:
- 14 grams of coffee
- 220 milliliters of water
- Kettle
- AeroPress
- AeroPress filter
For the AeroPress coffee maker, you need coffee grounds that are medium-fine. That’s something between espresso and drip coffee, with ground particles similar in size to table salt.
If you own a coffee grinder, it’s always best to grind your own beans. As you probably know, coffee is the freshest when prepared that way.
If you don’t, that’s not too big of an issue. But I definitely recommend using coffee grounds from a freshly roasted bag.
AeroPress makes a very delicate but complex cup of coffee, so any coffee bean roast will do. Choose according to your flavor profile preference:
- Light roast – fruity, floral, bright, and acidic
- Medium roast – balanced, sweet, and slightly acidic
- Dark roast – strong, full-bodied, deep, and slightly bitter
Between these, medium roast is the best coffee roast for AeroPress. If you under-extract light roast, you’ll get a very sour cup of coffee. On the other hand, over-extracted dark roast is rather bitter.
But don’t let that discourage you. If you follow the steps properly, you can make delicious coffee with any roast you want.
When it comes to water, it should be within the golden standard range – 195 to 205 degrees Fahrenheit. If you have a thermometer, that’s something you can easily check.
If you don’t, here’s what you can do. Simply wait for the water to boil, then remove it from the heat and wait for about 45 seconds. That should be enough for it to cool down to the required temperature.
Finally, you need a filter for your AeroPress. And you actually have two choices:
- Standard AeroPress paper filter
- Reusable metal filter
The choice between the two depends on how you like your coffee.
A metal filter lets coffee oils pass through, while a paper filter doesn’t.
`Now, coffee oils give your drink more body and a slightly deeper flavor. But those oils can also increase your cholesterol levels. `Now, coffee oils give your drink more body and a slightly deeper flavor. But those oils can also increase your cholesterol levels.
Also, the metal filter is reusable, and you have to repurchase paper filters regularly.
So it really depends on your preference.
Step-by-step guide

Alright, now that you have everything ready, it’s time to start brewing. Here’s what you need to do:
- Place the filter into the cap. If you’re using a paper filter, rinse it first to get rid of the papery taste and make it stick better.
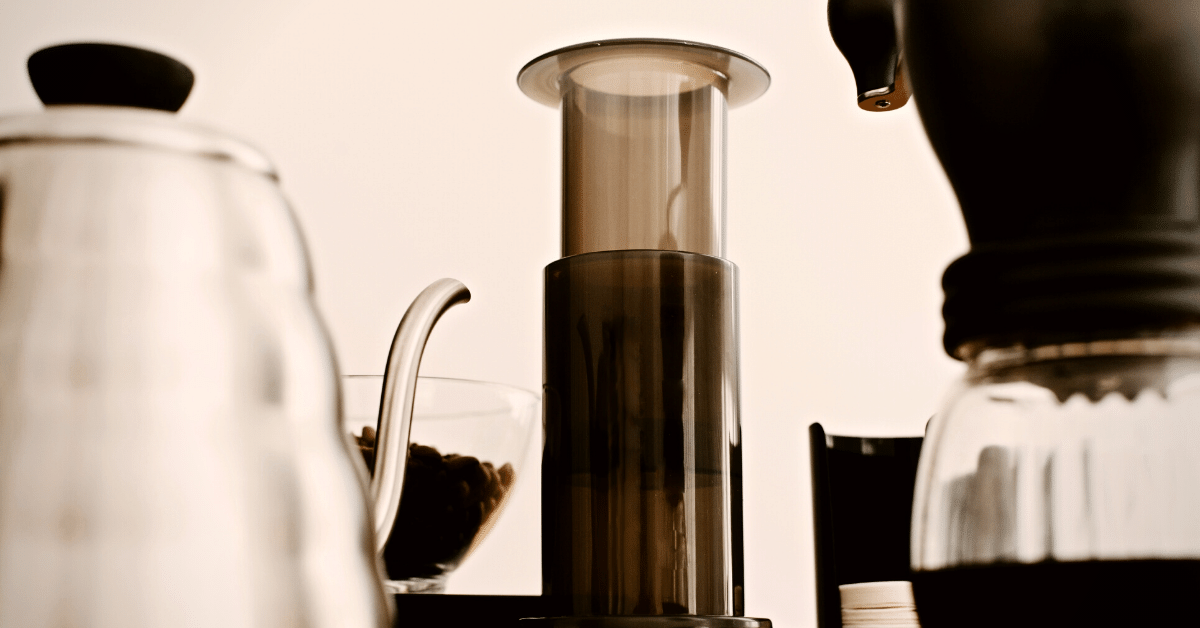
- Put the plunger inside the AeroPress to achieve a seal. At this point, the whole construction should balance on the plunger, with the other side facing upwards.
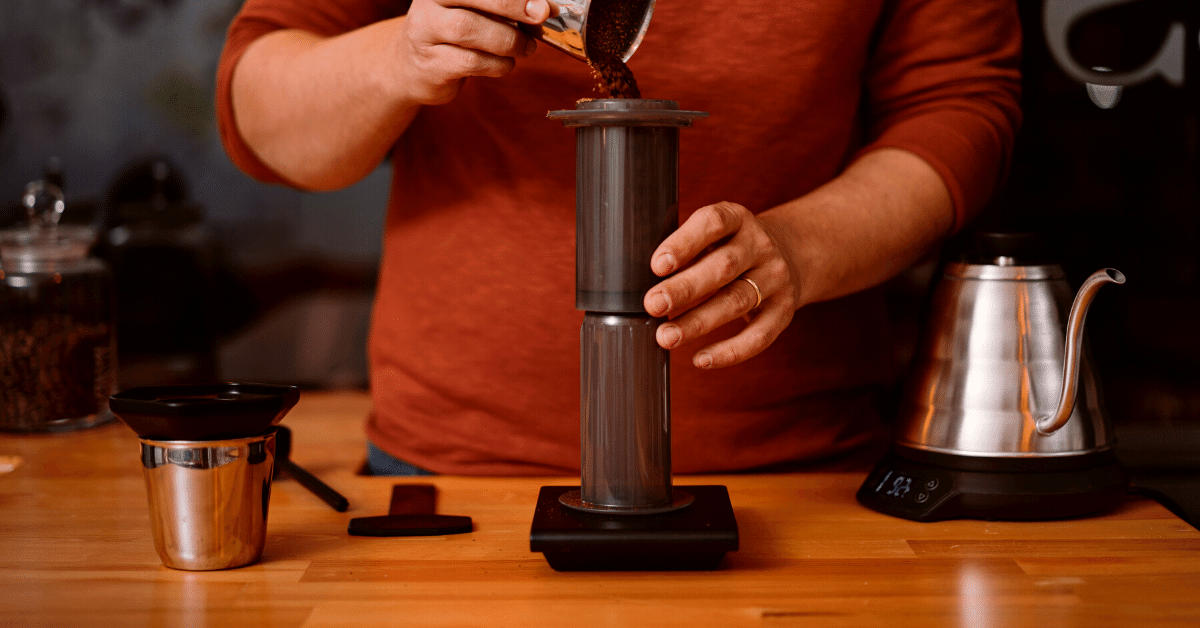
- Add 14 grams of ground coffee to the AeroPress.
- Pour 50 milliliters (1.7 ounces) of water over the coffee, which should be enough just to cover the coffee grounds.
- Stir a few times to ensure the coffee grounds are evenly saturated. Let the mixture “bloom” for 30 seconds.
- Pour the rest of the water into the AeroPress brew chamber and stir a few times again. Now it’s time for another, 1-minute long bloom.
- Place the filter cap into its designated place and flip the AeroPress so that it sits on top of your cup.
- Press down the plunger slowly but with steady pressure. This step should last for about 30 seconds.
That’s all!
The AeroPress inverted method takes no more than 3 minutes, and what you get is a delicious cup of coffee.
From there, you can drink your Aeropress coffee however you like it, be it iced coffee or just plain black.
Tips for making better coffee using the inverted method
Now you know all the basics for brewing coffee with your AeroPress upside down. But in this section, I’ll share with you some tips and tricks that can help you make an even better cup of java.
The inverted AeroPress method really brings out the flavor of coffee beans. And for that reason, it’s great for using single-origin coffee, as it accentuates its unique flavor profile.
What that means is you can play around with different origins and blends and find what suits you best. But at the same time, that also means you should only use high-quality coffee.
You should also keep in mind that there might be some spillage when you flip the AeroPress and place it over the cup. But that’s something that you can easily fix.
Basically, you can place the cup upside down onto the AeroPress, and then flip the whole construction together. That way, not a single drip of coffee will get out.
But, you should also be careful when doing any previous steps as well. When placed upside down, AeroPress is not as stable as it is in a normal position, so there’s always a risk of it tipping over while you’re still brewing.
If you find coffee to be too concentrated using this method, add a bit of hot water to dilute it. Make sure to pour it slowly while stirring simultaneously so that it blends properly.
Pros and Cons of the Inverted AeroPress Method
Like any other brewing method, the inverted AeroPress has its advantages and disadvantages. Let’s see what they are.
Pros
- The inverted method gives you a lot of technical control over the whole brewing process. Without water loss, you can maintain a precise coffee-to-water ratio. What’s more, you can also regulate extraction time and stirring.
- By immersing coffee in water for a specific amount of time, your coffee is more full-bodied and richer in taste.
- Inverting the AeroPress ensures coffee oils that float on the surface actually get mixed, so there’s more chance that some will end up in your cup.
Cons
- The paper filter can shift when you’re attaching the cap to the brewing chamber, which can result in some coffee grounds ending up in your cup. But that is rarely the case if you wet the filter first, which will hold it in place.
- When flipping the AeroPress on top of the cup, there’s always a risk of spillage. And that not only means it can get messy, but you can also get burned by hot liquid.
- The grounds can cling to the plunger, and once you flip the AeroPress, those stuck grounds won’t contribute to the flavor of the coffee.
FAQ
Have other AeroPress-related questions? Let’s answer them now. Here’s a short FAQ that should solve your doubts.
Should you tamp AeroPress?
You can tamp coffee when using AeroPress, and that will give you a bit of crema on top. But it’s not a necessary step to take, as it doesn’t make a huge difference, and it’s not up to everyone’s liking.
What type of coffee works best in AeroPress?
While blends work well with AeroPress, single-origin specialty coffee is where this method shines. It brings out the unique notes of coffee beans, so you can really taste the difference between coffee from different regions.
Is AeroPress as strong as espresso?
While AeroPress makes a rather concentrated cup of coffee, it’s still not as intense as authentic espresso. Furthermore, it doesn’t have a rich layer of crema as espresso does. But it’s definitely as close as it gets compared to other brewing methods.
To Sum Things Up
Turning your AeroPress upside down is not just for the gimmicks – it helps you make a better cup of coffee.
With this method, you have more control over the extraction, so you can finetune coffee up to your preference.
Just be careful when flipping the AeroPress onto your cup, as you can spill and burn yourself with hot coffee.
Prefer milk-based coffee drinks? Here’s our guide on how to make a latte using AeroPress.