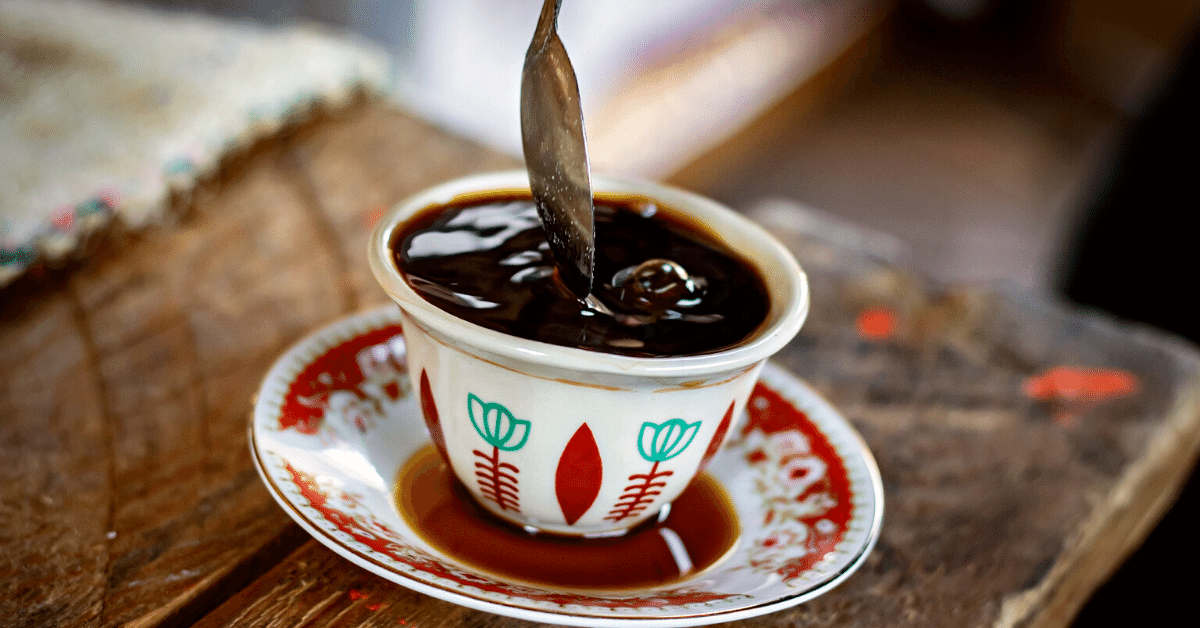
The only thing that’s better than drinking coffee?
Making it from scratch yourself.
By this, I mean doing all the steps, including roasting. But what if you don’t know how to roast coffee beans at home?
Don’t worry, I’ve got you covered. From different types of roast to how to do it step-by-step, I’ve included all you need to know in this article.
So what you’re waiting for? Jump straight in!
The Roasting Process
Before we get into details on how to roast your beans at home, let’s talk about the process first. This will help you understand what’s happening, as well as how you can do little things to make it even better.
To change color from green to dark brown, coffee beans go through several stages of the roasting process.
When exposed to high heat (usually between 350 and 500 degrees Fahrenheit) for a minute or so, green coffee beans start turning yellow. At this point, the water inside the beans starts to dissipate, and you can notice a distinctive grassy scent coming out.
After a few minutes, the steam will become fragrant and you’ll hear the first “crack.” This is the sign that the real roasting process has begun. The core of the coffee bean breaks, letting the oils out.
After the first “crack,” you can finish the roasting process whenever you feel like beans are up to your liking. At this point, the beans will be a bit sour and light brown in color, known as the light roast.
But if you leave it for another minute or so, you’ll reach medium roast. It’s brown in color, with medium acidity and body. At this point, you can feel slightly sweet, caramel notes. This is the most commonly used roast.
Finally, you’ll hear another “crack” a few minutes after the first one. As the beans get darker, you might also notice the smoke going more pungent. This happens because sugar in beans is completely burned.
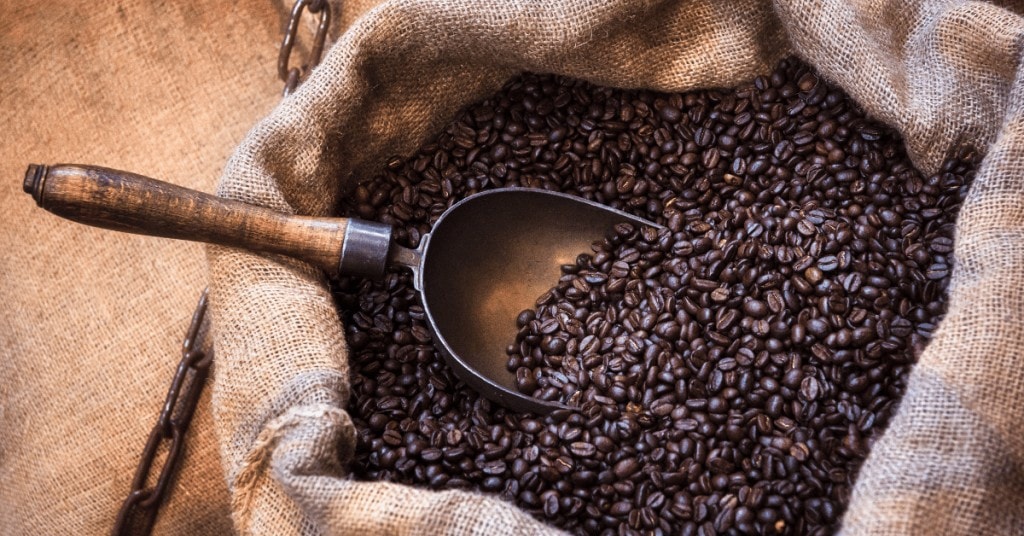
At this point, you’ll get dark roasted coffee. It’s dark brown in color with an oily surface. Coffee made of dark roasted beans has a heavy body, low acidity, and a deep flavor.
Related article: Different Types Of Coffee Roasts Explained
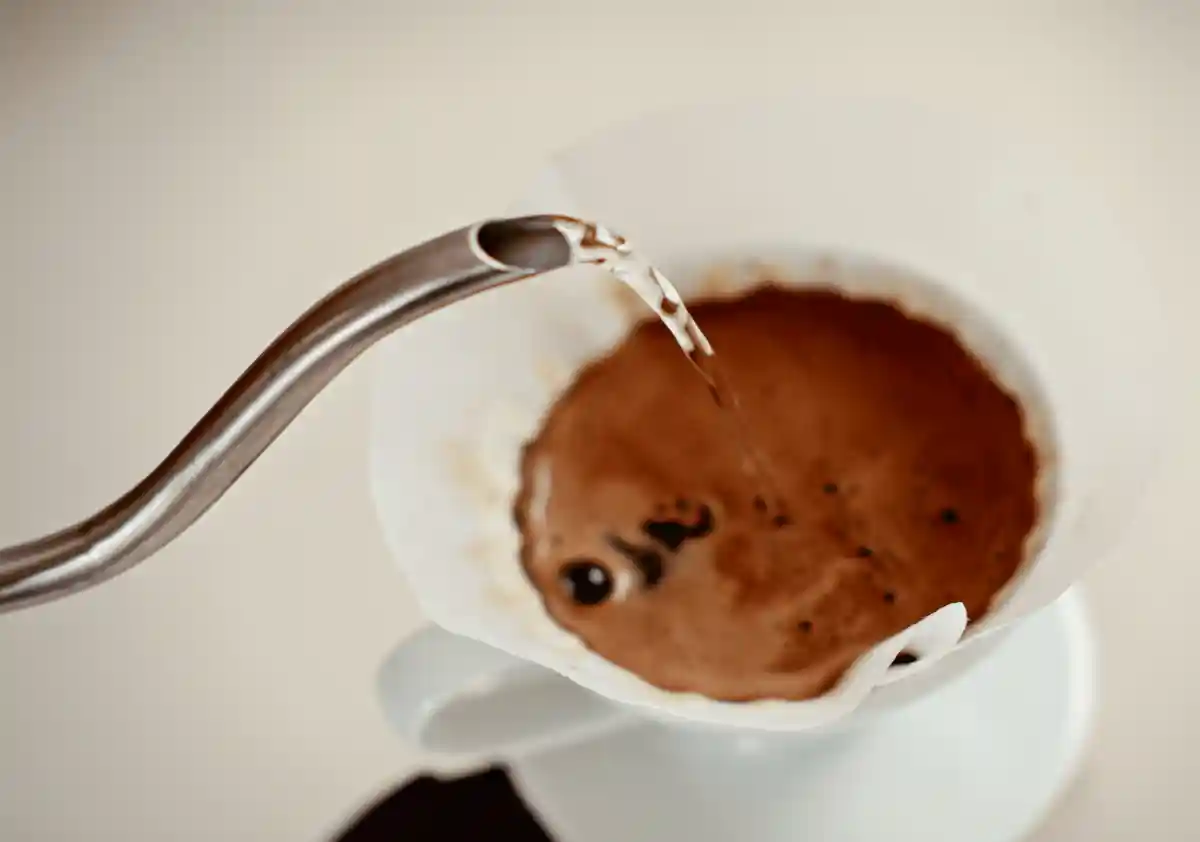
Storing Roasted Beans
After the beans are roasted and cooled, it’s time to store them.
But here’s the thing: roasted beans release gas, including CO₂.
In fact, that happens for a few days after roasting. Now, these gases can cause bubbles during the brewing process, which causes uneven extraction.
Clearly, we want to avoid that.
Storing freshly roasted coffee beans in an airtight container might sound like the right thing to do – but it’s not.
As we established, the grounds release a large amount of gas. This, ultimately, will lead to your container exploding from not being able to contain all that content.
Generally, you should wait at least 12 hours before transferring beans to an airtight container.
Ideally, you could buy one of those containers with a one-way valve system that lets the CO₂ out while keeping the air out.
Home Coffee Roasting Gear
I hear you – coffee roasters are quite expensive. Especially if you never roasted coffee yourself before.
Will you like it? Or will it collect the dust in your bottom cabinet?
These are all valid questions. But luckily, there are some things you have at home that you can also use for roasting coffee.
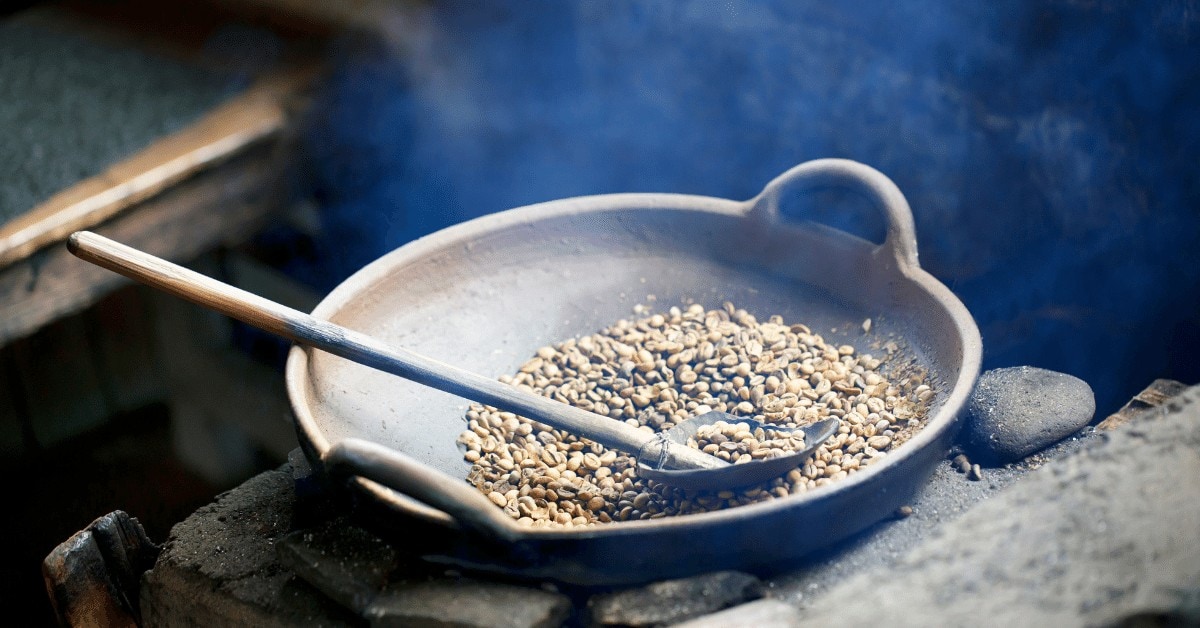
Frying Pan
Ideally, you want to use a cast iron or steel pan for roasting coffee beans. A non-stick pan, on the other hand, won’t work. Why? For the same reason you don’t roast food in it.
Roasting coffee in a pan will emit an insane amount of smoke, so make sure you open the windows and turn the exhaust fan on. You don’t want your neighbors to think your home is on fire.
One thing to keep in mind though – roasting coffee in a pan is not ideal for first-timers. It takes a bit of skill and practice to achieve an even roast.
Kitchen Oven
This method is pretty similar to the one above. Not just because you already have everything you need at home, but also because it’s a bit difficult to get evenly roasted beans.
Using a kitchen oven also takes slightly more time. First, you need to wait for the oven to heat up to the desired temperature, which is around 450 degrees Fahrenheit. It also takes a few more minutes to hear that first “crack.”
Popcorn Popper
Among all the other alternatives you may have at home, a popcorn popper has got to be the best one. They’re pretty straightforward to use and easily achieve an even roast.
Plus, a popcorn popper is waaaay cheaper. Don’t get me wrong – I’m all for spending more on high-quality appliances that will last you a lifetime.
But if you’re not sure that you want to roast your own coffee for the rest of your life, then try doing it with a less expensive option first. Then if you end up liking it, you can easily buy the real deal.
Home Coffee Roaster
While the alternatives above can give you a decent result, they’re nowhere at par with a proper coffee roasting machine. These machines allow you to have greater control over the whole roasting process and get perfect beans every time. Unfortunately, they are not cheap and a good home roaster can set you back quite a bit.
How To Roast Coffee Beans At Home In 5 Easy Steps
Since you’re here, chances are you haven’t made your mind about getting a proper coffee roaster yet. That’s why I’m not going to tell you how to roast coffee using it.
What’s more, there are countless models out there with all kinds of bells and whistles. And each model comes with a manual on how to use it.
In this section, I’m going to show you how to roast coffee beans at home using the best alternative out there – a popcorn popper. This machine is affordable, easy to use, and will roast your beans evenly.
Here’s what you need:
- Green coffee beans – make sure they’re fresh and uniform in both size and color
- Popcorn machine
- Metal colander
- Heat-resistant gloves
One thing to note – there’s no way of avoiding the creation of roasting smoke and smell. And not that smell is unpleasant – but it’s very strong. So turn on the exhaust fan and open the windows to your kitchen – or wherever else you decide to roast.
Now let’s roast some beans – step by step:
Step 1: Get The Machine Ready
Start with preheating the machine. That should take no more than a minute.
Step 2: Add Beans To The Machine
About ½ a cup is optimal for most popcorn popper models. You don’t want to add too much, or the beans won’t be able to move inside the hopper properly during the process.
Step 3: Make It Pop
Around 2-3 minutes, you’ll hear the beans popping like popcorn. That’s called the first crack. In about a minute or so, the beans will reach the “light roast” stage, which is great for filtered coffee.
If you want to achieve “medium roast,” let them pop for another minute or so. Then, somewhere around the 6 minutes of roasting, you’ll hear the second crack. This is an indicator that coffee has reached the “dark roast” stage, and you should take out the beans immediately.
Step 4: Cool Down The Beans
Dump the beans into a colander as soon as they’re done. It’s extremely important to cool down them down right away. That assures the roasting process is done, and they won’t get any darker and develop unpleasant flavors.
Step 5: Store Adequately
As we already established, roasted beans emit carbon dioxide for a while after the roasting process. So let them rest for at least 12 hours before transferring to an airtight container.
Common Mistakes To Avoid
Don’t be frustrated if your beans don’t turn out perfect the first time.
This is a learning process. Still, here are a few mistakes you should know beforehand so that you can avoid them.
Don’t Put Too Many Beans At Once
If you add too many beans, they might not absorb heat evenly, which will end up in an uneven roast.
After all, roasting takes less than 10 minutes, so you can do one batch at a time without wasting the whole day.
Don’t Stick To Timestamps So Strictly
I know I’ve said you should hear the cracking noise at a certain time mark, but that might not be accurate for many unexpected reasons. Maybe your machine takes longer to heat up or your home is having low-voltage issues.
Instead of focusing on time, listen and look at the beans. After you hear the first crack, pay attention to how they’re changing in color.
Don’t Store Roasted Beans In A See-Though Container
Aside from air, light can also affect the flavor of your beans. It’s called photodegradation – it breaks down pigments, fats, proteins, and vitamins. In other words, it makes your beans go stale at a much faster rate.
FAQ
Still have questions?
That’s okay. I’ve already answered a few things you might be wondering about.
What Are These Papery Shells Between The Beans?
As the beans expand under heat and release gases, they’ll shed their skin. These do nothing and should be removed before you grind and brew your coffee. You can do this easily by using a blow dryer.
Should I Wash Beans Before Roasting?
There’s really no reason to wash beans before roasting. After all, they’ll be roasted at such a high temperature, there’s absolutely no chance any pathogen can survive that.
Does Dark Roast Have A Higher Caffeine Content?
Although dark roasted coffee is much bolder in flavor, there’s no difference in caffeine amount between dark and light roast. If measured by weight, that is. Dark grounds are denser, so a scoop will have slightly more beans – and therefore slightly more caffeine.
To Sum Things Up
Roasting your own coffee is such a satisfying experience every coffee lover should experience. Plus, you can play around with different roasts and find what suits you the most.
How did you like the tutorial?
Don’t let the lack of a proper machine stop you. If you can’t get a real coffee roaster for whatever reason, there are other things around your home that can do the job just as well.
If you liked the article, please share it with your friends and family!