When I first started using Nespresso machines, I thought I was limited to drinking only straight shots of espresso.
However, I couldn’t have been more wrong!
Nespresso actually has a couple of milk frother attachments that you can use to whip up a good cappuccino or latte.
Ready to say goodbye to limited drinks and open up the door to a world of new Nespresso beverages?
Here’s a step-by-step guide on how to use a Nespresso frother.
How to Use Nespresso Frother Step-by-Step
Nespresso currently has three milk frothers available:
- Aeroccino 3
- Aeroccino 4
- Barista Recipe Maker
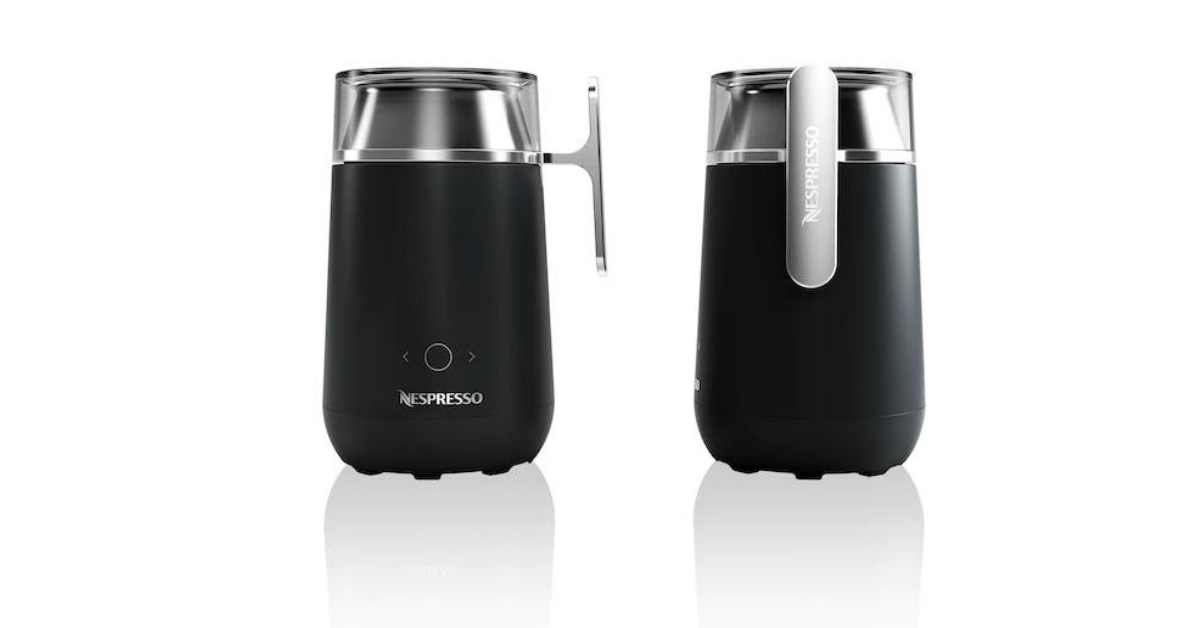
Of these three, the Aeroccino 3 is the most widely used Nespresso milk frother. It’s usually sold as a pack or combo with most Vertuo or Original machines.
The Aeroccino looks like a long, thick bottle with a lid. In fact, I’d say it’s pretty reminiscent of a flashlight!
Despite its rather rustic look, however, the Aeroccino is a super high-tech piece of coffee gear.
So, how do you use it?
Here’s a quick run down of what you need to do.
Step One: Decide What Type of Milk You Want
Before you even start using the Nespresso Aeroccino frother, you must consider whether you want steamed or foamed milk.
Steamed milk froth has small, creamy bubbles.
Foamed milk, on the other hand, is much more aerated and has bigger, fluffier bubbles.
The type of milk you make is determined by what type of drink you’ll be making.
For example, if you’re whipping up a cappuccino, you’re going to need milk foam. On the other hand, if you’re wanting a caffé misto, you’re going to want to go for steamed milk.
Once you’ve chosen which type of milk you want, make sure that the Aeroccino jug is dry.
Then, place the jar on the base of the Aeroccino mechanism.
Now you have to modify the mixer according to the option that you have chosen:
- For milk foam: leave the spiral ring around the whisk.
- For evaporated milk: remove the spiral ring from the device.
With the machine properly set up, you’re ready to start steaming (or foaming, depending on what you’re making).
2. Add the Milk
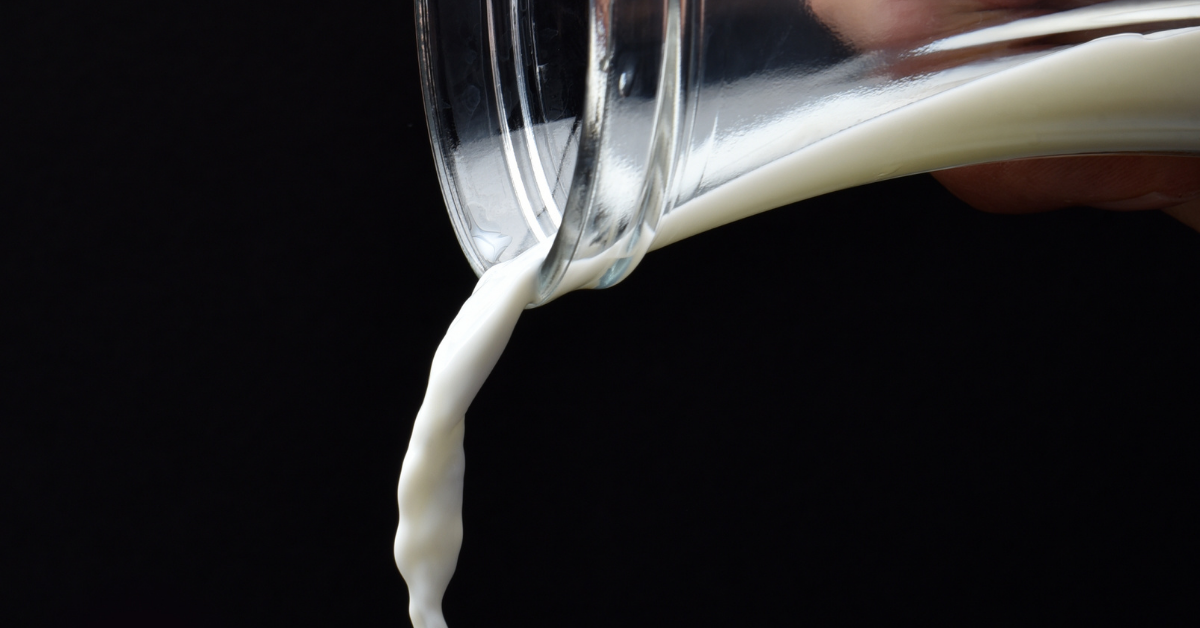
With the Aeroccino set up, you’re ready to add the cold milk to the container. There are two maximum levels on the container, depending on how big of a drink you’re making.
For smaller drinks, add milk to the Aeroccino up to the bottom line. For bigger drinks, fill the Aeroccino to the second line.
PRO TIP
If you’re frothing milk with the coil ring, you should never go over the lower maximum line. If you do, the machine could overflow.
However, you can fill the frother the whole way up if you aren’t using the coil ring.
Another pro tip for steaming milk with your Aeroccino is to use cold whole milk. This type of milk tends to make the creamiest frothed milk.
However, you can always substitute plant-based or low-fat milk if you have dietary restrictions. Just be aware that the less fat the milk contains, the less it will steam up in your Aeroccino.
If you absolutely must use non-dairy milk, you can purchase fortified milk blends that are specially designed for baristas. These help your drink to foam up, even if there’s not a lot of fat or protein in the drink.
A few types of non-dairy milk that work well include:
- Pea milk
- Oat milk
- Soy milk
3. Choose the Temperature of the Milk
With your milk in the device, you’re ready to get started making milk froth.
The Aeroccino 3 milk frother lets you prepare both cold foam and hot foam milk. For the first option, just press the button on the device once.
For hot milk foam, press the button twice within two seconds. That will make sure the machine heats the milk while frothing it.
The frothing machine will have a red light on when making hot milk froth, and blue light while making cold milk froth.
That makes it super easy to make sure you’ve got the right setting before you’re in too deep!
4. Serve the Drink
While the Aeroccino milk frother is at work, pop a Nespresso pod into your Vertuo or Original machine.
By the time your pod is finished pouring, your milk should be ready too!
Pour the prepared milk from the Aeroccino device into your freshly brewed coffee pod.
In total, it should take you somewhere between 70 to 80 seconds to make your milk-based coffee drink using the Aeroccino frother.
Cleaning Nespresso Milk Frother
Cleaning your Nespresso Aeroccino milk frother might not be fun, but it’s a major part of making sure that it stays in good working order.
To clean the Aeroccino:
- Remove the pitcher from the base.
- Take the whisk, seal, and lid off the device.
- Wipe these pieces down with a clean, damp cloth using mild dish soap and water.
- You can also fill the pitcher with soap and water.
- Then, turn it on as if you were frothing milk to help clean out the machine.
Regardless of how you choose to clean the milk frother, it’s important to do so regularly. That way, you prevent milk residue from accumulating and causing jams in the mechanism.
PRO TIP
Make sure to avoid abrasive ingredients, as these can damage the machinery. Stick to mild dish soap or just plain water!
FAQ
Do you still have a few questions about using a Nespresso frother?
You’re not the only one.
Here are some frequently asked questions by Nespresso customers about this milk frothing system.
Why is my Nespresso frother not frothing?
Sometimes the steamer doesn’t work because the machine is dirty. Try rinsing out the machinery and drying it off before using it again.
If it’s still not working, you may need to change the type of milk you use. Remember that low-fat, low-protein milk will often not froth or steam up as well as whole milk.
How do I reset my Nespresso milk frother?
The Nespresso Aeroccino milk frother doesn’t have a way to be reset. However, Nespresso’s Barista Bluetooth milk frother can be factory reset. With this device, press the two arrows on the machine simultaneously for 3 seconds. Then, confirm by pressing the center button once.
What does flashing red light on Nespresso frother mean?
The flashing red light can mean several things, but the primary reason it appears is that the mechanism is overheated.
To mitigate this problem, frequently wash the machine. You can also submerge it in cold water to lower the high temperatures.
Conclusion
When it comes to how to use a Nespresso frother, things are pretty simple.
Basically, you just add the cold milk, select the temperature, and set the machine running! After a few seconds, you’ll have hot milk froth perfect for lattes or cappuccinos.
Speaking of lattes and cappuccinos, do you know what the difference between these drinks is? Check out this guide to get a good feel for what each drink tastes like and which you should make next!