At some point, every Keurig owner got the same question in mind: can you put milk in Keurig and make a latte?
Please, stop immediately!
Under any circumstances, DO NOT put milk in your Keurig!
At least if you’re not planning to buy a new one.
So, let me walk you through why you should not put milk in your Keurig, what to do if you have already made this mistake, and how to make milky drinks with a Keurig without destroying your machine.
Without further ado, let’s start!
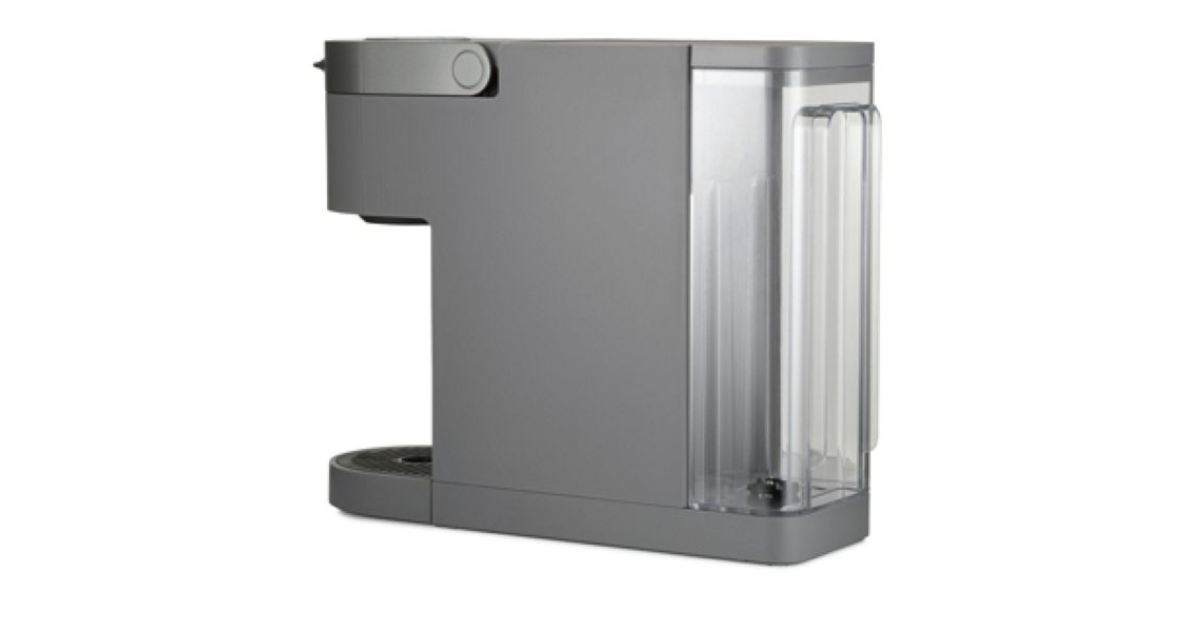
Can You Put Milk in a Keurig?
Yes, of course, you can physically put milk in Keurig…
… if you want to destroy it for good!
Keurig is simply not designed to heat anything besides water. Even guys from Keurig say so.
Most likely, your brilliant idea will end up like a big disaster.
Not only will you end up without your desired milky drink, but you will most likely need to buy a new coffee maker.
What Happens if You Put Milk in a Keurig?
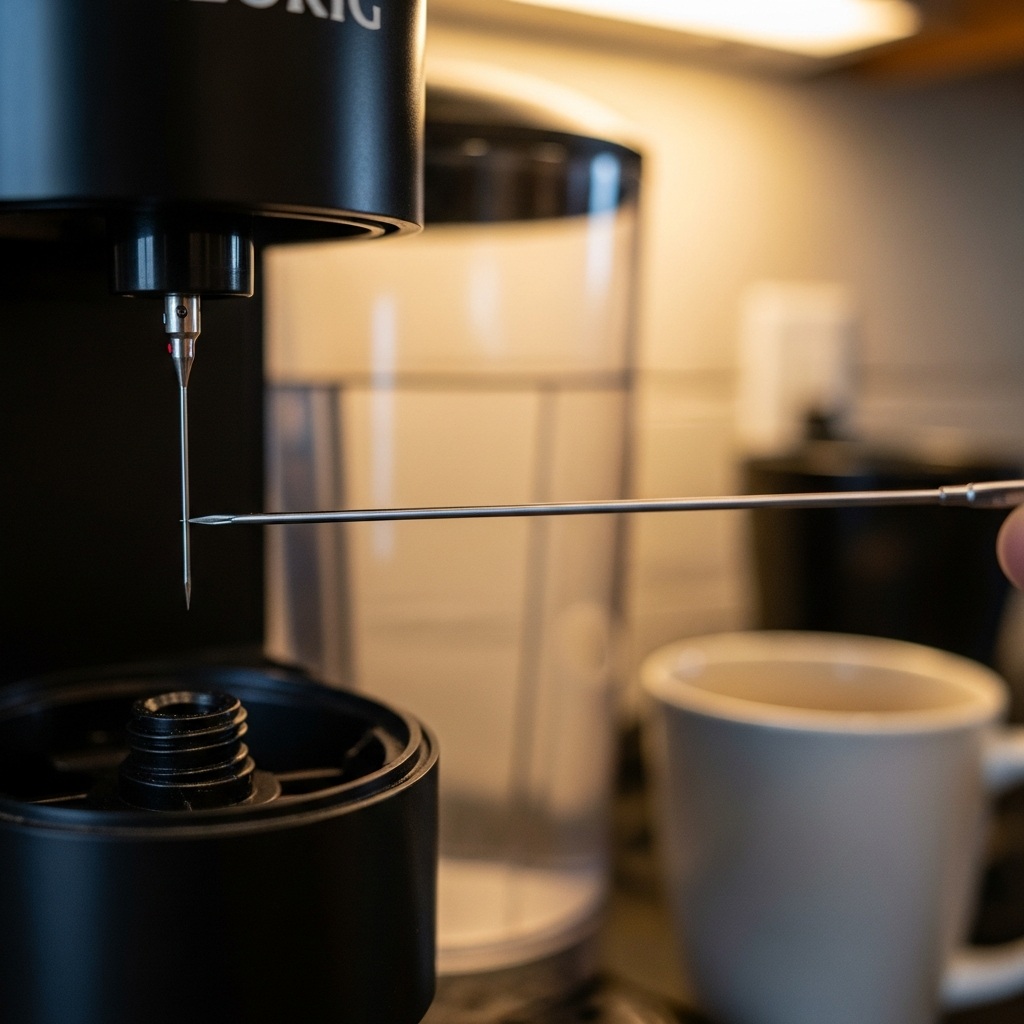
Now that I scared you properly, let’s quickly unwrap how Keurig works. That will help you understand why you should not put milk into your Keurig.
So, here is how it works:
- you pour the water into the water tank
- K Cup pod goes into the cup holder
- after the closing, the holder punctures the cup with the needle
- hot water pumps through the ground coffee in the cup
- the fresh, hot brewed coffee is poured into your cup!
Simple, right?
The key step is heating the water quickly. It’s happening so fast because the water is being pumped under pressure through the tubes to the heating chamber and then again through the tube to the K-Cup.
And there’s the catch.
This system is designed for water and water only.
Heated milk reacts differently than water.
Consequently, it can mess up your machine in a few different ways.
Now, stick with me cause we’ll go through major problems you can have if you put milk into your Keurig.
Burnt and Molded Milk

As I said before, milk reacts differently than water when it is heated.
So, the first problem you may have is burnt milk.
The reason is that Keurig is heating water extremely fast at high temperatures.
Milk is a cocktail made of:
- water
- enzymes (lactose)
- fats
- proteins
And other elements.
And if you heat the milk too fast, fats and proteins will burn.
By reducing water in milk, it will become thick and sticky. As you can imagine, this is not good for the interior of your Keurig machine.
If your mom ever burned milk, you probably can remember that smell, and you will recognize it if you got into that situation.
Another thing you do not want in your Keurig is spoilt milk. Spoilt milk will soon develop mold.
It’s almost impossible to clean all interior parts of Keurig manually. Because of that, the chances that some milk will end up trapped inside are high.
And, as you know, milk goes bad fast at room temperatures and starts curdling. This happens faster if it’s left in heated Keurig.
If you ever sniffed spoiled milk from the fridge (like I did multiple times), you will recognize that specific strong sour smell. It’s a sign that you got mold in your Keurig.
Mold could grow on every part of Keurig that milk touches.
Keurig covered in the mold is a literal horror movie. Just imagine all that mold floating in your coffee. (Yuck!)
Clogged and Damaged Machine
Since you can’t clean all the interior parts of Keurig by hand, there is a big chance it will get clogged if you try to heat milk in it.
At high temperatures, milk gets thick and sticky, making clogs all over Keurig.
Burned milk residue is the biggest problem because it will become like a hard crust stuck to all interior parts of Keurig.
Obviously, that can clog and seriously damage your machine.
What to Do if You Put Milk in a Keurig?
If you are reading this too late and you have already put milk into your Keurig, do not lose hope. Maybe there is still a chance you can save it.
The first thing that pops up in your mind is the “Descale” option, right?
I get you.
After all, you can do it at a push of a button on your Keurig.
Well, I have to disappoint you. Descaling won’t be enough for cleaning up your machine after the milk.
Descaling is meant to clean calcium build-ups. It is a convenient option, but it’s not strong enough for milk clogs and crust.
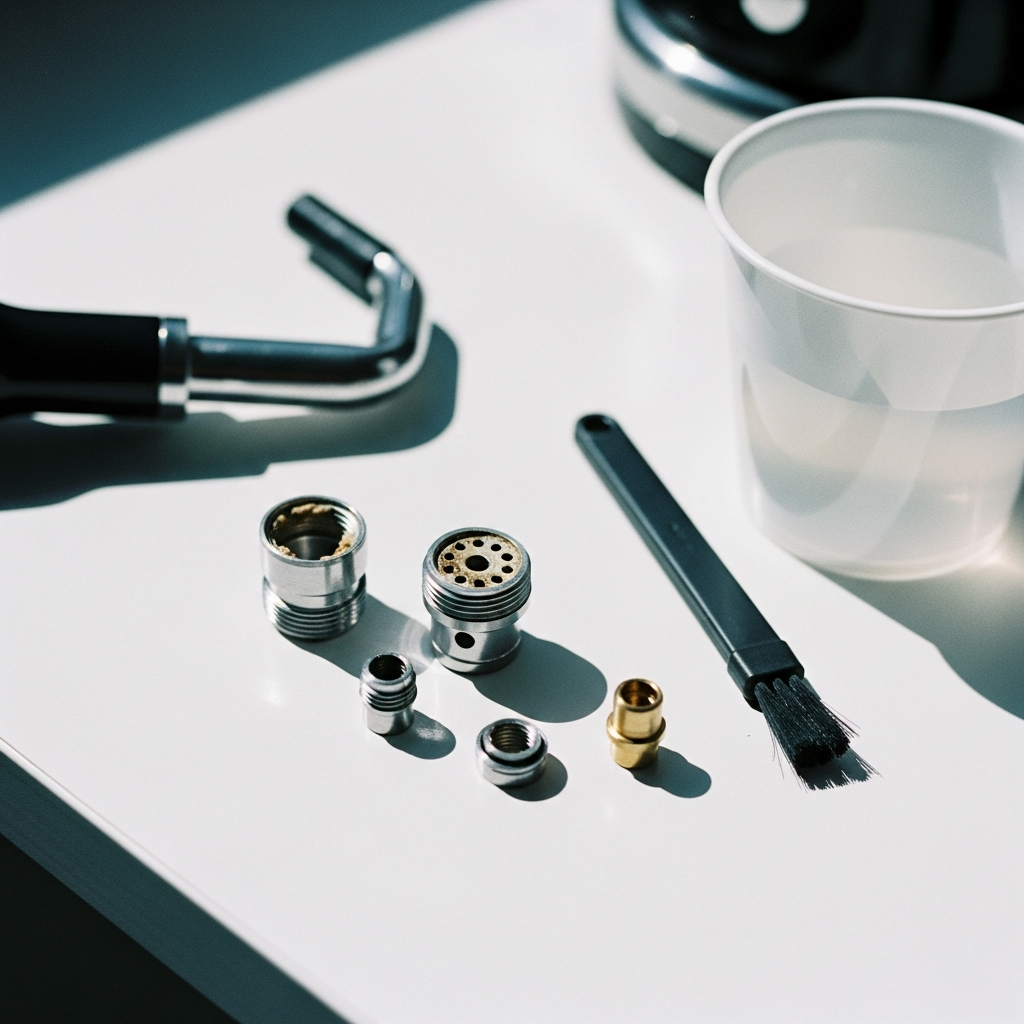
It will be best to take apart Keurig and clean all the parts manually inside.
Although there are Keurig cleaners to buy, you can also use vinegar and baking soda. These two are a very
powerful combination when it comes to cleaning almost anything.
DIY TIP
Mix water and vinegar in a 1:1 ratio, add a little bit of baking soda, and – voila! – you made your own cleaner!
Also, it is cheaper, and you probably already have these two in your kitchen.
You will also need:
- Sponge
- Old toothbrush
- Paperclip or a needle to remove solid layers of milk
IMPORTANT TIP
Be very gentle when scrubbing so you don’t damage any parts.
Now, let’s get to work:
- Unplug your Keurig brewer (for your safety!)
- Following the manual, carefully dismantle every part you can (water tank, tubes, cup holder, etc.)
- Soak them into the vinegar-soda mixture, and leave them for some time
- Use a sponge or toothbrush to remove all the solid milk particles
- Use paperclip or needle for K-Cup piercing holes
- Reassemble your machine again
- Run vinegar-soda mixture a few times through the machine (without an empty cup holder)
- Run a few water-only cycles to remove all the vinegar-soda mixture
You are ready to try out your Keurig coffee machine when you don’t smell vinegar anymore.
If you’re lucky, it should be running smoothly.
Fingers crossed!
How to Make Milky Drinks With Keurig?
So, you can’t put milk in a Keurig.
If you’re a latte or a cappuccino lover, don’t worry – it’s not the end of the world!
You can still prepare some milky delight using Keurig.
The solution is simple: milk pods!
First, make coffee using a coffee pod with your Keurig coffee maker, and then use a milk pod to pour the milk into it. It’s an easy and fast way to make coffee with milk in a jiffy.
Some Keurig pods, such as Keurig hot chocolate, already contain infused milk.
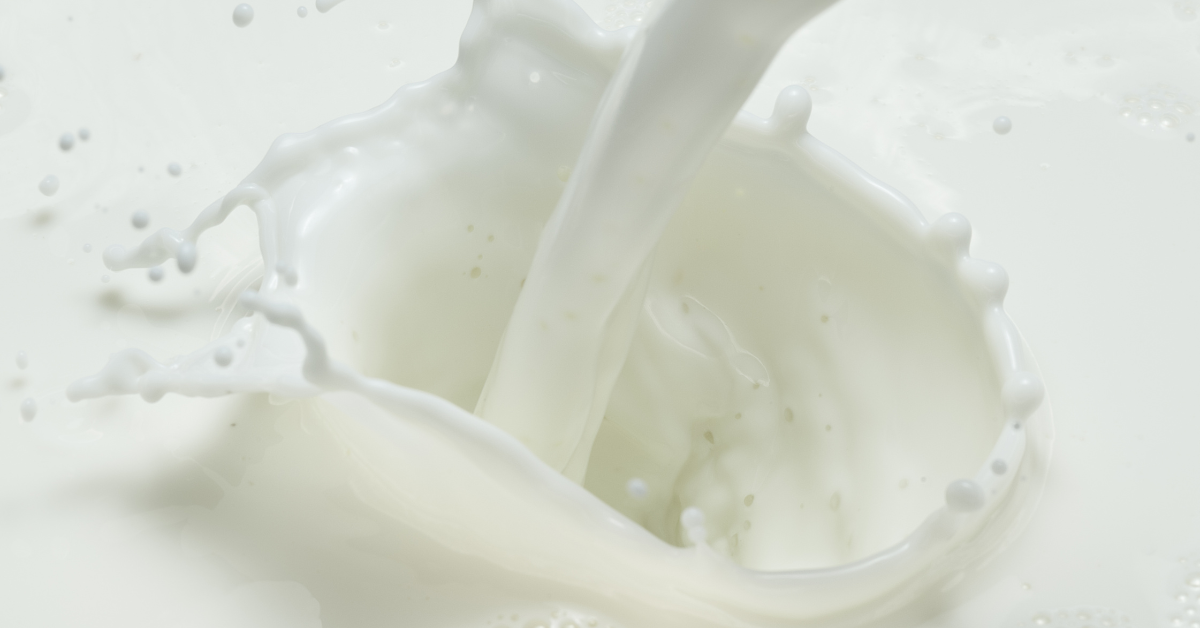
But, if you want real, fresh hot milk in your beverage, it’s best to do it the old-fashioned way – heat the milk separately.
Especially if you want to have non-dairy milk, such as almond or oat milk, in your drink.
You can preheat it in the microwave if you like. Or, you can use a stove if you want your milk to become a little bit thicker and richer.
Of course, you can just add the cold milk to your hot coffee and speed up the whole process.
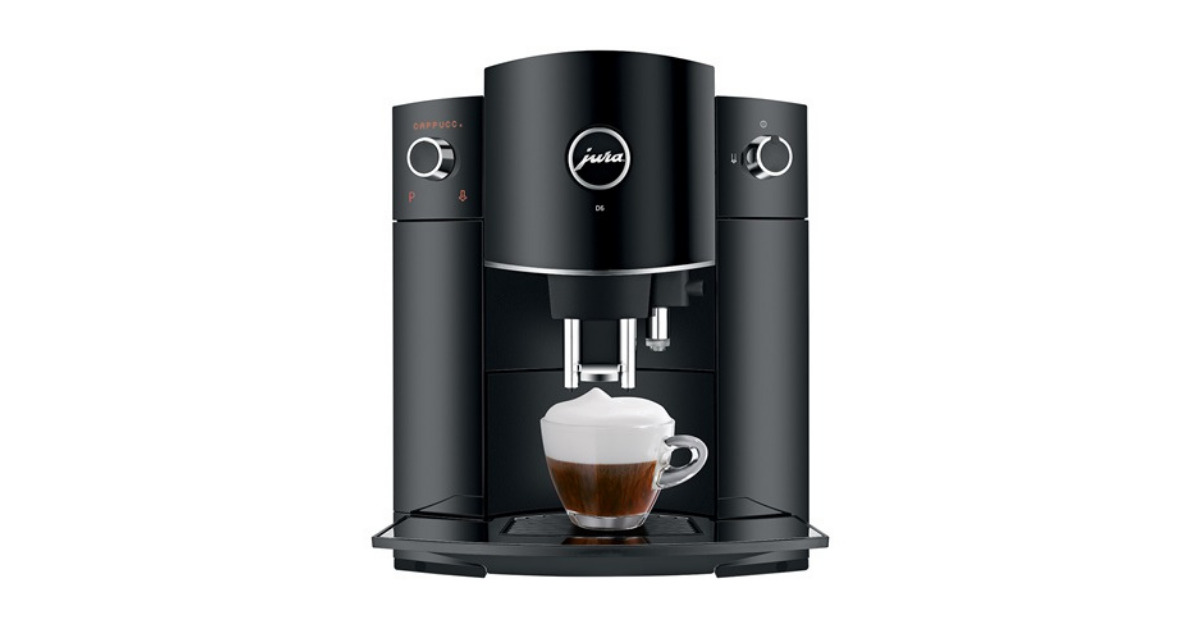
And, if you want to step up your game, you can use a milk frother. There is a dedicated Keurig milk frother if you want to stick with the brand.
With a milk frother, you will get nice steamed milk with microfoam for your latte macchiatos, cappuccinos, and other frothy delights.
KEEP IN MIND
You won’t be able to get frothed milk from every kind of milk. Almond milk won’t do the trick. Whole dairy milk is the best for frothing.
Conclusion
So what’s the final verdict?
It’s clear: do not put milk into your Keurig if you want to save its life.
Burnt milk or mold inside of it can be fatal for the machine.
There are thin chances you can save it after the harm is done, but why take any risk when there are other options?
Even if it takes a little bit more effort, you can heat the milk separately or just use milk pods.
Either way, it’s easier than buying a new Keurig, isn’t it? (At least for your budget!)
If you take good care of your Keurig, it will deliver you fast coffee for a long, long time!
In the end, here are some helpful tips on how to take care of your precious coffee maker and extend its life a little bit.